Template:BurnAndroidToEMMC-Allwinner
From FriendlyELEC WiKi
Boot from eMMC
- Extract the Android image file and the USB flashing utility "LiveSuitV306_For_Linux64.zip" under Ubuntu and run the following commands to install LiveSuit:
$ ./LiveSuit.run
运行LiveSuit:
$ cd /root/Bin/LiveSuit
$ ./LiveSuit.sh
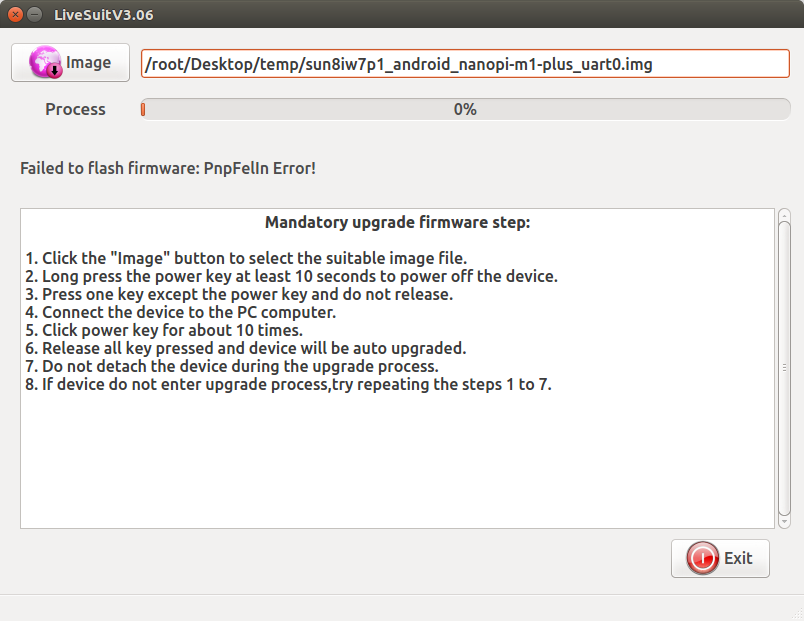
Click on the Image button to select an Android image file:

- Refer to 编译烧写U-boot to make an installation TF card with U-boot;
- 制作完成TF卡后,拔出TF卡插入板子的BOOT卡槽,使用MicroUSB线连接板子和PC机,此时板子会上电启动并运行U-boot,键盘敲入任意按键进行U-boot命令行模式,执行下列命令进行USB下载模式:
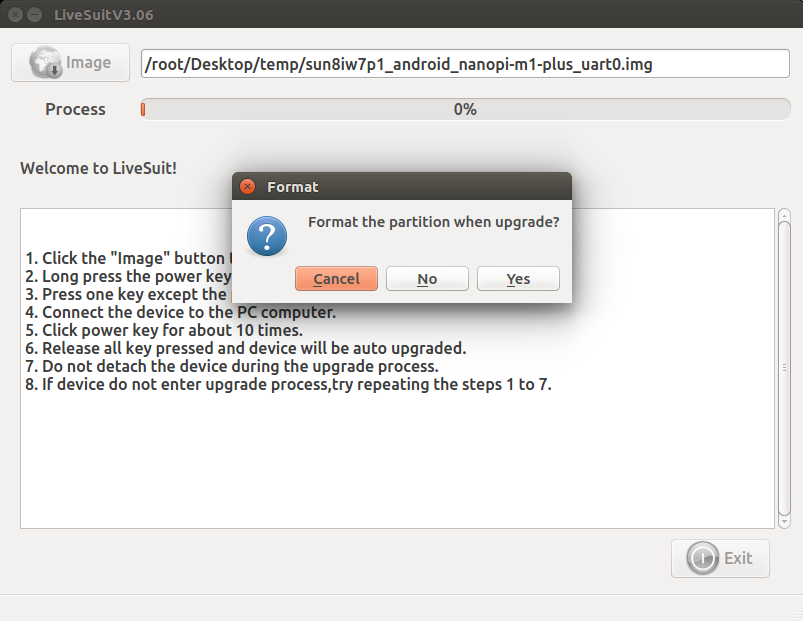
$ efex此时PC机上的LiveSuit工具会弹出是否进行烧写的提示,如下:

注意:必须先在PC机上运行LiveSuit,再执行efex命令,否则将检测失败。
点击Yes按钮,开始通过USB将Android系统固件烧写到eMMC中。等待烧写完毕后,断电并从BOOT卡槽中取出TF卡,此时再上电就会从eMMC启动系统了。