Difference between revisions of "Install ROS Melodic on NanoPC-T4/zh"
(→Step4 - 初始化rosdep) |
(→Step5 - 环境设置) |
||
| Line 79: | Line 79: | ||
</syntaxhighlight> | </syntaxhighlight> | ||
如果安装了多个ROS分发版,~/.bashrc只能为当前使用的版本提供setup.bash。<br /> | 如果安装了多个ROS分发版,~/.bashrc只能为当前使用的版本提供setup.bash。<br /> | ||
| − | + | 如果只是想改变当前shell的环境,可以输入: | |
<syntaxhighlight lang="bash"> | <syntaxhighlight lang="bash"> | ||
source /opt/ros/melodic/setup.bash | source /opt/ros/melodic/setup.bash | ||
</syntaxhighlight> | </syntaxhighlight> | ||
| + | |||
==Step6 - 构建软件包的依赖关系== | ==Step6 - 构建软件包的依赖关系== | ||
到目前为止,已经安装了运行核心ROS软件包所需的内容。要创建和管理ROS工作区,有各种工具和需求分开分发。<br/> | 到目前为止,已经安装了运行核心ROS软件包所需的内容。要创建和管理ROS工作区,有各种工具和需求分开分发。<br/> | ||
Revision as of 09:08, 29 August 2018
Contents
1 Step1 - 配置Ubuntu软件库
将电脑设置为接受来自packages.ros.org的软件:
1.1 选项1:通用源
sudo sh -c 'echo "deb http://packages.ros.org/ros/ubuntu $(lsb_release -sc) main" > /etc/apt/sources.list.d/ros-latest.list'
1.2 选项2:中国大陆源
1.2.1 USTC (China)
sudo sh -c '. /etc/lsb-release && echo "deb http://mirrors.ustc.edu.cn/ros/ubuntu/ $DISTRIB_CODENAME main" > /etc/apt/sources.list.d/ros-latest.list'
1.2.2 Sun Yat-Sen University (China)
sudo sh -c '. /etc/lsb-release && echo "deb http://mirror.sysu.edu.cn/ros/ubuntu/ $DISTRIB_CODENAME main" > /etc/apt/sources.list.d/ros-latest.list'
1.2.3 ExBot Robotics Lab (China)
sudo sh -c '. /etc/lsb-release && echo "deb http://ros.exbot.net/rospackage/ros/ubuntu/ $DISTRIB_CODENAME main" > /etc/apt/sources.list.d/ros-latest.list'
2 Step2 - 设置密钥
sudo apt-key adv --keyserver hkp://ha.pool.sks-keyservers.net:80 --recv-key 421C365BD9FF1F717815A3895523BAEEB01FA116
如果遇到连接到密钥服务器的问题,可以尝试在前面的命令中替换hkp://pgp.mit.edu:80 或 hkp://keyserver.ubuntu.com:80。
3 Step3 - 安装
sudo apt-get update
ROS中有许多不同的库和工具。我们提供了四种默认配置来帮助入门,也可以单独安装ROS软件包。
3.1 选项1:桌面完整安装:(推荐)
包含了ROS,rqt,rviz,机器人通用库,2D / 3D模拟器,导航和2D / 3D感知:
sudo apt-get -y purge hostapd
sudo apt-get install ros-melodic-desktop-full
3.2 选项2:其他安装方式
3.2.1 桌面安装
包含了ROS,rqt,rviz和机器人通用库:
sudo apt-get install ros-melodic-desktop
3.2.2 ROS-Base:(Bare Bones)
包含了ROS包,构建和通信库。没有GUI工具:
sudo apt-get install ros-melodic-ros-base
3.2.3 独立软件包
您也可以安装特定的ROS软件包(用下划线替换下划线):
sudo apt-get install ros-melodic-PACKAGE
例如
sudo apt-get install ros-melodic-slam-gmapping
要查找可用包,请使用:
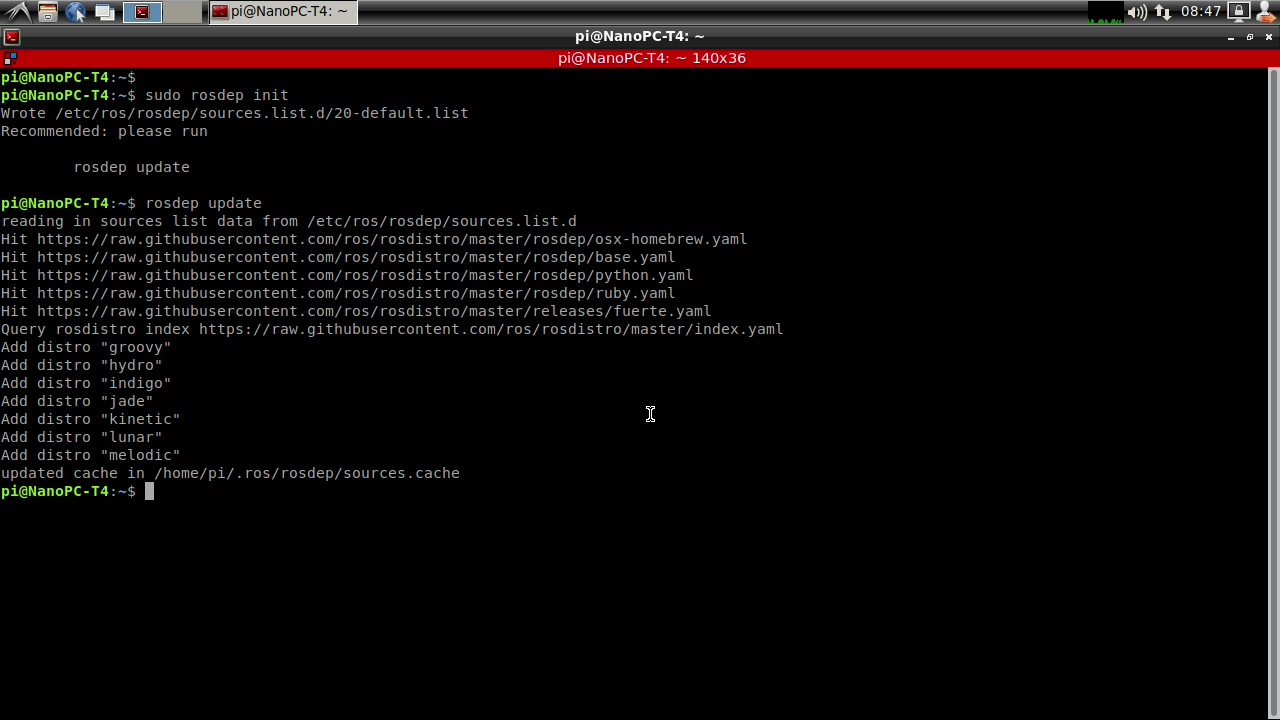
apt-cache search ros-melodic4 Step4 - 初始化rosdep
在使用ROS之前,需要初始化rosdep。
rosdep能够轻松地安装要编译的源代码的系统依赖关系,并且需要在ROS中运行一些核心组件。
sudo rosdep init
rosdep update
5 Step5 - 环境设置
如果ROS环境变量在每次启动新shell时自动添加到bash会话中,则很方便:
echo "source /opt/ros/melodic/setup.bash" >> ~/.bashrc
source ~/.bashrc
如果安装了多个ROS分发版,~/.bashrc只能为当前使用的版本提供setup.bash。
如果只是想改变当前shell的环境,可以输入:
source /opt/ros/melodic/setup.bash
6 Step6 - 构建软件包的依赖关系
到目前为止,已经安装了运行核心ROS软件包所需的内容。要创建和管理ROS工作区,有各种工具和需求分开分发。
例如,rosinstall是一个经常使用的命令行工具,它使您能够使用一个命令轻松下载ROS软件包的许多源代码树。
要安装此工具和其他依赖关系来构建ROS软件包,请运行:
sudo apt-get install python-rosinstall python-rosinstall-generator python-wstool build-essential
7 Step7 - 运行DEMO
先打开1个终端,输入以下命令:
source /opt/ros/melodic/setup.bash
roscore
export ROS_HOSTNAME=localhost
export ROS_MASTER_URI=http://localhost:11311
rosrun turtlesim turtlesim_node
再打开另一个终端,输入以下命令:
source /opt/ros/melodic/setup.bash
rosrun turtlesim turtle_teleop_key
你会在第二个终端上看到 Use arrow keys to move the turtle字样,将输入光标保持在第三个终端,按下键盘上的上下左右方向键,即可控制动物的行走轨迹,如下图所示: TODO: 图
8 附录:ROS教程
进一步了解ROS,请阅读ROS的官方教程: http://wiki.ros.org/ROS/Tutorials
