Difference between revisions of "Template:BurnAndroidToEMMC-Allwinner"
From FriendlyELEC WiKi
(→Boot from eMMC) |
(updated by API) |
||
| Line 1: | Line 1: | ||
| − | ===== | + | =====eMMC启动===== |
| − | * | + | * 在Ubuntu系统下将Android系统固件和USB烧写工具LiveSuitV306_For_Linux64.zip解压,执行下列命令安装LiveSuit: |
<syntaxhighlight lang="bash"> | <syntaxhighlight lang="bash"> | ||
$ ./LiveSuit.run | $ ./LiveSuit.run | ||
| Line 9: | Line 9: | ||
$ ./LiveSuit.sh | $ ./LiveSuit.sh | ||
</syntaxhighlight> | </syntaxhighlight> | ||
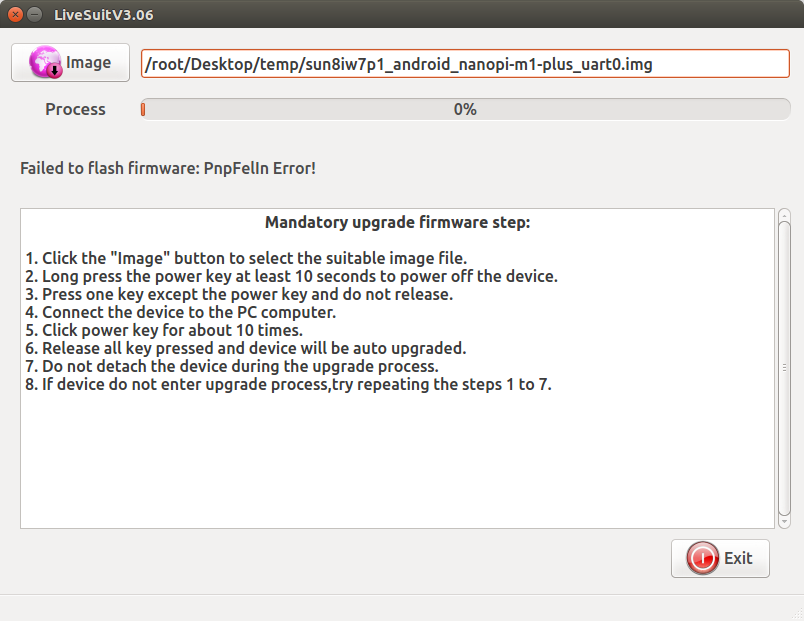
| − | + | 点击Image按钮选择Android系统固件:<br> | |
[[File:sunxi-livesuit-select.png|frameless|500px|]] | [[File:sunxi-livesuit-select.png|frameless|500px|]] | ||
| − | * | + | * 参考[[NanoPi_M1_Plus#.E7.BC.96.E8.AF.91U-boot|编译烧写U-boot]] 制作一张带U-boot的TF卡; |
| − | * | + | * 制作完成TF卡后,拔出TF卡插入板子的BOOT卡槽,使用MicroUSB线连接板子和PC机,此时板子会上电启动并运行U-boot,键盘敲入任意按键进行U-boot命令行模式,执行下列命令进行USB下载模式: |
<syntaxhighlight lang="bash"> | <syntaxhighlight lang="bash"> | ||
$ efex | $ efex | ||
</syntaxhighlight> | </syntaxhighlight> | ||
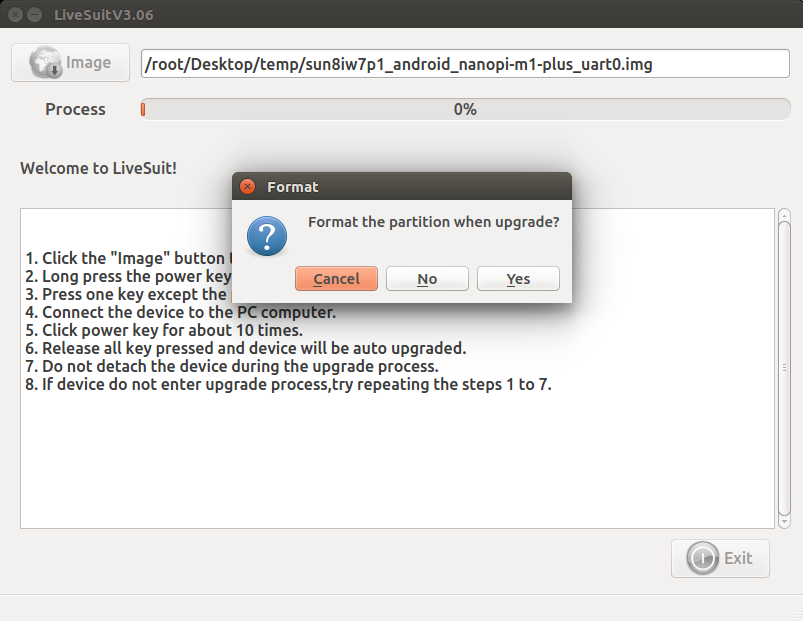
| − | + | 此时PC机上的LiveSuit工具会弹出是否进行烧写的提示,如下:<br> | |
[[File:sunxi-livesuit-detect.png|frameless|500px|]]<br> | [[File:sunxi-livesuit-detect.png|frameless|500px|]]<br> | ||
| − | + | 注意:必须先在PC机上运行LiveSuit,再执行efex命令,否则将检测失败。<br> | |
| − | + | 点击Yes按钮,开始通过USB将Android系统固件烧写到eMMC中。等待烧写完毕后,断电并从BOOT卡槽中取出TF卡,此时再上电就会从eMMC启动系统了。 | |
Revision as of 10:03, 29 January 2018
eMMC启动
- 在Ubuntu系统下将Android系统固件和USB烧写工具LiveSuitV306_For_Linux64.zip解压,执行下列命令安装LiveSuit:
$ ./LiveSuit.run
运行LiveSuit:
$ cd /root/Bin/LiveSuit
$ ./LiveSuit.sh
- 参考编译烧写U-boot 制作一张带U-boot的TF卡;
- 制作完成TF卡后,拔出TF卡插入板子的BOOT卡槽,使用MicroUSB线连接板子和PC机,此时板子会上电启动并运行U-boot,键盘敲入任意按键进行U-boot命令行模式,执行下列命令进行USB下载模式:
$ efex此时PC机上的LiveSuit工具会弹出是否进行烧写的提示,如下:

注意:必须先在PC机上运行LiveSuit,再执行efex命令,否则将检测失败。
点击Yes按钮,开始通过USB将Android系统固件烧写到eMMC中。等待烧写完毕后,断电并从BOOT卡槽中取出TF卡,此时再上电就会从eMMC启动系统了。
