Template:S5Pxx18ExternalModules
Contents
[hide]1 Connect {{{1}}} to External Modules
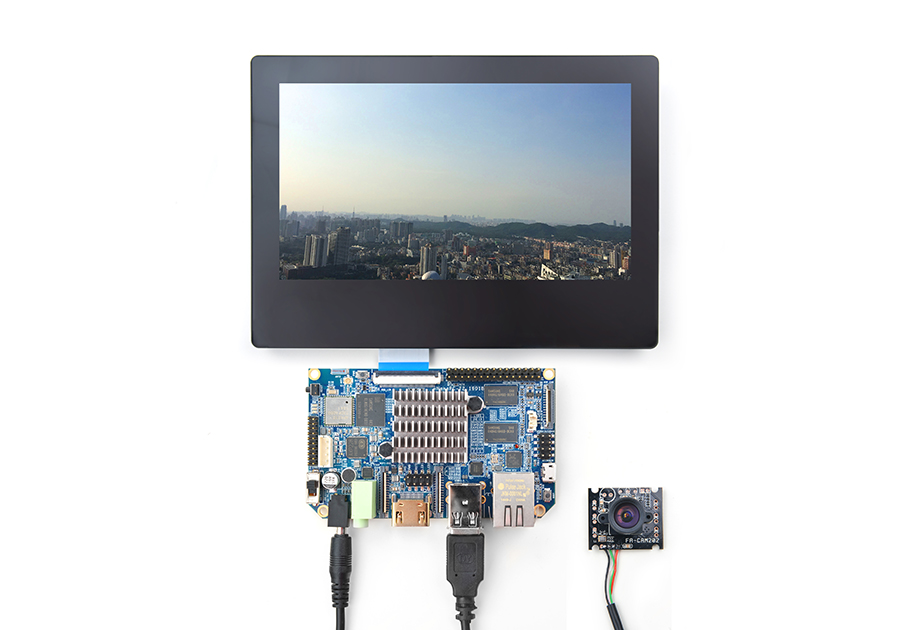
1.1 Connect {{{1}}} to USB Camera(FA-CAM202)
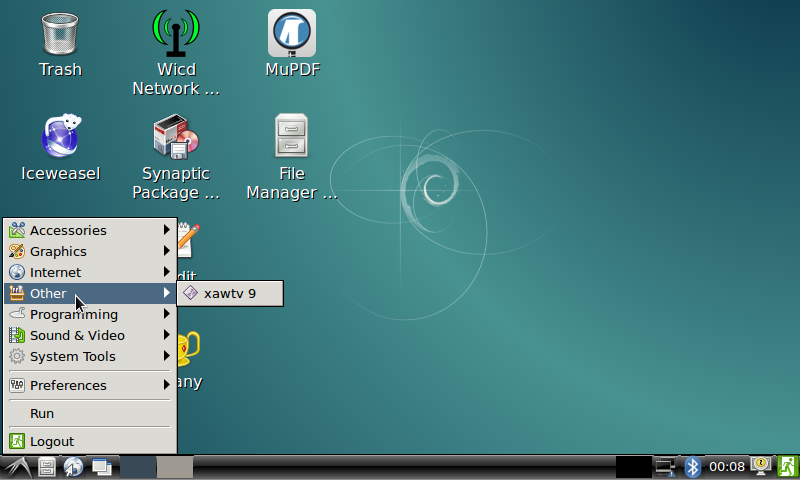
- In this use case the {{{1}}} runs Debian. If you connect your {{{1}}} to our LCD or an HDMI monitor after Debain is fully loaded click on "other"-->"xawtv" on the left bottom of the GUI and the USB Camera application will be started. After enter "welcome to xawtv!" click on "OK" to start exploring.
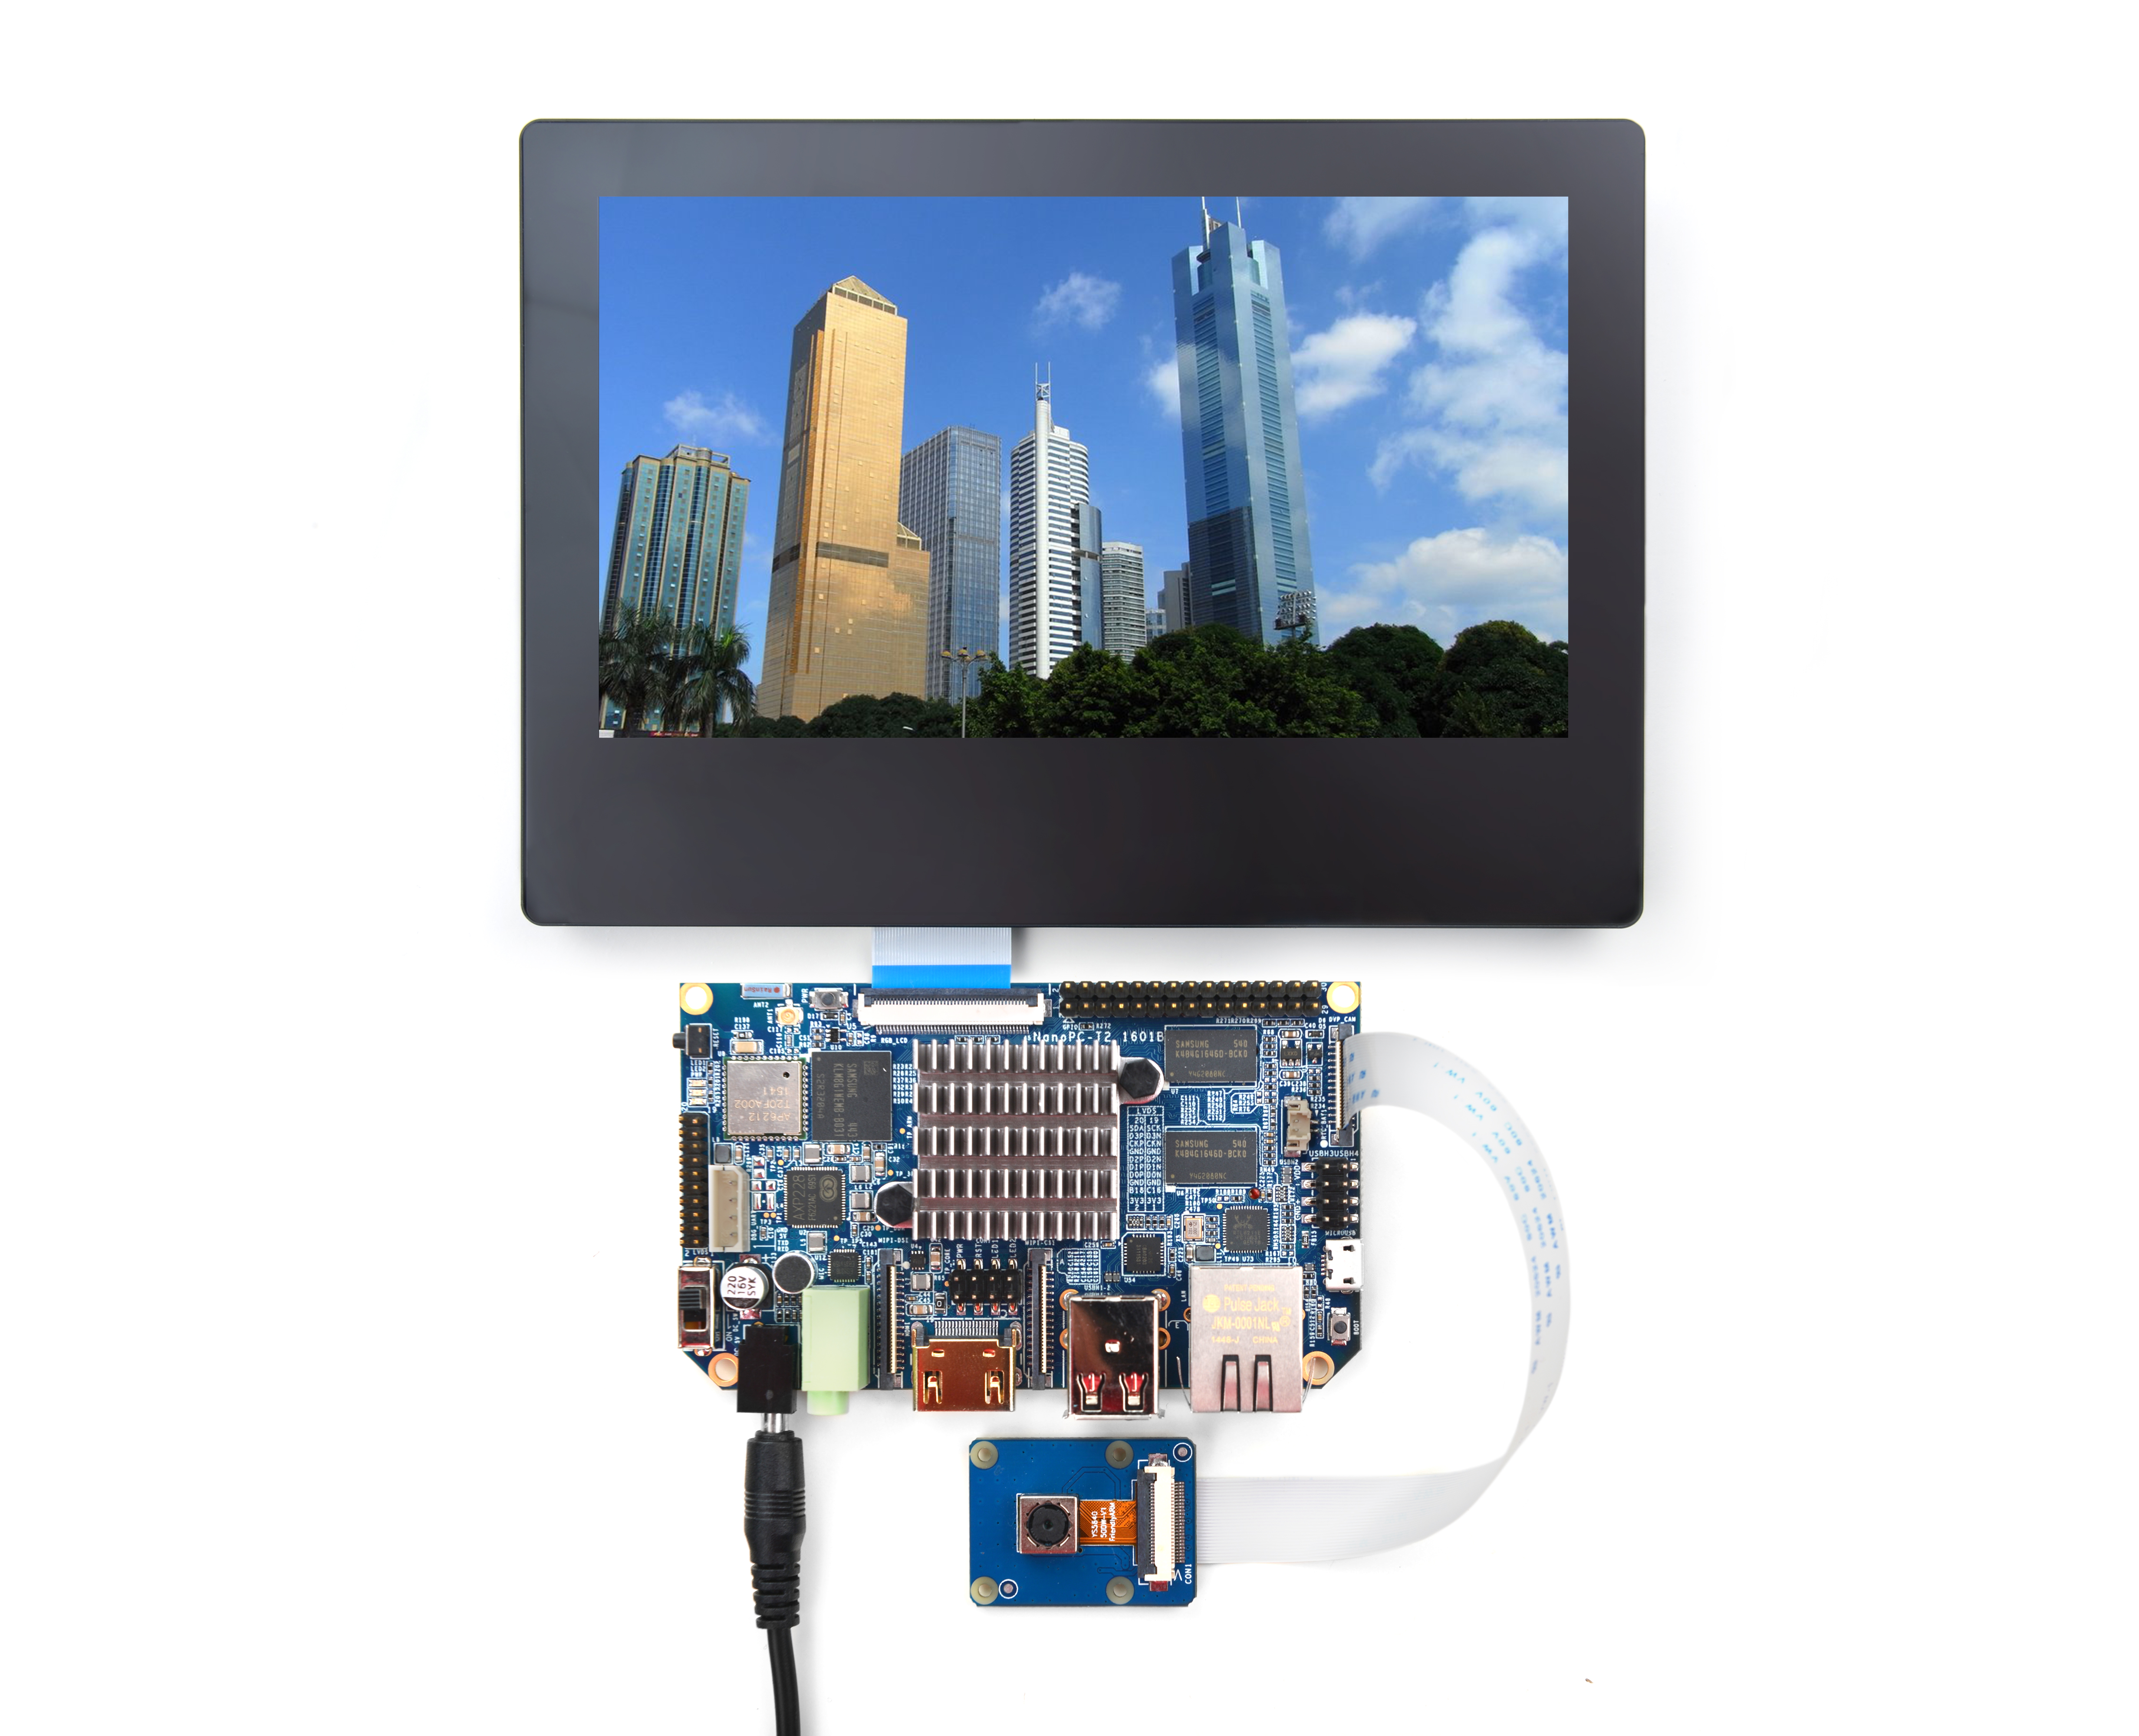
1.2 Connect {{{1}}} to CMOS 5M-Pixel Camera
For more details about the CAM500A camera refer to [1]
- If your {{{1}}} runs Android5.1 and it is connected to our LCD or an HDMI monitor after Android is fully loaded click on the "Camera" icon and the application will be started. You can take pictures or record videos
- Under Debian a camera utility "nanocams" is available for previewing 40 frames and picture taking. You can try it by following the commands below
sudo nanocams -p 1 -n 40 -c 4 -o IMG001.jpg
For more details about the usage of the nanocams run "nanocams -h". You can get its source code from our git hub:
git clone https://github.com/friendlyarm/nexell_linux_platform.git
- Under FriendlyCore (kernel 4.4), You can try it by following the commands below:
Enter the following command to preview the video:
gst-launch-1.0 -e v4l2src device=/dev/video6 ! video/x-raw,format=I420,framerate=30/1,width=1280,height=720 ! nxvideosink
Enter the following command to start recording (VPU hardware encoding):
gst-launch-1.0 -e v4l2src device=/dev/video6 ! video/x-raw,format=I420,framerate=30/1,width=1280,height=720 ! tee name=t t. \
 ! queue ! nxvideosink t. ! queue ! nxvideoenc bitrate=12000000 ! mp4mux ! \
 filesink location=result_720.mp4
1.3 Use OpenCV to Access USB Camera
- The full name of "OpenCV" is Open Source Computer Vision Library and it is a cross platform vision library.
- When the {{{1}}} runs Debian users can use OpenCV APIs to access a USB Camera device.
1. Here is a guideline on how to use OpenCV with C++ on the {{{1}}}:
- Firstly you need to make sure your {{{1}}} is connected to the internet.Login to your {{{1}}} via a serial terminal or SSH. After login type in your username(root) and password(fa):
- Run the following commands:
apt-get update
apt-get install libcv-dev libopencv-dev
2. Make sure your USB camera works with the {{{1}}}. You can test your camera with {{{1}}}'s camera utility.
3. Check your camera device:
ls /dev/video*
- Note:in our test case video0 was the device name.
4. OpenCV's code sample(official code in C++) is under /home/fa/Documents/opencv-demo. Compile the code sample with the following commands:
cd /home/fa/Documents/opencv-demo
make
After it is compiled successfully a "demo" executable will be generated
5. Connect {{{1}}} to USB Keyboard & Run the Following Command:
./demoopencv is successfully started
1.4 Connect {{{1}}} to Matrix GPS Module
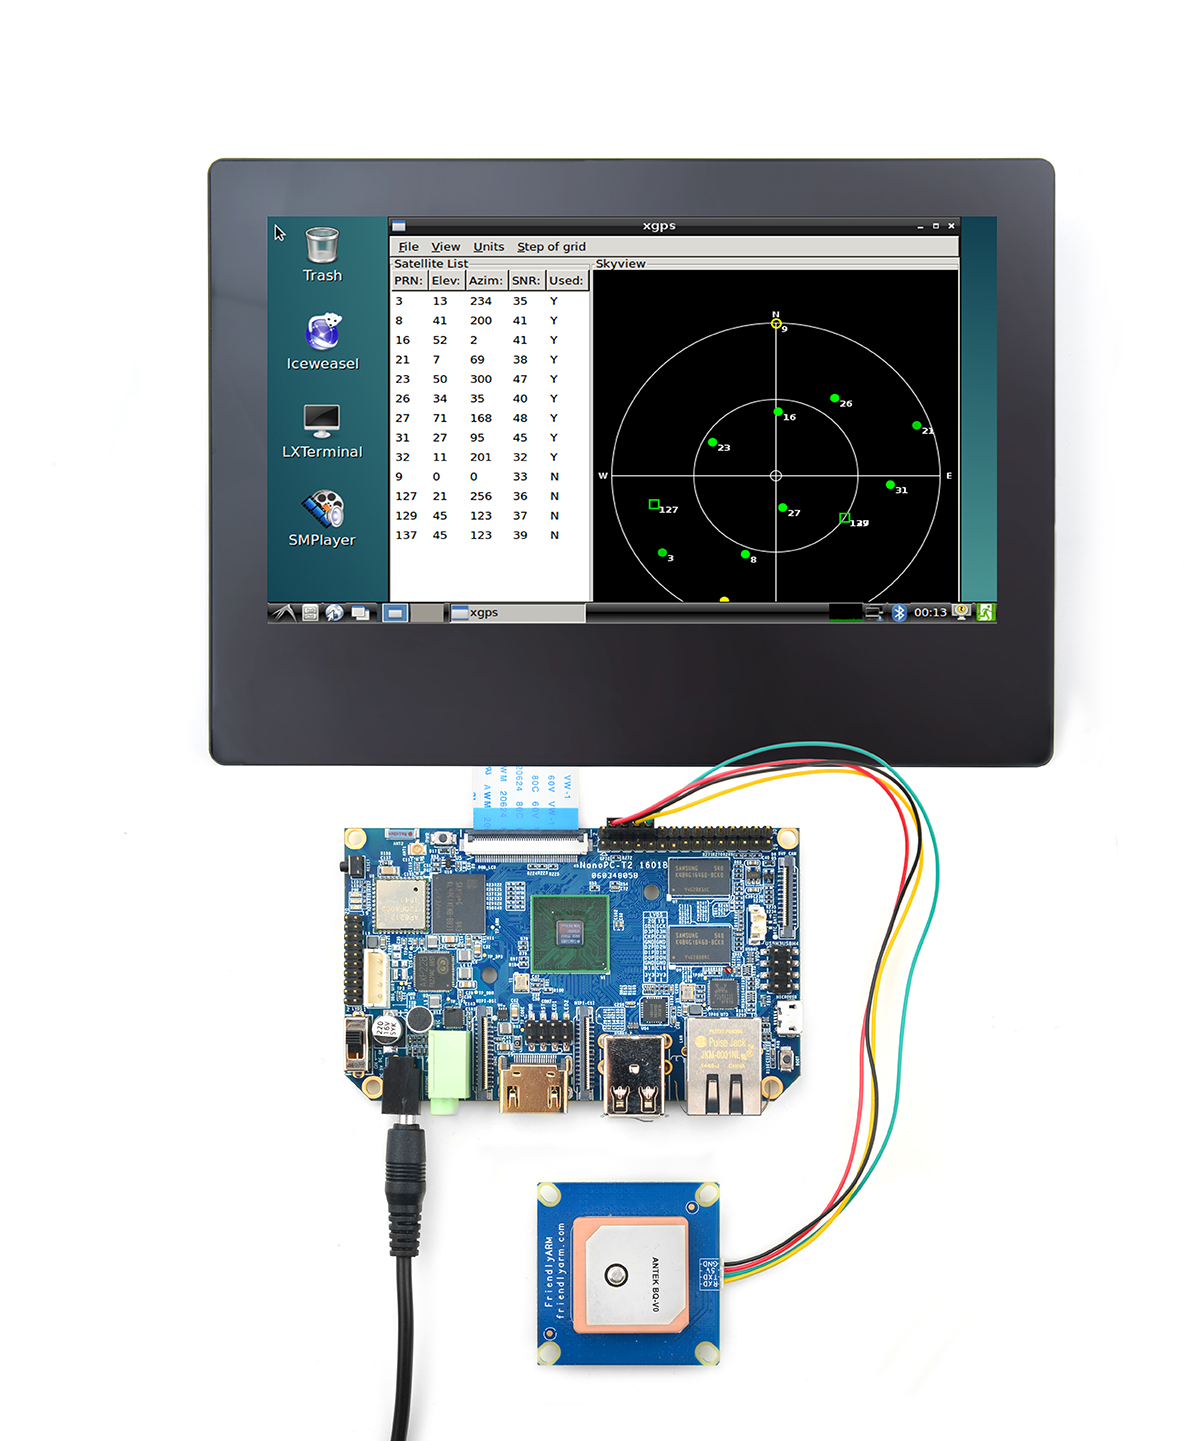
- The Matrix-GPS module is a small GPS module with high performance. It can be used in navigation devices, four-axle drones and etc.
- The Matrix-GPS module uses serial communication. When the {{{1}}} is connected to the Matrix GPS module, after the {{{1}}} is powered up type in the following command in a terminal or click on the xgps icon it will be started.
$su - fa -c "DISPLAY=:0 xgps 127.0.0.1:9999"
- Or on the Debian GUI start the LXTerminal, type in "xgps" and enter it will be started too.
For more details about this GPS module refer to Click to check
Refer to the following diagram to connect the {{{1}}} to the Matrix-GPS:

Connection Details:
| Matrix-GPS | {{{1}}} |
| RXD | Pin11 |
| TXD | Pin12 |
| 5V | Pin29 |
| GND | Pin30 |


