Difference between revisions of "NanoPi Duo"
(→Work with Ubuntu-Core with Qt-Embedded) |
(→Work with Ubuntu-Core with Qt-Embedded) |
||
| Line 153: | Line 153: | ||
[[File:npi-config.jpg|frameless|500px|npi-config]]<br /> | [[File:npi-config.jpg|frameless|500px|npi-config]]<br /> | ||
| − | === | + | ===Ethernet Connection=== |
| − | + | The Mini Shield for NanoPi Duo has an Ethernet port. If a NanoPi Duo is assembled with a Mini Shield and is connected to a network via Ethernet before it is powered on it will automatically obtain an IP after it is powered up. If it is not connected via Ethernet or its DHCP is not activated obtaining an IP will fail and system will hang on for about 15 to 60 seconds. In this case you can try obtaining an IP by using the following command: | |
| − | + | ||
<syntaxhighlight lang="bash"> | <syntaxhighlight lang="bash"> | ||
$ dhclient eth0 | $ dhclient eth0 | ||
Revision as of 07:02, 18 July 2017
Contents
1 Introduction
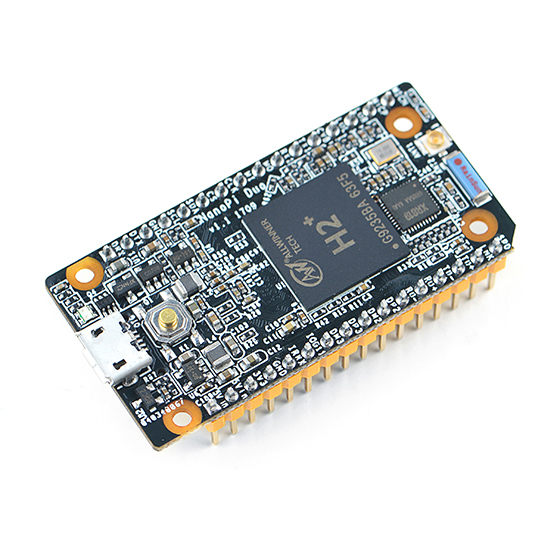
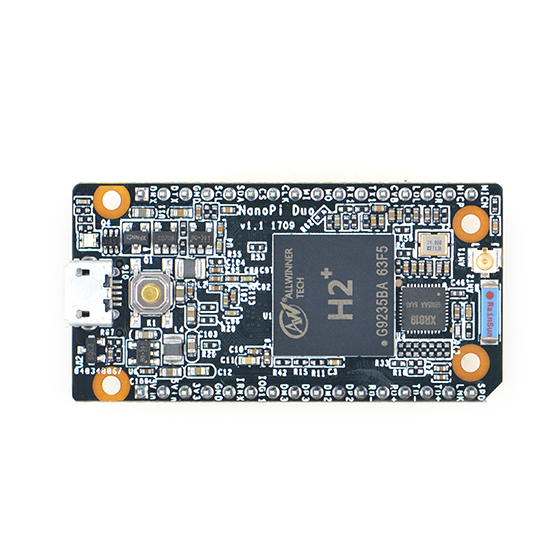
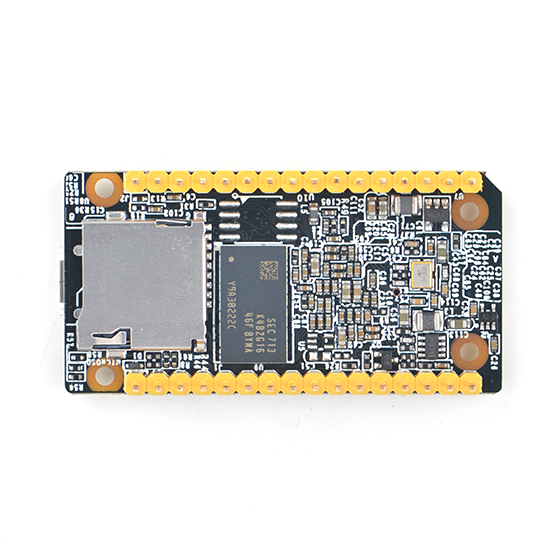
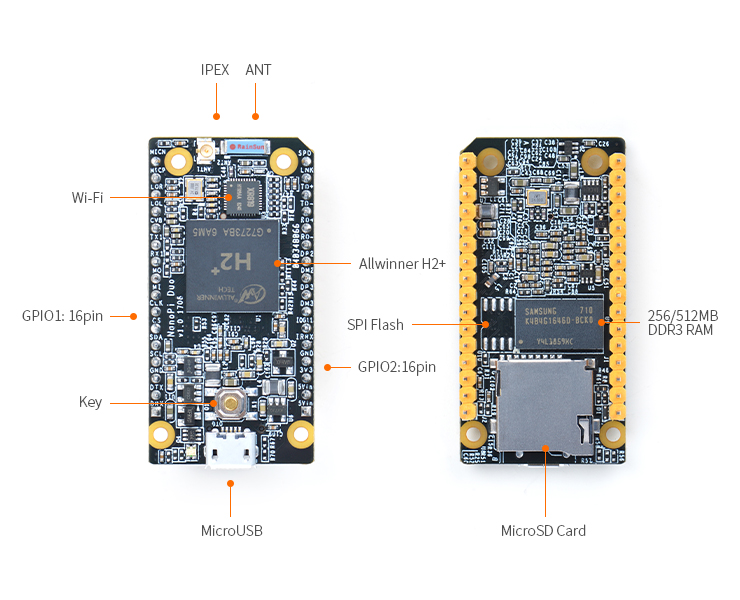
- The NanoPi Duo(abbreviated as Duo) is designed and developed by FriendlyElec for makers, hobbyists and fans. It is open source. It uses Allwinner's Coretex-A7 H2+ with internal Mali400MP2 GPU. It has 256MB/512MB DDR3 RAM.
- The NanoPi Duo's dimension is 25.4 x 50mm. It exposes interfaces such as Ethernet, two USB ports and audio. It can boot from a MicroSD card.
2 Hardware Spec
- CPU: Allwinner H2+, Quad-core Cortex-A7
- DDR3 RAM: 256MB/512MB
- Connectivity: 10/100M Ethernet
- Wifi:XR819
- USB Host: 2.54mm pin x2
- MicroSD Slot x 1
- MicroUSB: OTG and power input
- Debug Serial Port:2.54mm pitch pin header
- Audio input/output Port: 2.54mm pitch pin header
- GPIO: 2.54mm spacing 12pin x2, It includes UART, SPI, I2C, IO etc
- PC Size: 25.4 x 50mm
- Power Supply: DC 5V/2A
- Working Temperature: -40℃ to 80℃
- OS/Software: U-boot,Ubuntu-Core
- Weight: xxg(With Pin-headers)
3 Diagram, Layout and Dimension
3.1 Layout
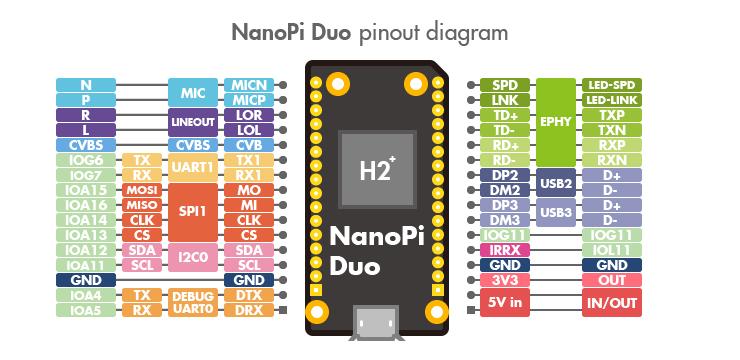
- GPIO Pin Description
Pin silk screen Name Linux gpio Pin silk screen Name Linux gpio MICN MIC_N SPD EPHY-LED-SPD MICP MIC_P LNK EPHY-LED-LINK LOR LINEOUT_R TD+ EPHY-TXP LOL LINEOUT_L TD- EPHY-TXN CVB CVBS RD+ EPHY-RXP TX1 UART1_TX/GPIOG6 198 RD- EPHY-RXN RX1 UART1_RX/GPIOG7 199 DP2 USB-DP2 MO UART3_RTS/SPI1_MOSI/GPIOA15 15 DM2 USB-DM2 MI UART3_CTS/SPI1_MISO/GPIOA16 16 DP3 USB-DP3 CLK UART3_RX/SPI1_CLK/GPIOA14 14 DM3 USB-DM3 CS UART3_TX/SPI1_CS/GPIOA13 13 IOG11 GPIOG11 203 SDA I2C0_SDA/GPIOA12 12 IRRX GPIOL11/IR-RX 363 SCL I2C0_SCL/GPIOA11 11 GND GND GND GND 3V3 SYS_3.3V DTX DEBUG_TX(UART_TXD0)/GPIOA4 4 5Vin VDD_5V DRX DEBUG_RX(UART_RXD0)/GPIOA5/PWM0 5 5Vin VDD_5V
- Note:
- SYS_3.3V: 3.3V power output
- VDD_5V: 5V power input/output. When the external device’s voltage is greater than the MicroUSB's voltage the external device is charging the board otherwise the board powers the external device. The input range is 4.7V ~ 5.6V
- All pins are 3.3V, output current is 5mA
- For more details refer to the document NanoPi Duo Schematic
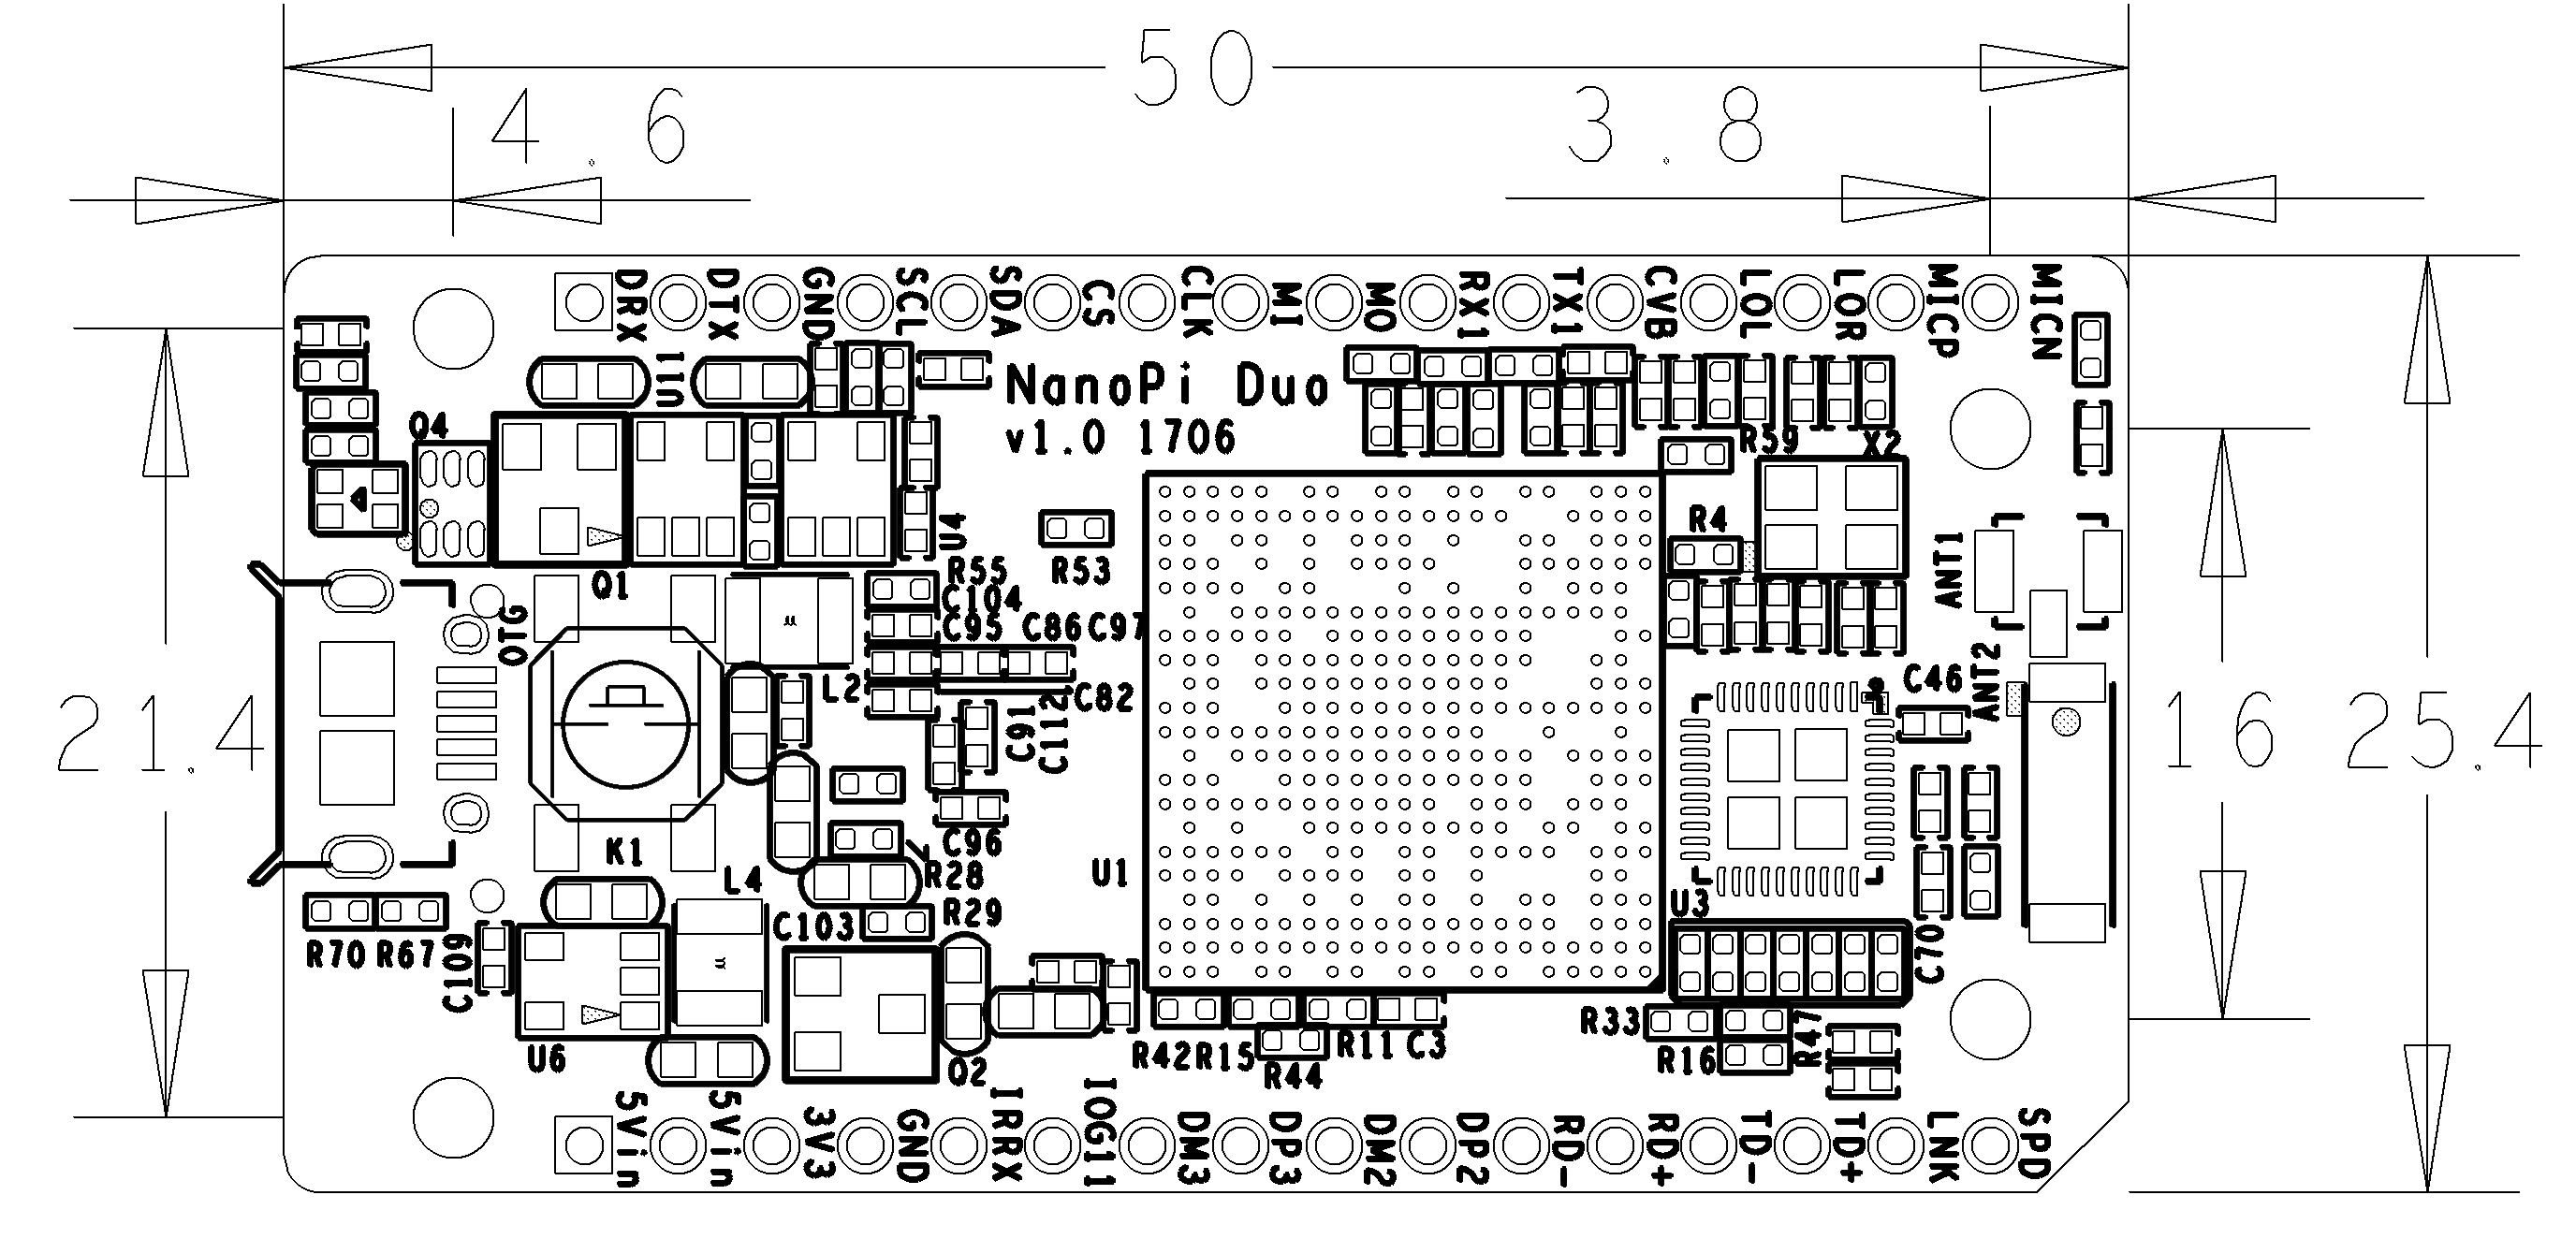
3.2 Dimensional Diagram
- For more details refer to the document NanoPi_Duo_v1.0_1706 pcb file in dxf format
4 Get Started
4.1 Essentials You Need
Before starting to use your NanoPi Duo get the following items ready
- NanoPi Duo
- microSD Card/TFCard: Class 10 or Above, minimum 8GB SDHC
- microUSB power. A 5V/2A power is a must
- A Host computer running Ubuntu 14.04 64 bit system
- a serial communication board
4.2 TF Cards We Tested
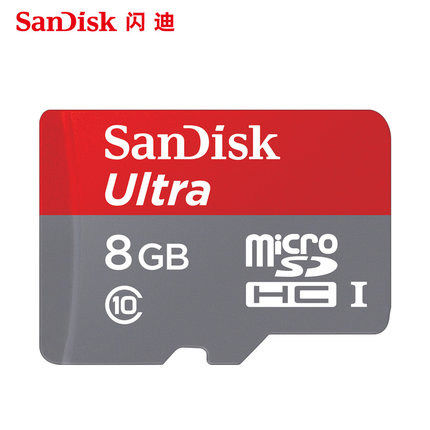
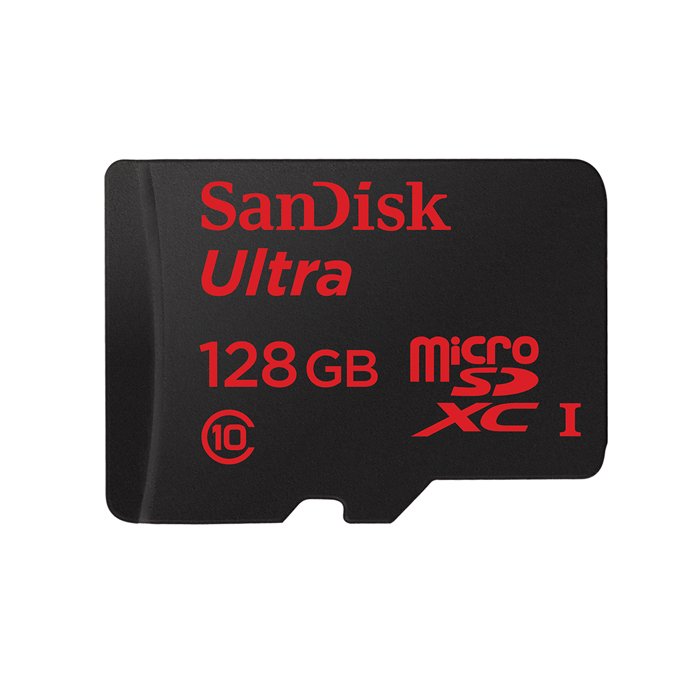
To make your NanoPi Duo boot and run fast we highly recommend you use a Class10 8GB SDHC TF card or a better one. The following cards are what we used in all our test cases presented here:
- SanDisk TF 8G Class10 Micro/SD TF card:
- SanDisk TF128G MicroSDXC TF 128G Class10 48MB/S:
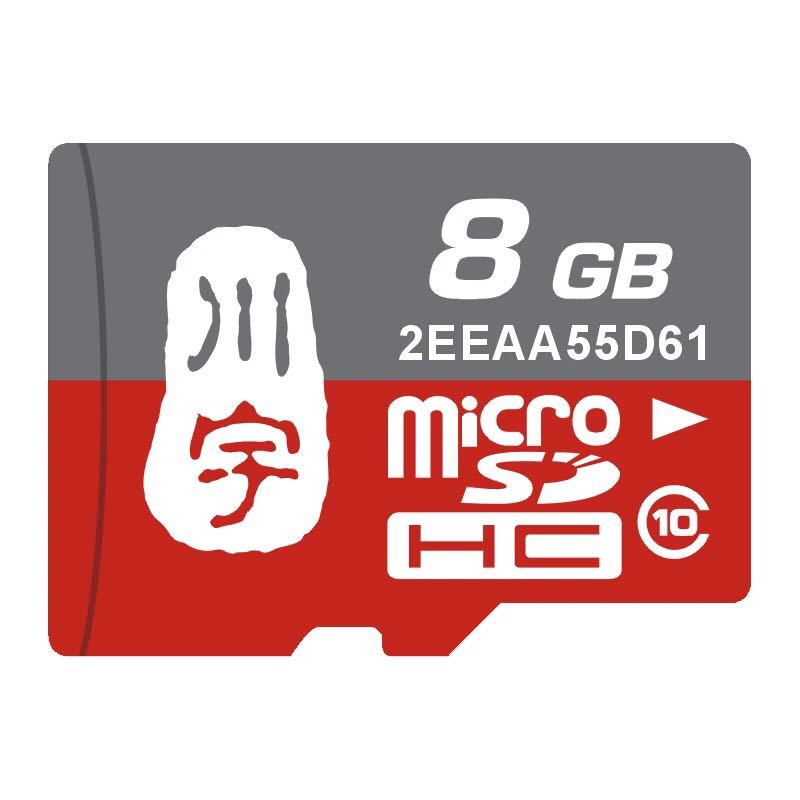
- 川宇 8G C10 High Speed class10 micro SD card:
4.3 Make an Installation TF Card
4.3.1 Download Image Files
Get the following files from here download link to download image files (under the official-ROMs directory) and the flashing utility(under the tools directory):
Image Files: nanopi-duo_ubuntu-core-xenial_4.x.y_YYYYMMDD.img.zip Ubuntu-Core with Qt-Embedded Image File, kernel:Linux-4.x.y Flash Utility: win32diskimager.rar Windows utility. Under Linux users can use "dd"
4.3.2 Make Installation MicroSD Card with Ubuntu-Core with Qt-Embedded Image
Extract an OS image and win32diskimager.rar. Insert a MicroSD card(at least 8G) into a Windows PC and run the win32diskimager utility as administrator. On the utility's main window select your TF card's drive, the wanted image file and click on "write" to start flashing the SD card till it is done.Insert this card into your Duo's MicroSD card slot and power on (with a 5V/2A power source). If the blue LED is blinking this indicates your Duo has successfully booted.
5 Work with Ubuntu-Core with Qt-Embedded
5.1 Run Ubuntu-Core with Qt-Embedded
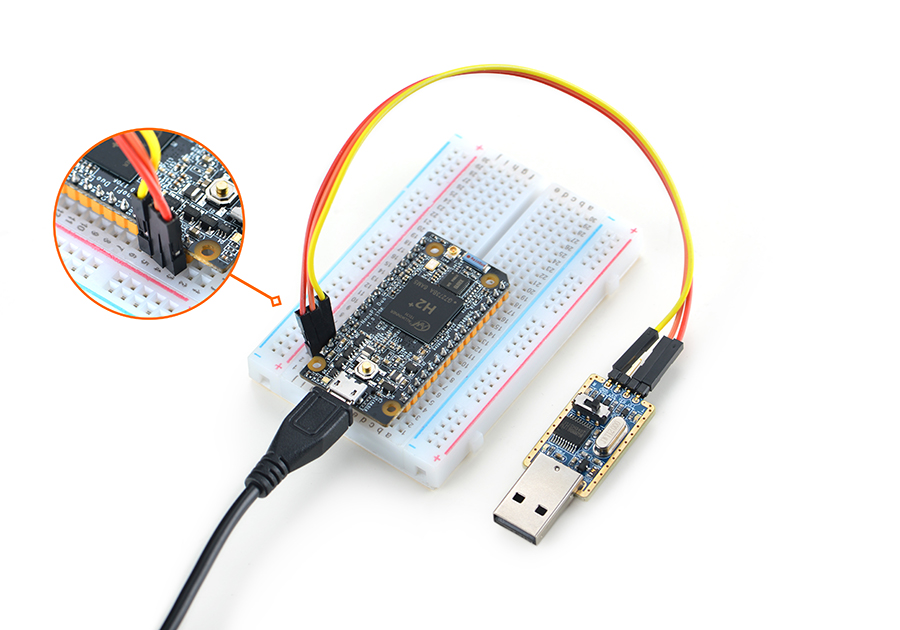
- If you want to do kernel development you need to use a serial communication board, ie a PSU-ONECOM board, which will allow you to operate the board via a serial terminal
- The NanoPi Duo can work with FriendlyElec's Mini Shield for NanoPi Duo.Here is link to the wiki site of Mini Shield for NanoPi Duo Mini Shield for NanoPi Duo底板介绍. Here is a hardware setup.
Mini Shield for NanoPi Duo-Duo
- Ubuntu-Core User Accounts:
Non-root User:
   User Name: pi
   Password: pi
Root:
   User Name: root
   Password: fa
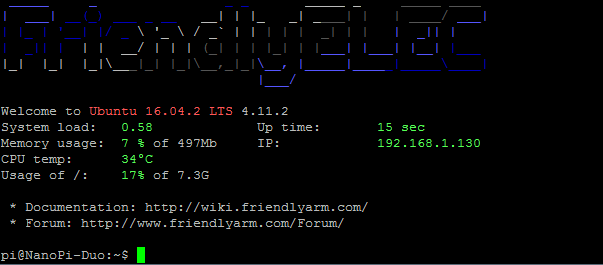
The system is automatically logged in as "pi". You can do "sudo npi-config" to disable auto login.
- Update packages:
$ sudo apt-get update
5.2 Extend TF Card's rootfs Section
When you boot OS for the first time with your image card your OS will automatically resize the file system and this process takes a relatively long time.After your OS is fully loaded you can check the file system's size by using the following command:
$ df -h
5.3 Work with npi-config Utility
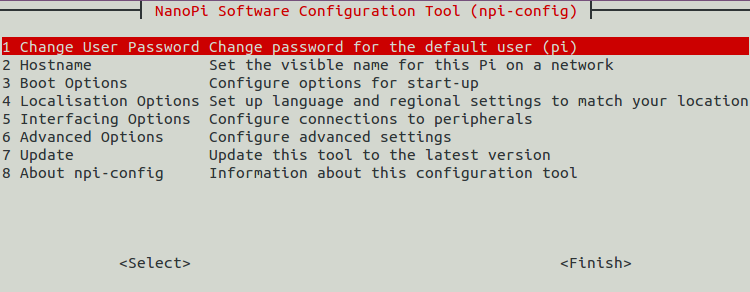
The npi-config is a system configuration utility for setting passwords, language, timezone, hostname, SSH and auto-login,and enabling/disabling i2c, spi, serial and PWM and I2S. You can start this utillity by running the following command:
$ sudo npi-config
Here is the npi-config's main window:
5.4 Ethernet Connection
The Mini Shield for NanoPi Duo has an Ethernet port. If a NanoPi Duo is assembled with a Mini Shield and is connected to a network via Ethernet before it is powered on it will automatically obtain an IP after it is powered up. If it is not connected via Ethernet or its DHCP is not activated obtaining an IP will fail and system will hang on for about 15 to 60 seconds. In this case you can try obtaining an IP by using the following command:
$ dhclient eth05.5 连接WiFi
使用以下命令连接Wifi,Duo板子上集成了Wifi天线,为保证数据传输稳定可靠,建议外接扩转天线。
- 查看网络设备列表
$ sudo nmcli dev
注意,如果列出的设备状态是 unmanaged 的,说明网络设备不受NetworkManager管理,你需要清空 /etc/network/interfaces下的网络设置,然后重启.
- 开启WiFi
$ sudo nmcli r wifi on
- 扫描附近的 WiFi 热点
$ sudo nmcli dev wifi
- 连接到指定的 WiFi 热点
$ sudo nmcli dev wifi connect "SSID" password "PASSWORD"
请将 SSID和 PASSWORD 替换成实际的 WiFi名称和密码。
连接成功后,下次开机,WiFi 也会自动连接。
更详细的NetworkManager使用指南可参考这篇维基:Use NetworkManager to configure network settings
搭配Mini Shield for NanoPi Duo底板使用,还可使用USB WiFi。系统默认已经支持市面上众多常见的USB WiFi,想知道你的USB WiFi是否可用只需将其接在Duo上即可,已测试过的USB WiFi型号如下:
序号 型号 1 RTL8188CUS/8188EU 802.11n WLAN Adapter 2 RT2070 Wireless Adapter 3 RT2870/RT3070 Wireless Adapter 4 RTL8192CU Wireless Adapter 5 小米WiFi mt7601
5.6 SSH登录
Duo没有任何图形界面输出的接口,如果你没有串口模块,可以通过SSH协议登录Duo。假设通过路由器查看到Duo的IP地址为192.168.1.230,你可以在PC机上执行如下命令登录Duo:
$ ssh root@192.168.1.230
密码为fa。
5.7 连接USB摄像头模块(FA-CAM202)使用
搭配Mini Shield for NanoPi Duo底板可连接USB摄像头模块(FA-CAM202)模块。
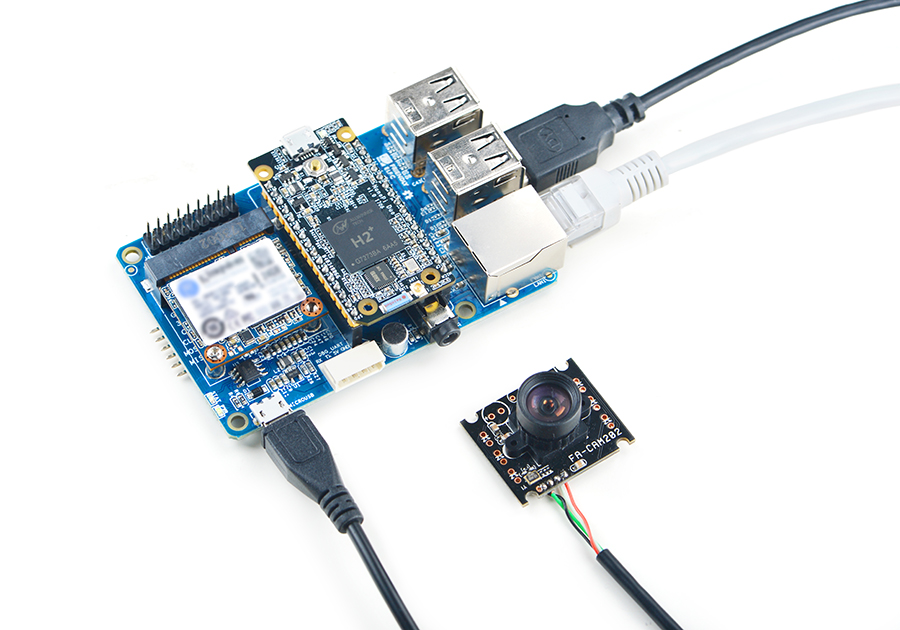
FA-CAM202是一款200万像素的USB摄像头模块,参考维基Matrix - USB_Camera(FA-CAM202)。
启动系统,连接网络,以root用户登录终端并编译运行mjpg-streamer:
$ su root
$ cd /root/mjpg-streamer
$ make
$ ./start.sh
mjpg-streamer是一个开源的网络视频流服务器,在板子上成功运行mjpg-streamer后会打印下列信息:
 i: Using V4L2 device.: /dev/video0
 i: Desired Resolution: 1280 x 720
 i: Frames Per Second.: 30
 i: Format............: YUV
 i: JPEG Quality......: 90
 o: www-folder-path...: ./www/
 o: HTTP TCP port.....: 8080
 o: username:password.: disabled
 o: commands..........: enabled
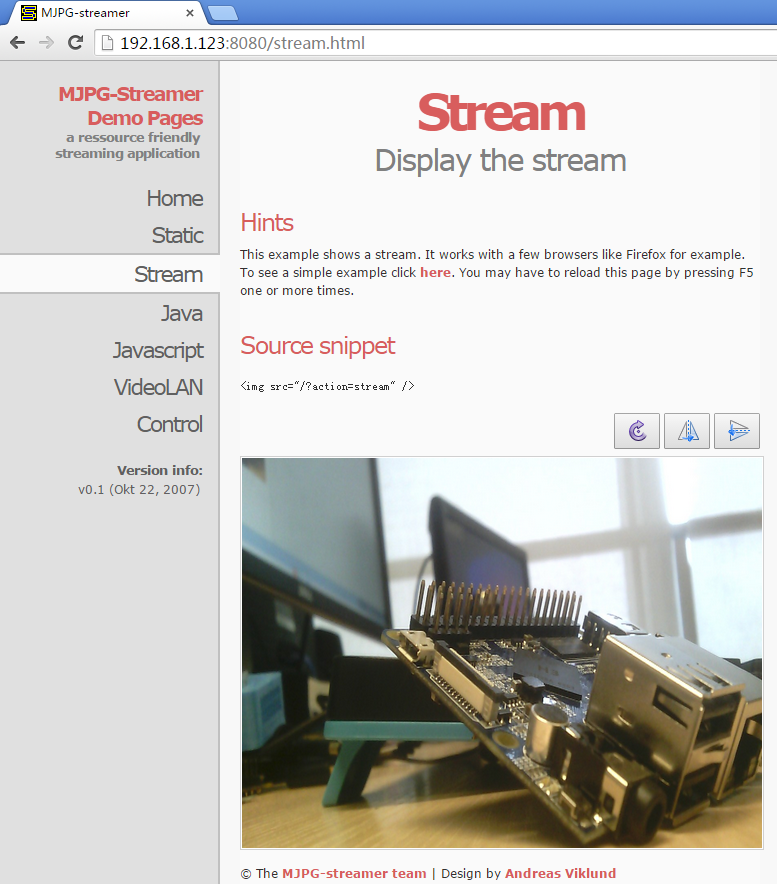
假设Duo的IP地址为192.168.1.123,在PC的浏览器中输入 192.168.1.123:8080 就能浏览摄像头采集的画面了,效果如下:
5.8 命令行查看CPU工作温度
在串口终端执行如下命令,可以快速地获取CPU的当前温度和运行频率等信息:
$ cpu_freq5.9 通过Rpi-Monitor查看系统状态
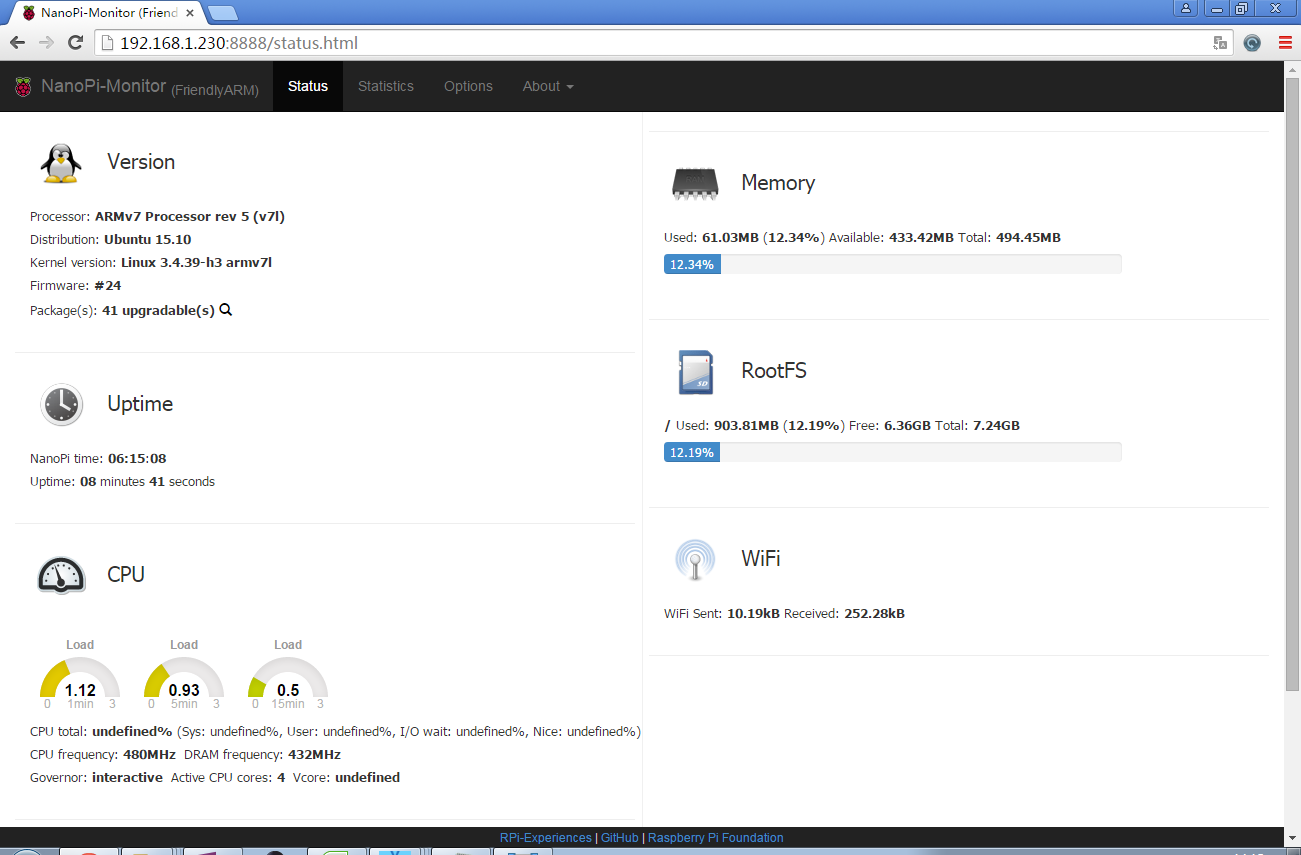
Ubuntu-Core系统里已经集成了Rpi-Monitor,该服务允许用户在通过浏览器查看开发板系统状态。
假设Duo的IP地址为192.168.1.230,在PC的浏览器中输入下述地址:
192.168.1.230:8888用户可以非常方便地查看到系统负载、CPU的频率和温度、可用内存、SD卡容量等信息。
5.10 通过WiringNP测试GPIO
wiringPi库最早是由Gordon Henderson所编写并维护的一个用C语言写成的类库,除了GPIO库,还包括了I2C库、SPI库、UART库和软件PWM库等,由于wiringPi的API函数和arduino非常相似,这也使得它广受欢迎。
wiringPi库除了提供wiringPi类库及其头文件外,还提供了一个命令行工具gpio:可以用来设置和读写GPIO管脚,以方便在Shell脚本中控制GPIO管脚。
我们在Duo系统中集成了这个工具以便客户测试GPIO管脚。详细信息请参看 WiringNP
6 如何编译Ubuntu-Core with Qt-Embedded系统
6.1 使用开源社区主线BSP
Duo现已支持使用Linux-4.x.y内核,并使用Ubuntu Core 16.04,关于H2+芯片系列开发板使用主线U-boot和Linux-4.x.y的方法,请参考维基:Mainline U-boot & Linux
7 使用扩展配件及编程示例
7.1 使用Mini Shield for NanoPi NEO Duo
8 3D 打印外壳
9 资源链接
9.1 手册原理图等开发资料
- 原理图: NanoPi Duo V1.0 1706原理图
- 尺寸图: NanoPi Duo V1.0 1706 PCB尺寸图
- 芯片手册:
