Difference between revisions of "Matrix - LCD2USB"
(→硬件连接) |
(→相关资料) |
||
| Line 125: | Line 125: | ||
[[File:LCD2USBdisplay5.png | frameless|400px|LCD2USBdisplay-05]] | [[File:LCD2USBdisplay5.png | frameless|400px|LCD2USBdisplay-05]] | ||
| − | == | + | ==Resources== |
[https://www.xxx.pdf xxx.pdf] | [https://www.xxx.pdf xxx.pdf] | ||
Revision as of 09:50, 30 June 2016
Contents
1 介绍
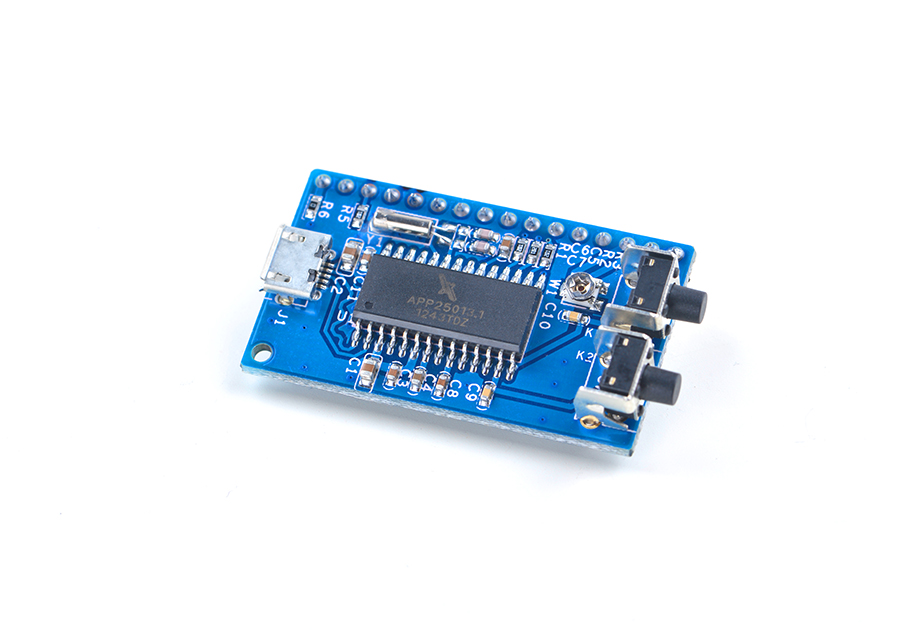
- Matrix-LCD2USB是一个简单易用的LCD液晶转接模块,模块通过单片机把LCD液晶复杂的并口转成USB接口,可直接通过USB接口和开发板或PC连接使用。
- 模块支持LCD4LINUX、LCD Smartie和LCDProc等软件,网络上大量实例,通过几步简单配置即可让LCD液晶显示更简单。
- 模块兼容多种规格LCD液晶,包括2*16、2*20、4*20、4*27、4*40等。
- 模块包含两个按键,按键功能可根据用户实际需要自由定义。
2 特性
- Micro USB接口。
- 支持LCD4LINUX、LCD Smartie、LCDProc。
- 支持多种LCD液晶。
- 包含两个按键。
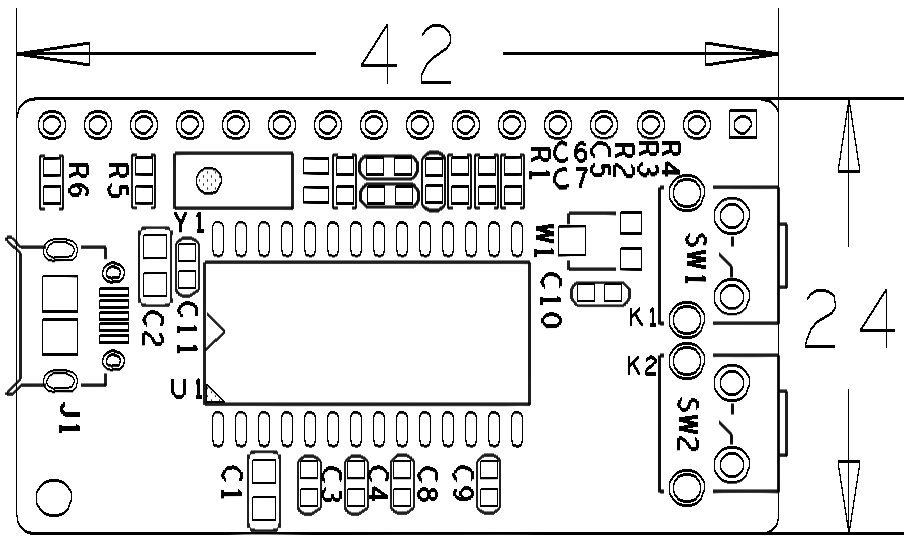
- PCB尺寸(mm):24x42。
3 工作原理
LCD液晶其本身是并行接口,需要较多的IO资源才可以与其通讯。本模块使用AX2210单片机,通过USB接口接收需要显示的数据和控制命令,并解析转换成相应的指令,通过单片机的IO发送给LCD,从而控制LCD液晶的显示。
4 Applications
4.1 Connect to NanoPi M1
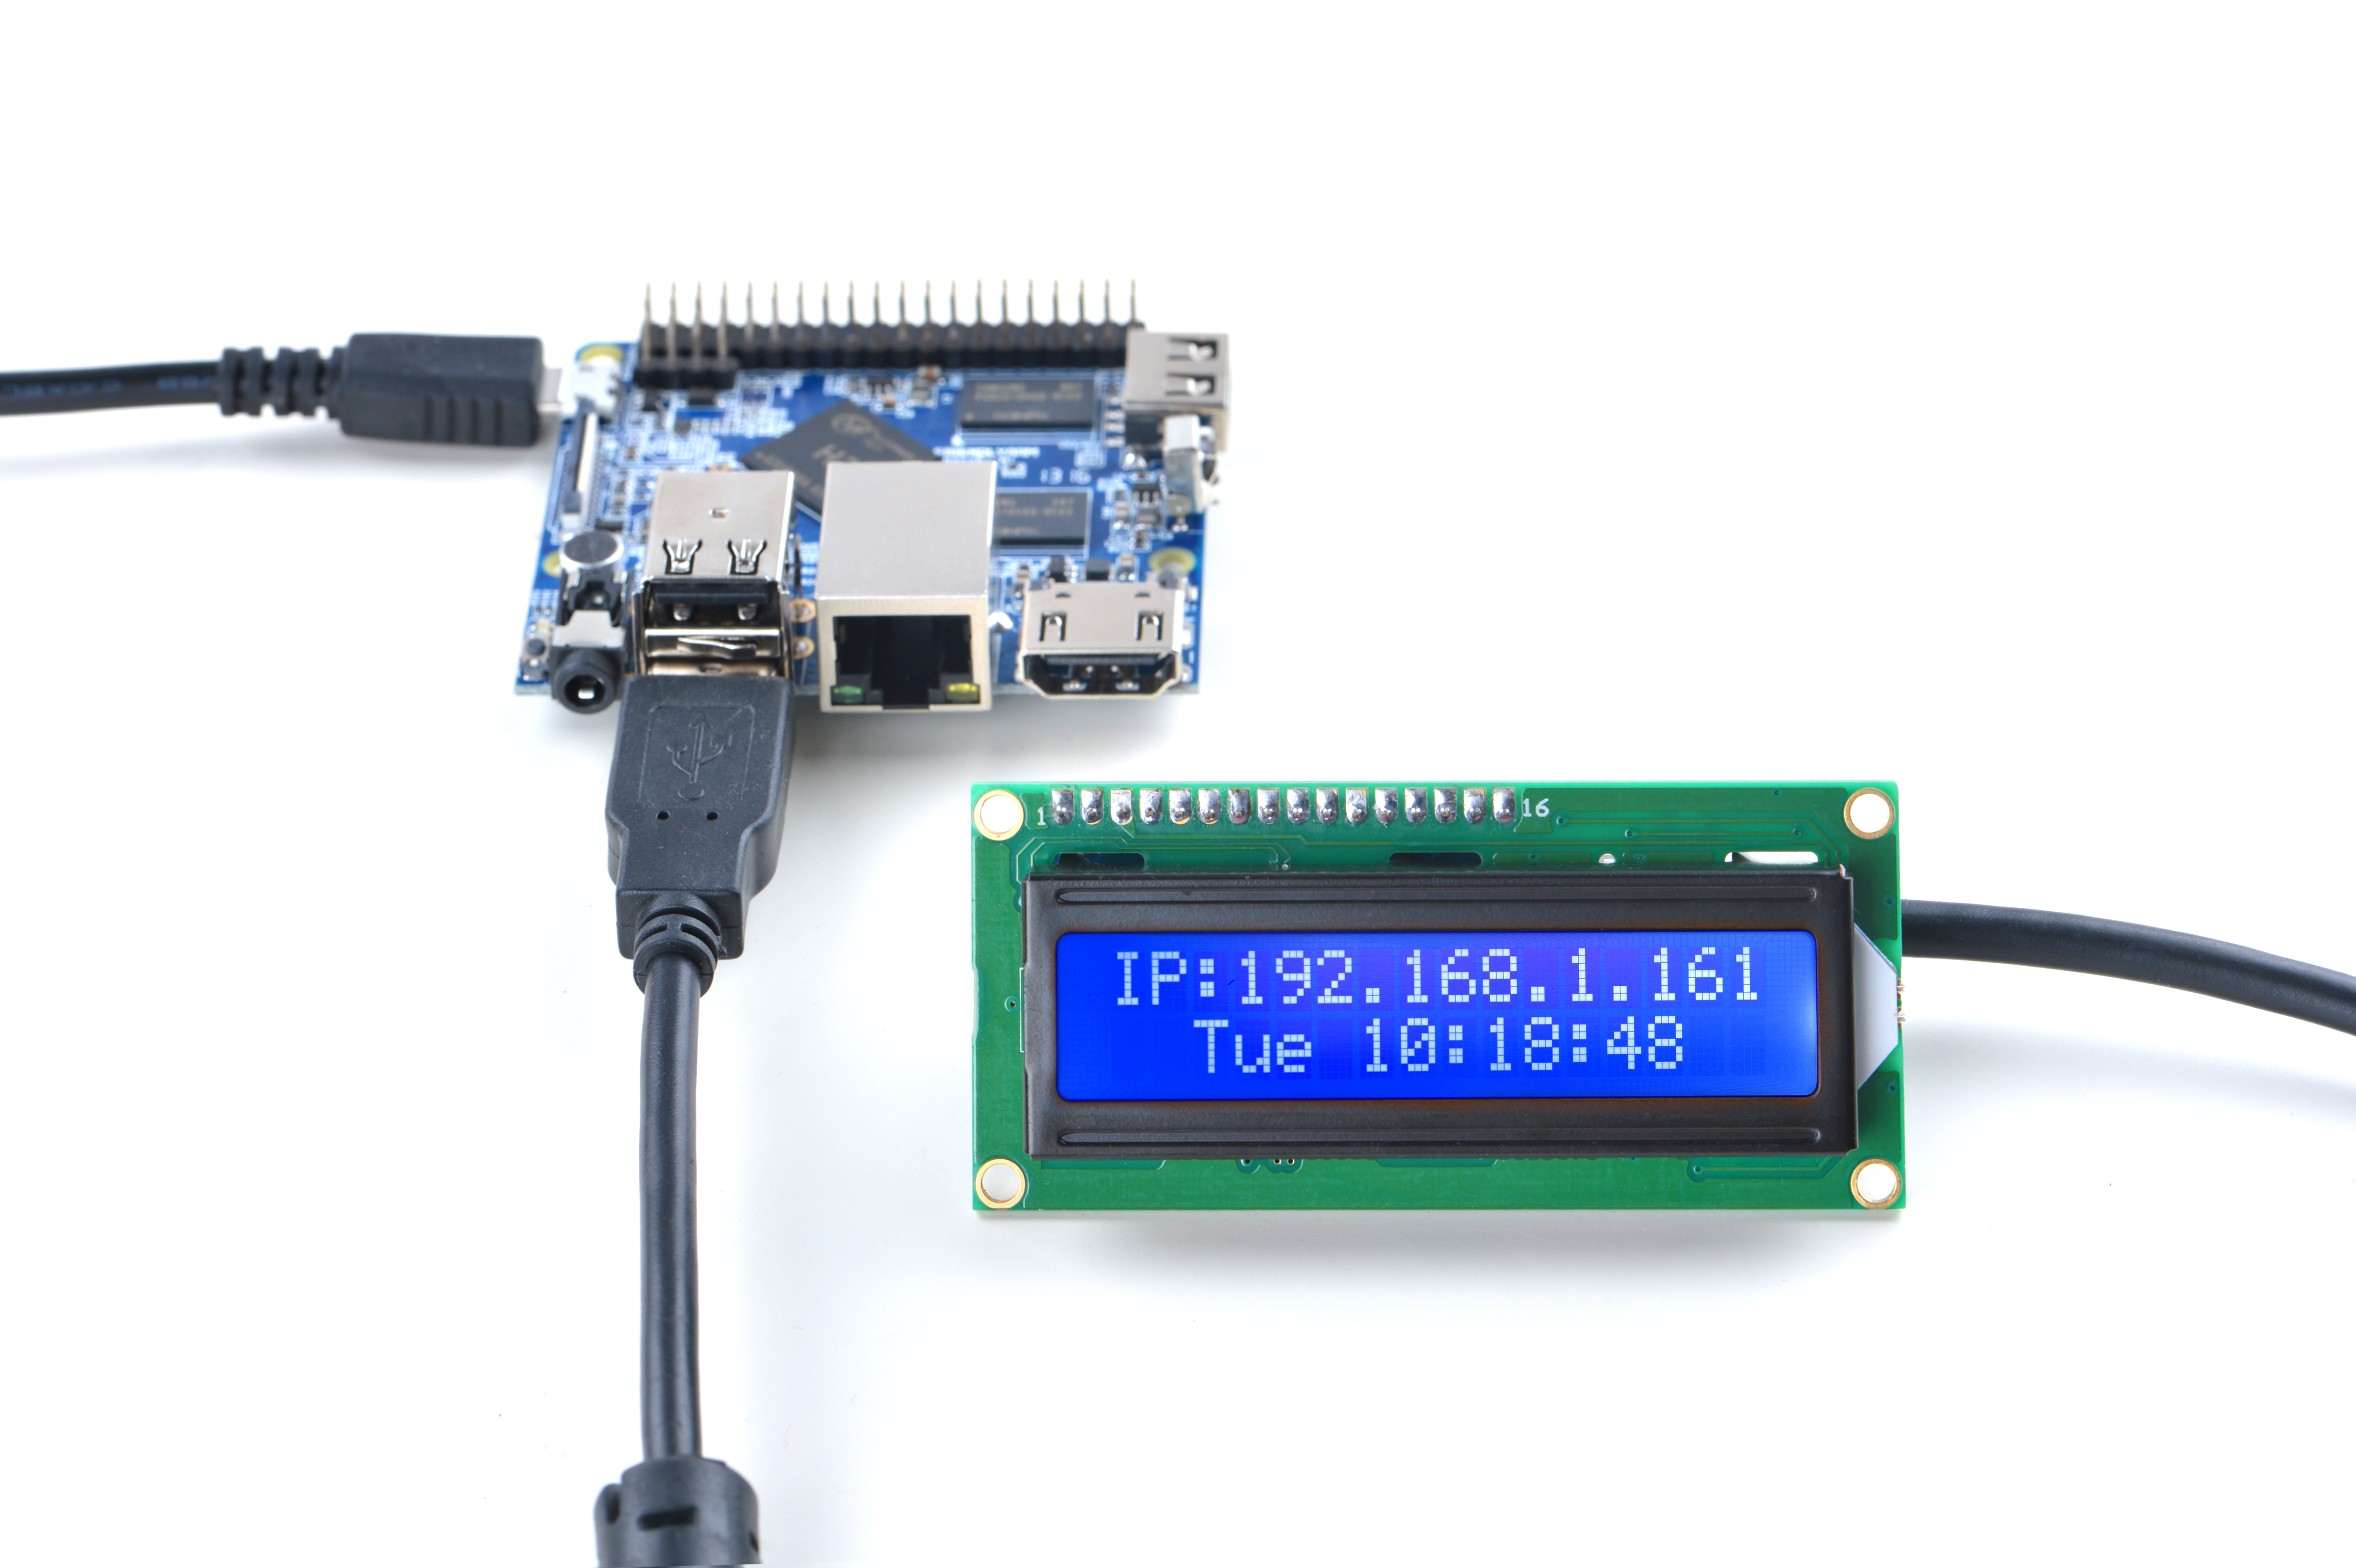
Refer to the following connection diagram to connect the module to the NanoPi M1:
4.2 Connect to NanoPi M2 / NanoPi 2 Fire
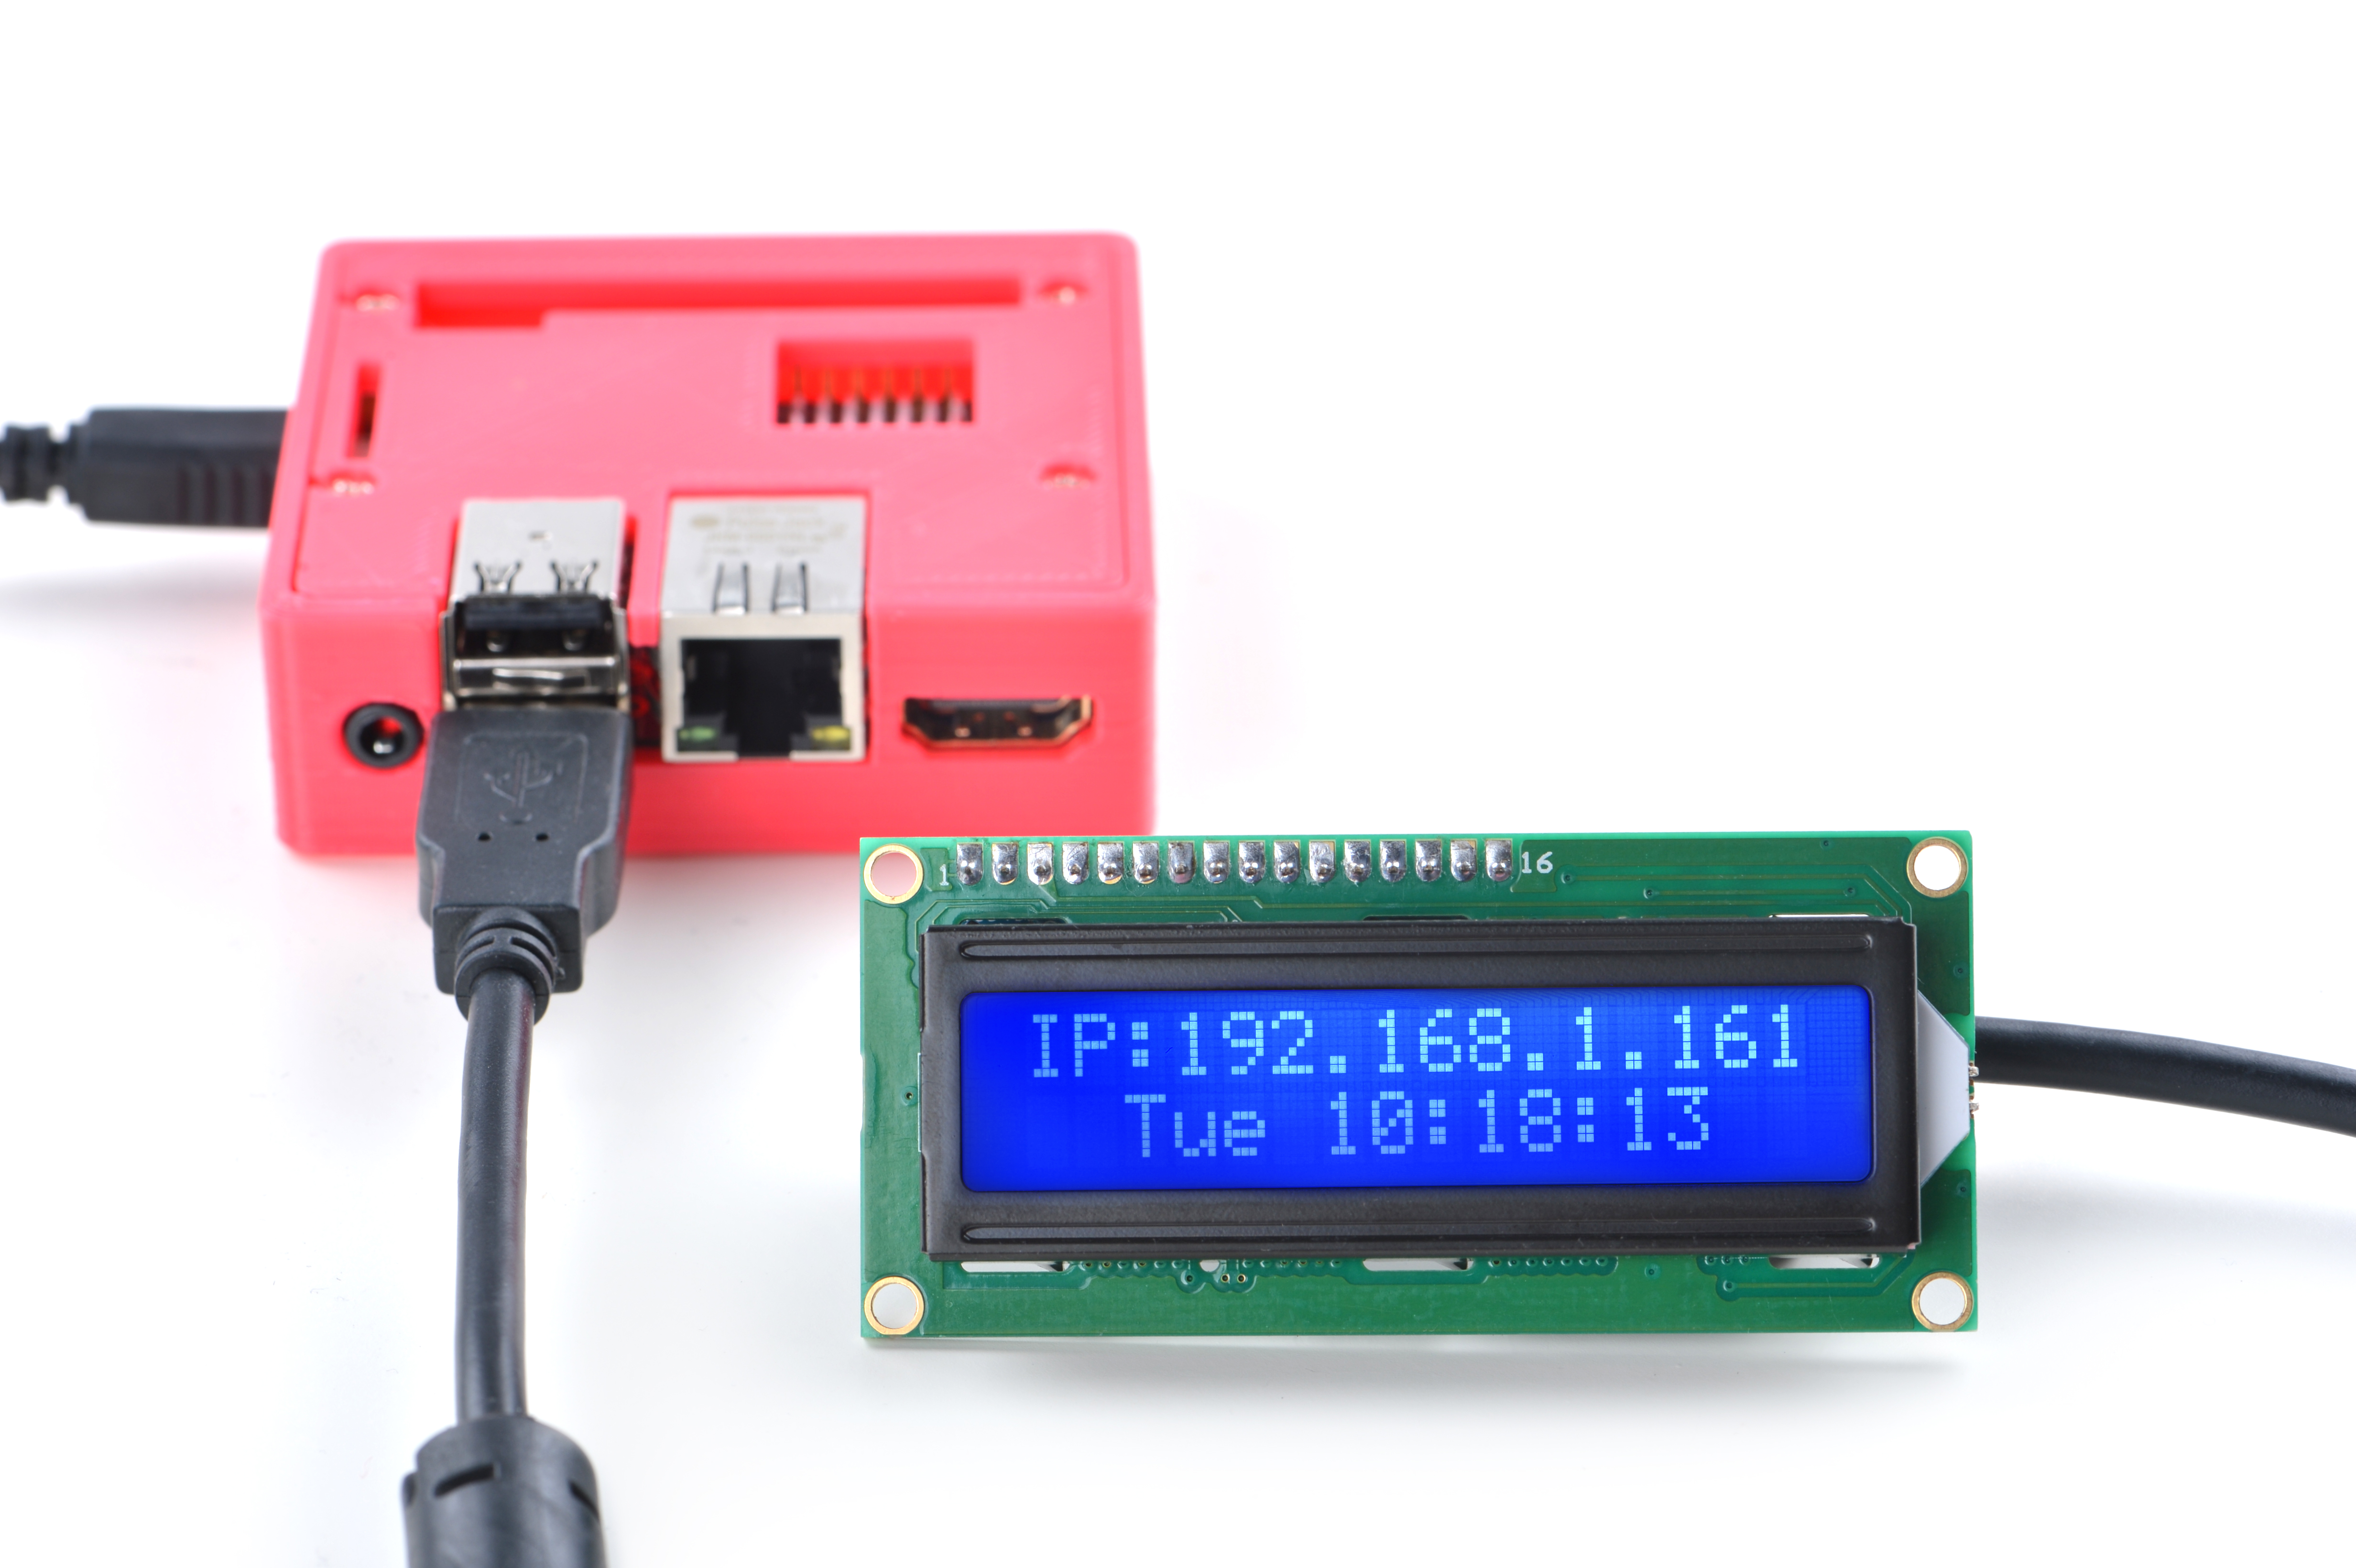
Refer to the following connection diagram to connect the module to the NanoPi M2/ NanoPi 2 Fire:
4.3 Connect to NanoPC-T2
Refer to the following connection diagram to connect the module to the NanoPC-T2:
Matrix-LCD2USB_NanoPC-T2
5 使用方法
注意:模块上电后LCD液晶会显示LCD2USB V1.09,如果没有显示,请旋转模块背面的电位器调节屏幕显示的灰度。
5.1 在Ubuntu系统使用lcd4linux
(1)安装lcd4linux
$ sudo apt-get install lcd4linux
(2)连接模块,并查看模块使用的USB端口,本例中使用的端口为usbdev3.2
$ ls /dev/usb*
(3)更改/etc下的配置文件。软件生成的lcd4linux.conf文件较长,新手不容易配置,可重命名或删除后自己新建,并复制下面的配置代码。
$ cd /etc
$ sudo vi lcd4linux.conf
输入以下配置信息,并保存。
Display LCD2USB {
    Driver     'LCD2USB'          #模块的类型为LCD2USB
    Size       '16x2'             #LCD液晶的尺寸为1602
    Port       '/dev/usbdev3.2'   #使用的端口为/dev/usbdev3.2
}

Widget IPaddress {
    class  'Text'                      #类型:Text
    expression netinfo::ipaddr('eth0') #获取eth0的ip地址
    prefix 'IP:'                       #在行初显示“IP:”
    width 16 			       #显示宽度:16
    align  'C'                         #显示方式:居中
    update 1000
}

Widget Time {
    class 'Text'
    expression strftime('%a %H:%M:%S',time())
    width 16
    align 'C'
    update 1000
}

Layout Default {
    Row1 {
        Col1 'IPaddress'               #在第一行第一列显示Widget IPaddress
    }
    Row2 {
        Col1 'Time'	              #在第二行第一列显示Widget Time
    }

}

Display 'LCD2USB'
Layout  'Default'
详情配置信息请参考lcd4linux网站:https://lcd4linux.bulix.org
(4)更改lcd4linux.conf文件权限
$ sudo chmod 600 lcd4linux.conf
$ chown root.root lcd4linux.conf
(5)运行lcd4linux
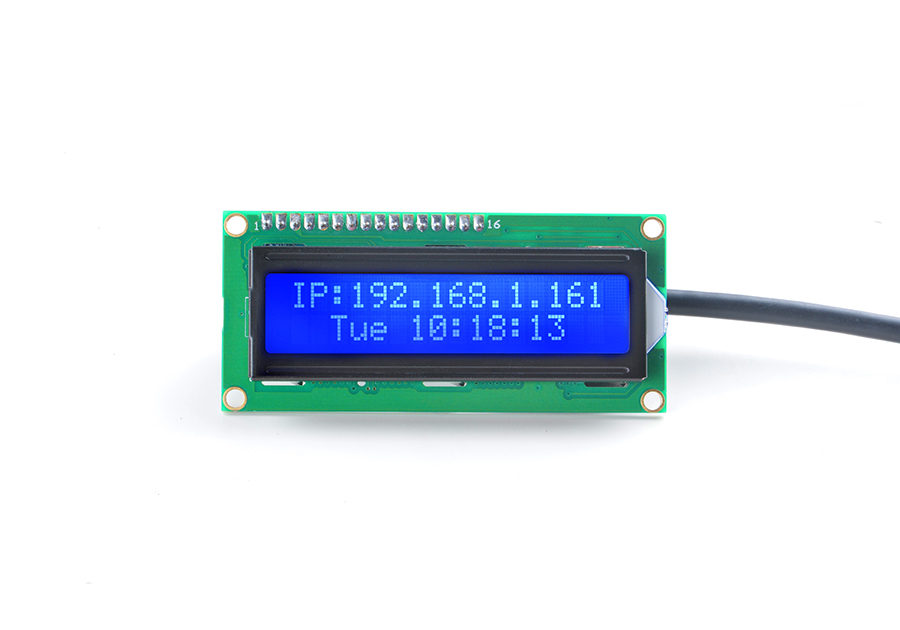
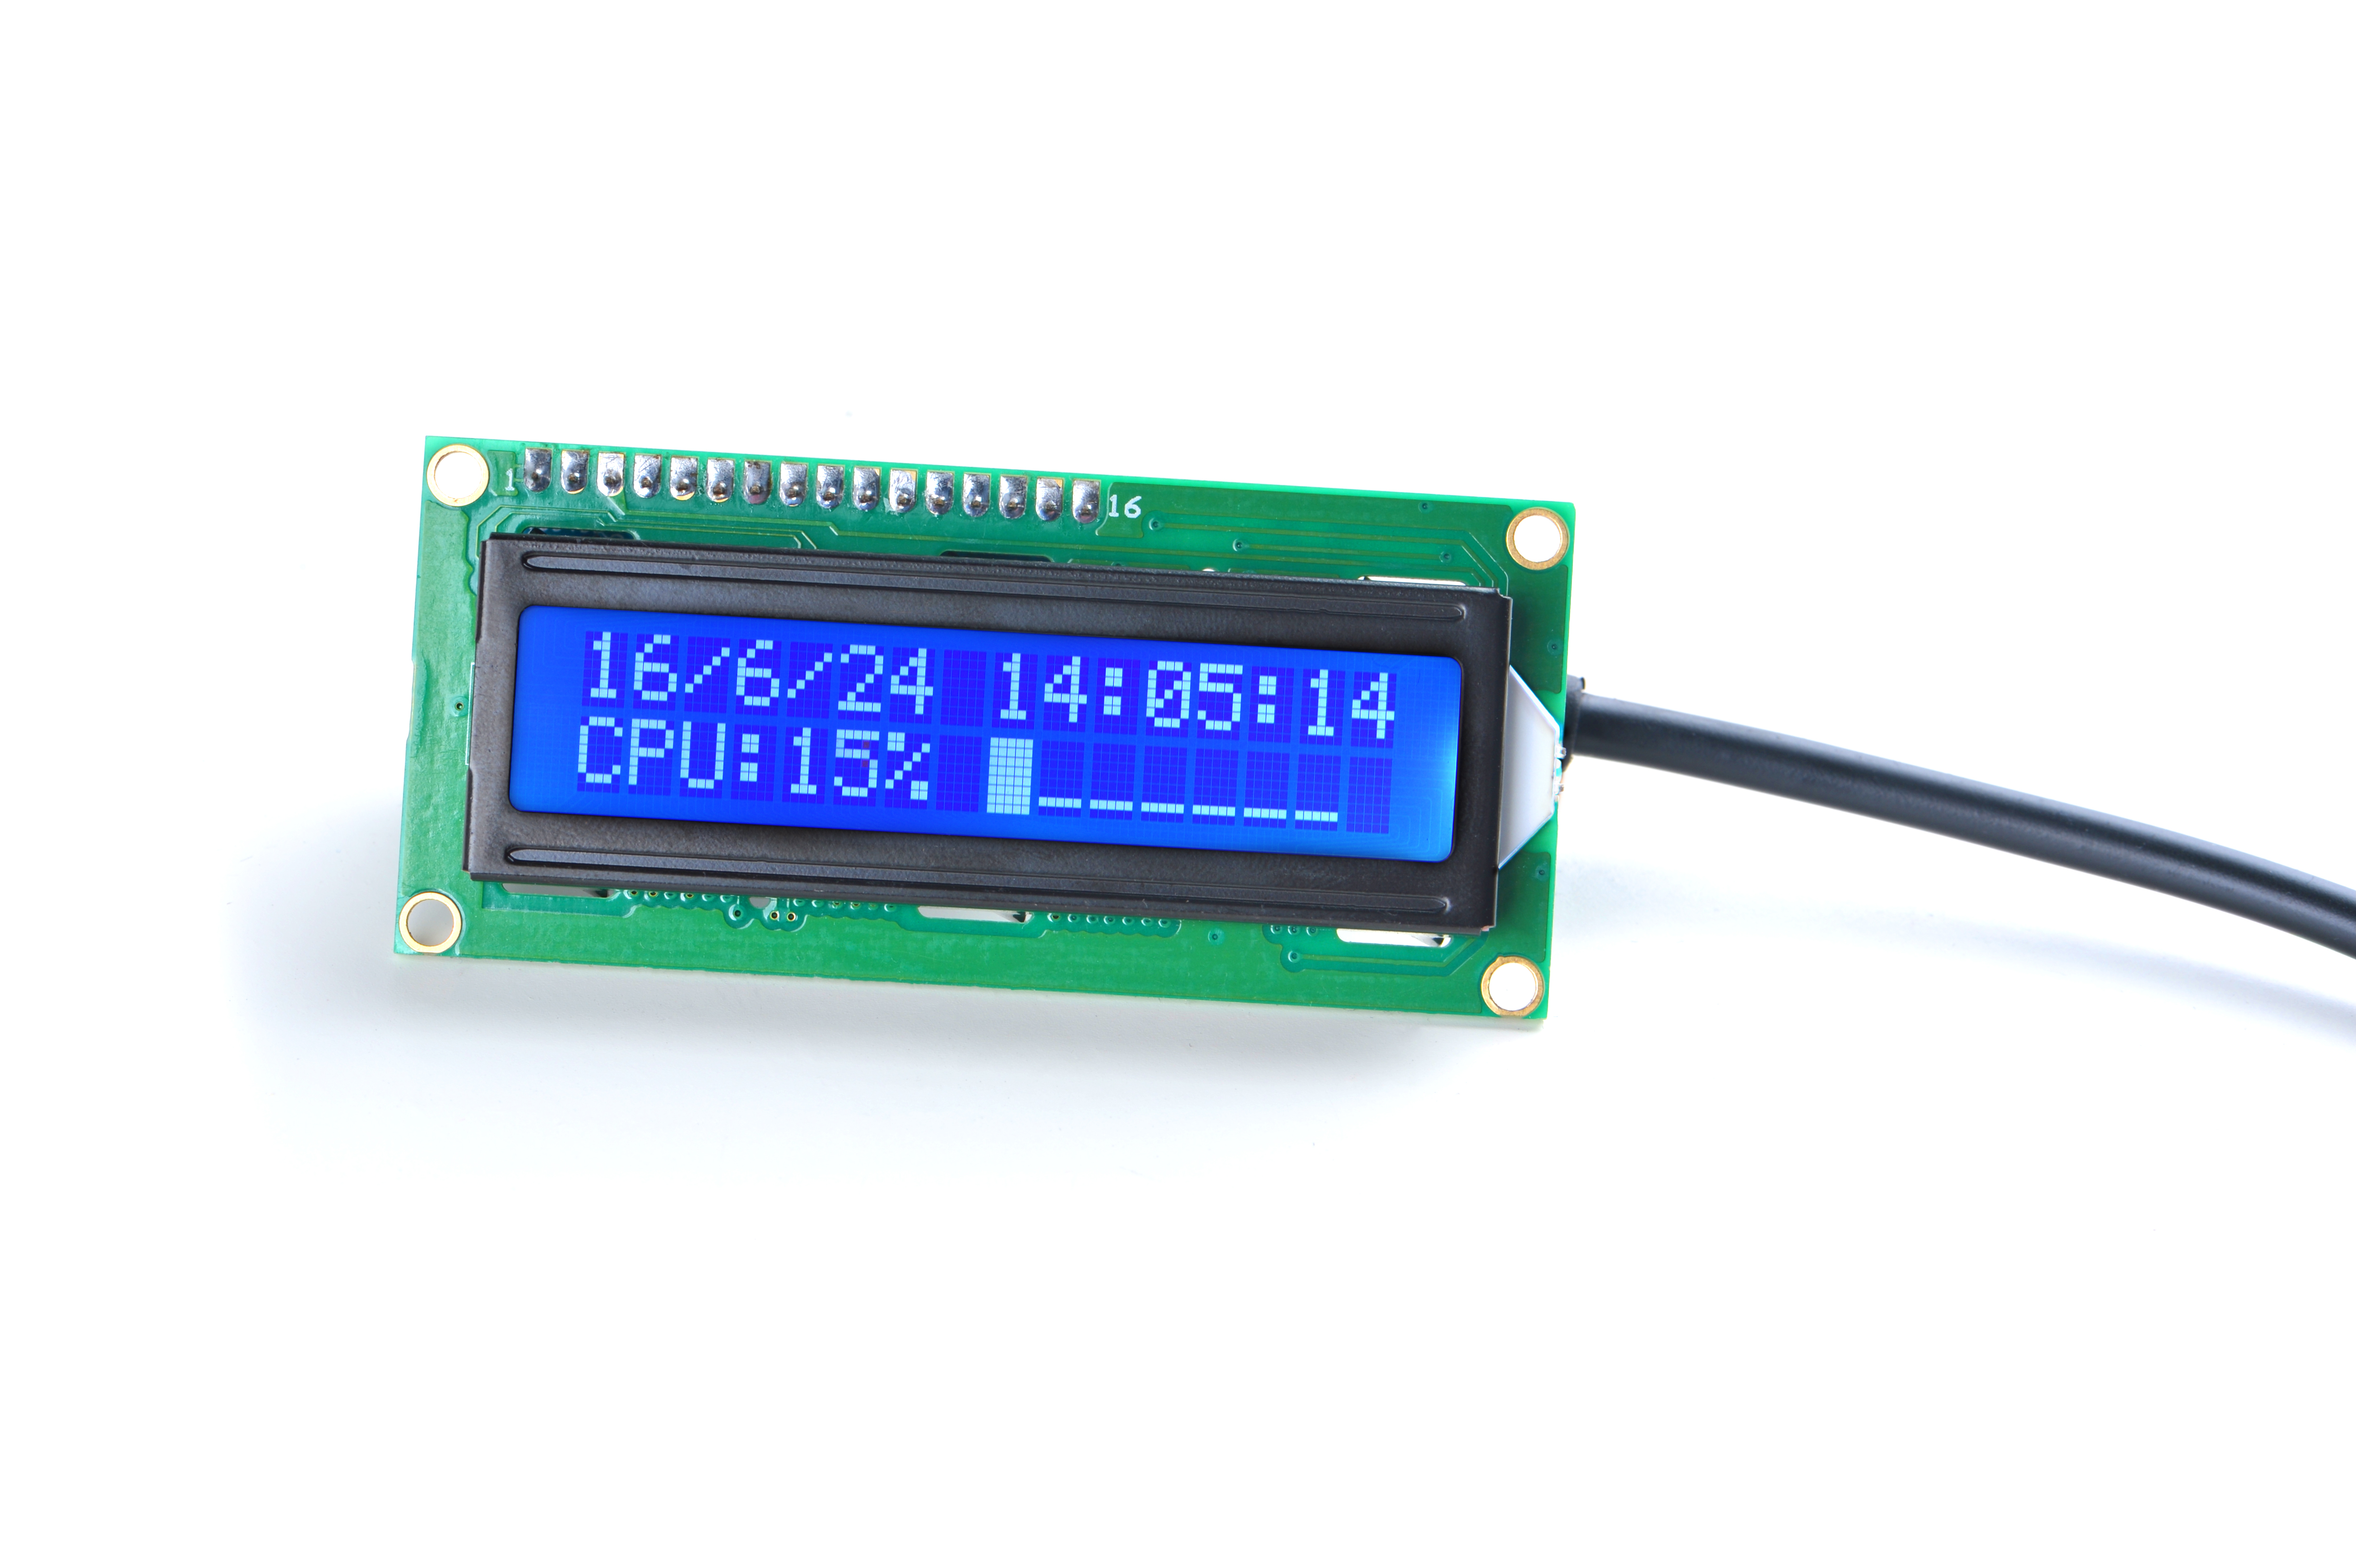
$ lcd4linuxLCD液晶显示信息如下:
5.2 Windows系统使用LCDSmartie
1、模块连接PC的USB口,并安装lcd2usbdriver驱动,LCD2USB提供的驱动下载地址:http://www.harbaum.org/till/lcd2usb/LCD2USB.dll。
2、运行LCDSmartie,软件源码地址:http://lcdsmartie.sourceforge.net/
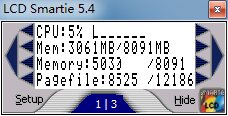
3、软件界面如下:
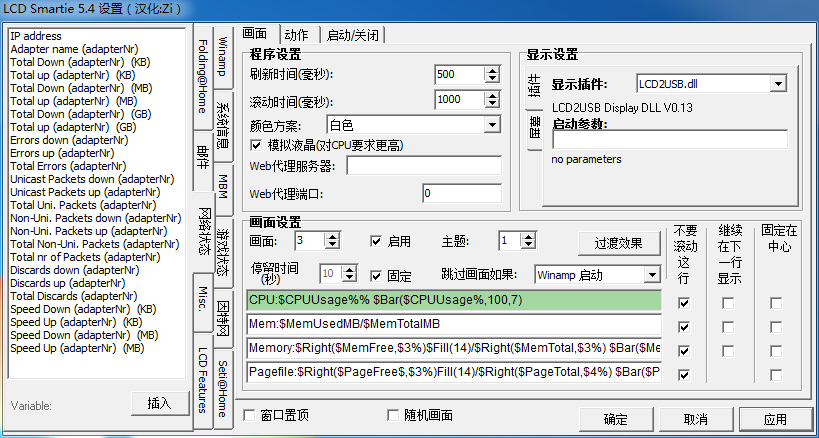
4、点击Setup可进去设置页面,配置模块和显示的内容。
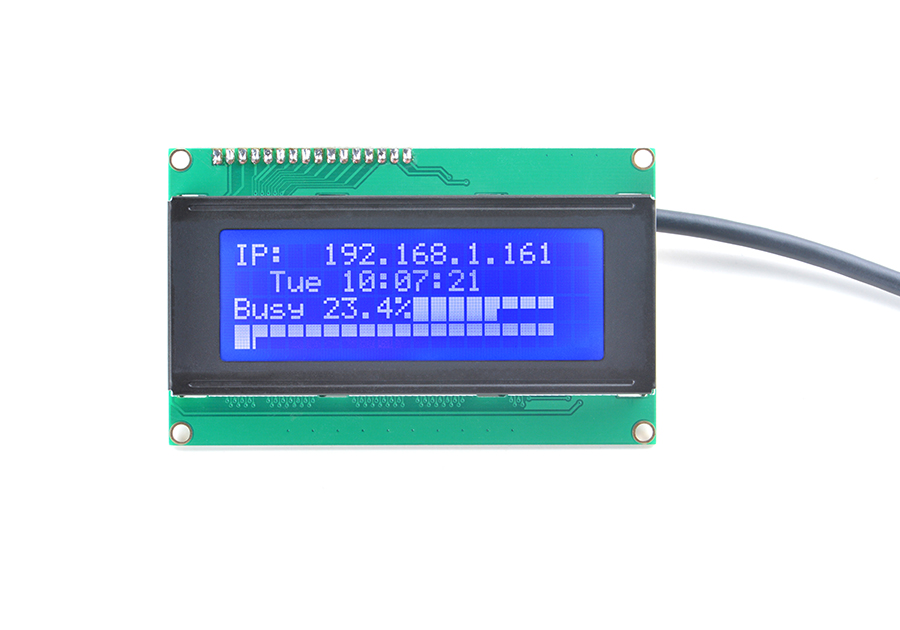
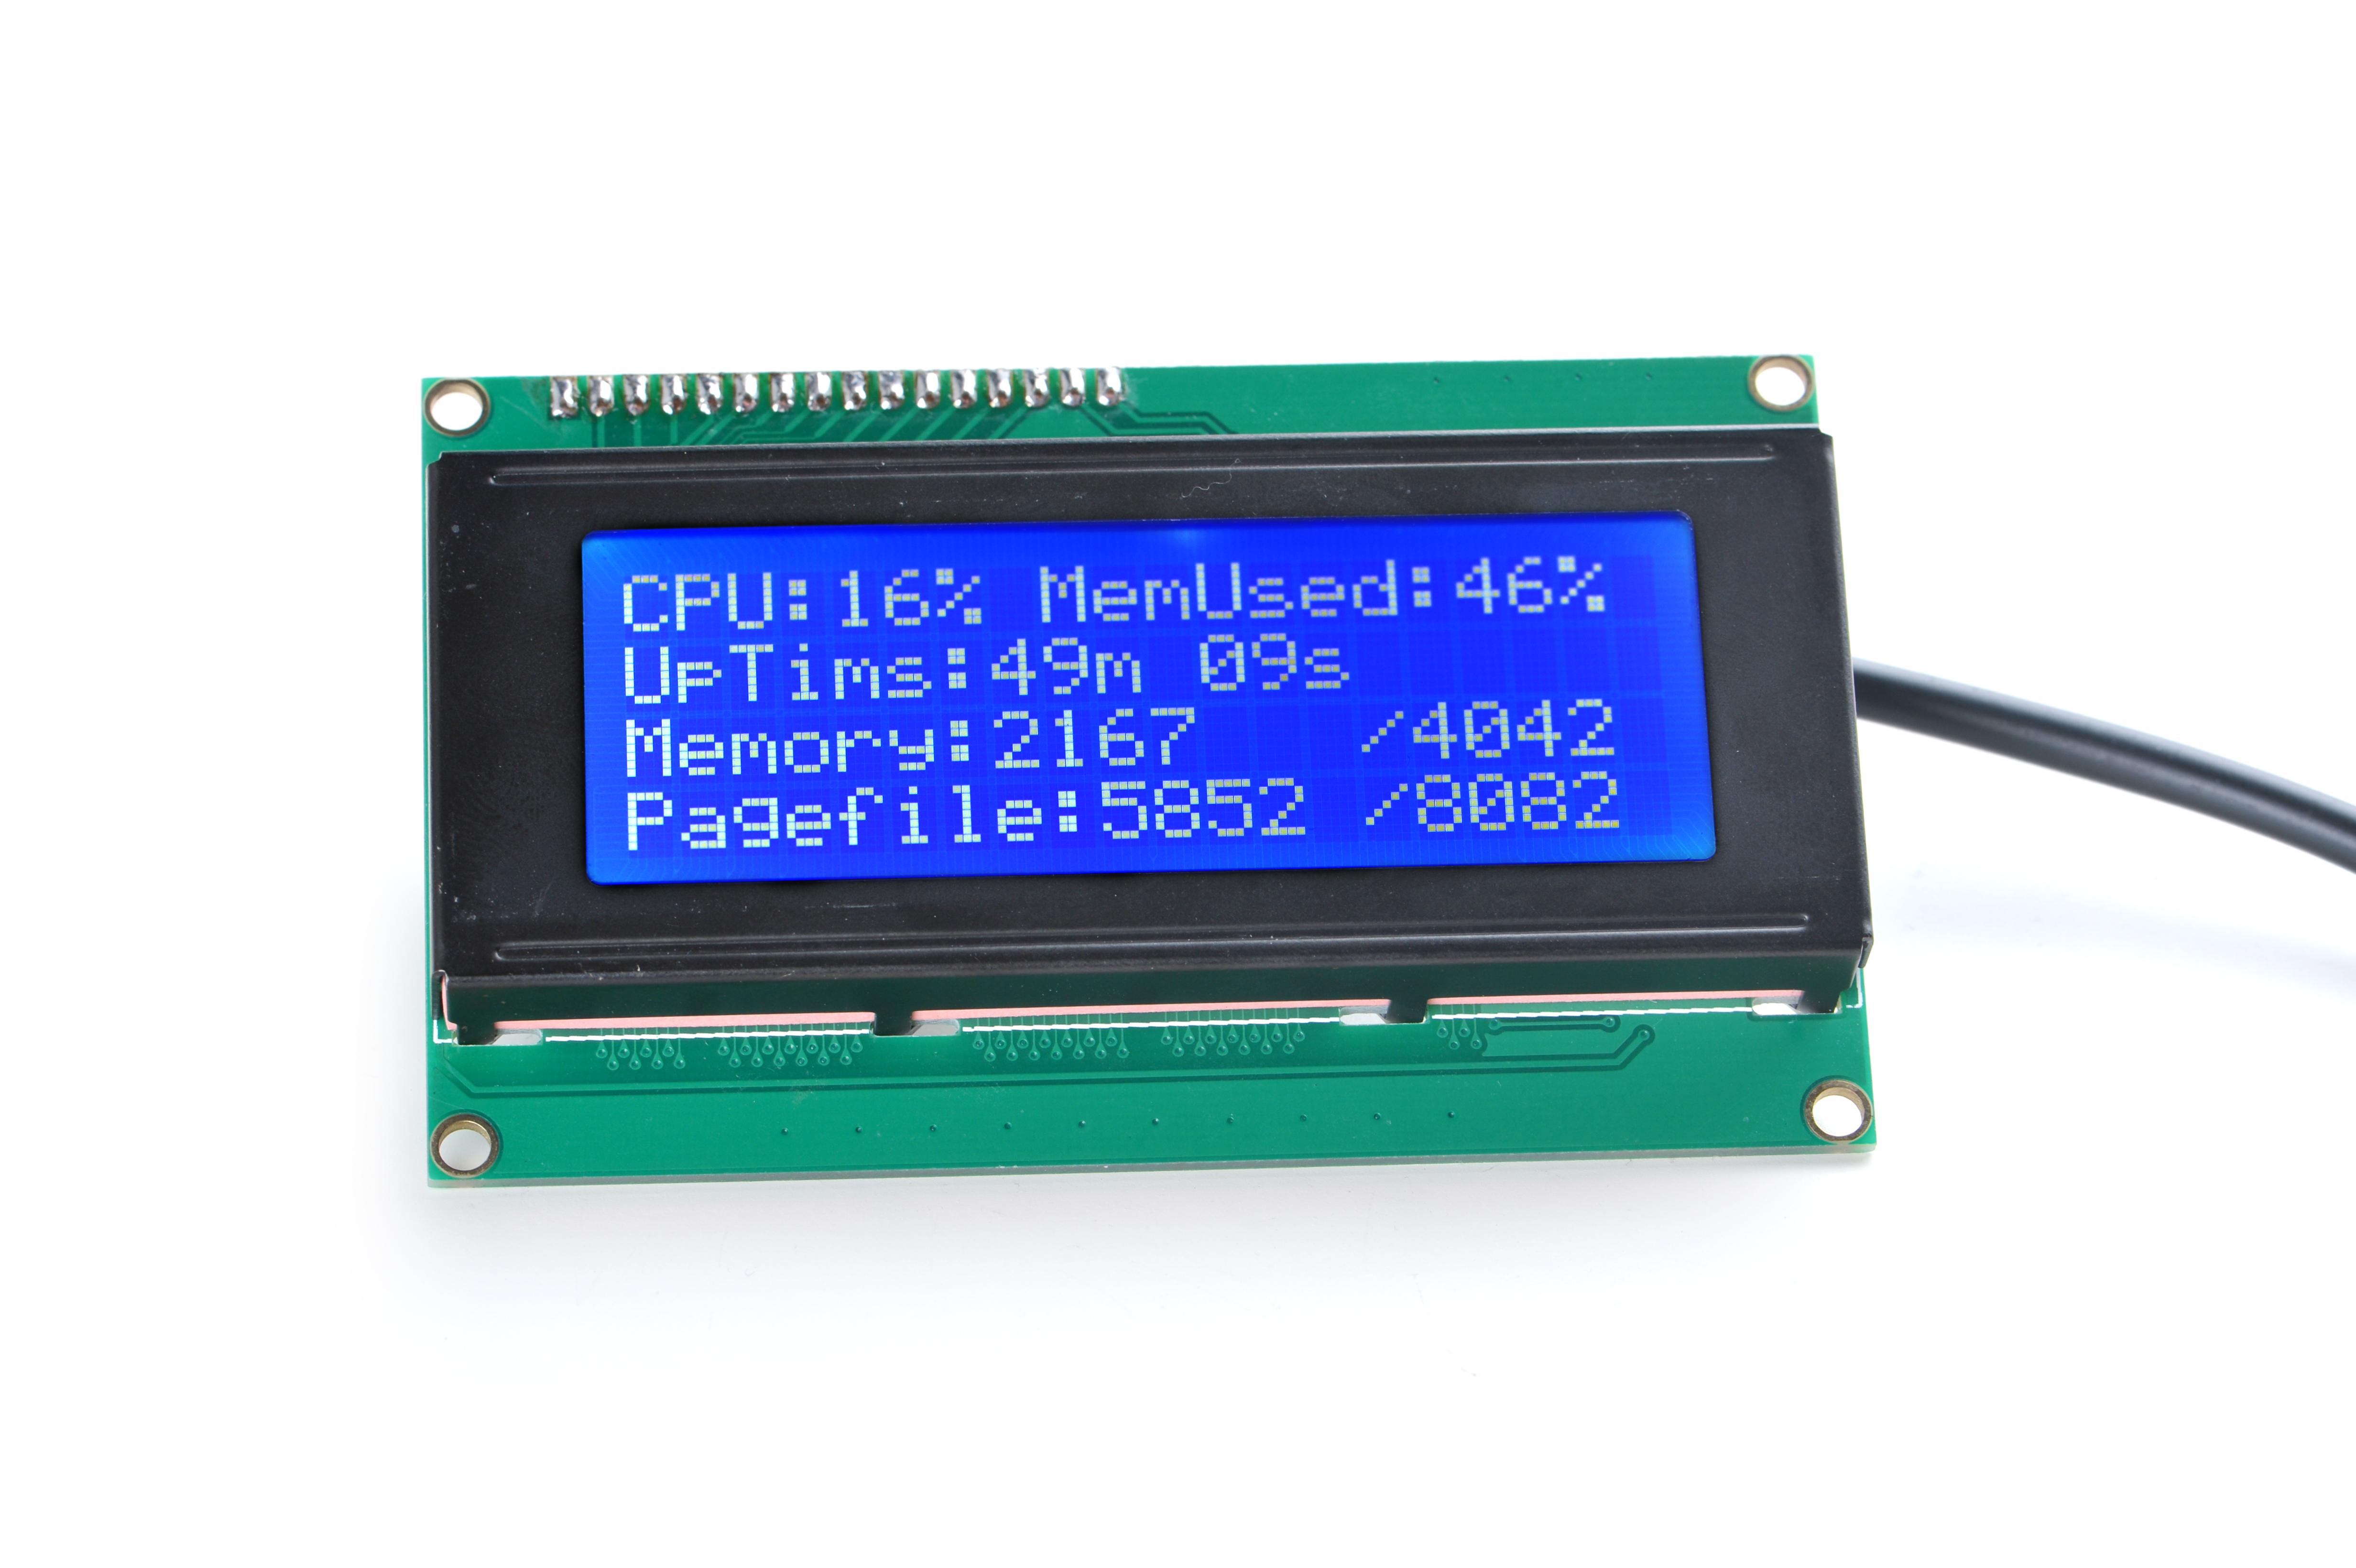
LCD液晶显示信息如下:
