Matrix - CAM500B
Contents
- 1 Introduction
- 2 Features
- 3 How to Connect
- 3.1 Connect CAM500B to NanoPi M2
- 3.2 Connect CAM500B to NanoPi 2
- 3.3 Connect CAM500B to NanoPi 2 Fire
- 3.4 Connect CAM500B to NanoPC-T2
- 3.5 Connect CAM500B to Smart4418
- 3.6 Connect CAM500B to NanoPi M3
- 3.7 Connect CAM500B to NanoPC-T3
- 3.8 Connect CAM500B to NanoPi M1
- 3.9 Connect CAM500B to NanoPi M1 Plus
- 3.10 Connect CAM500B to NanoPi NEO Air
- 4 Connect CAM500B to S5P4418/S5P6818 Boards
- 5 Connect CAM500B to H3 Based Boards
- 6 Resources
- 7 Update Log
1 Introduction
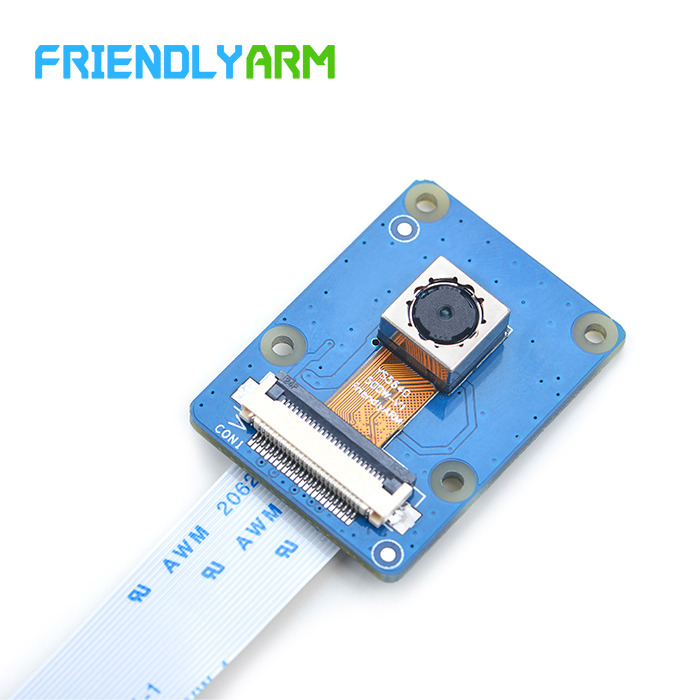
- The CAM500B module uses Omni Vision’s QSXGA CMOS OV5640 module. It has DVP parallel output interface and supports up to 2592 x 1944 photographing and 720P@30fps video recording. It has automatic image control functions: AFC, AWB and AEC etc.
- The CAM500B uses a cell phone camera. This camera’s focal length is 2.7mm. Its aperture is 2.8. Its viewing angle is 66 degree.
2 Features
- 5MP (2592 x 1944) photographing, 720P@30fps video recording
- Focal length: 2.7mm, Aperture: 2.8, Viewing angle: 66 degree
- Automatic image control functions: AFC, AWB and AEC etc
- 24 PIN FPC interface including DVC parallel output, 3.3V power, I2C and GPIO
3 How to Connect
3.1 Connect CAM500B to NanoPi M2
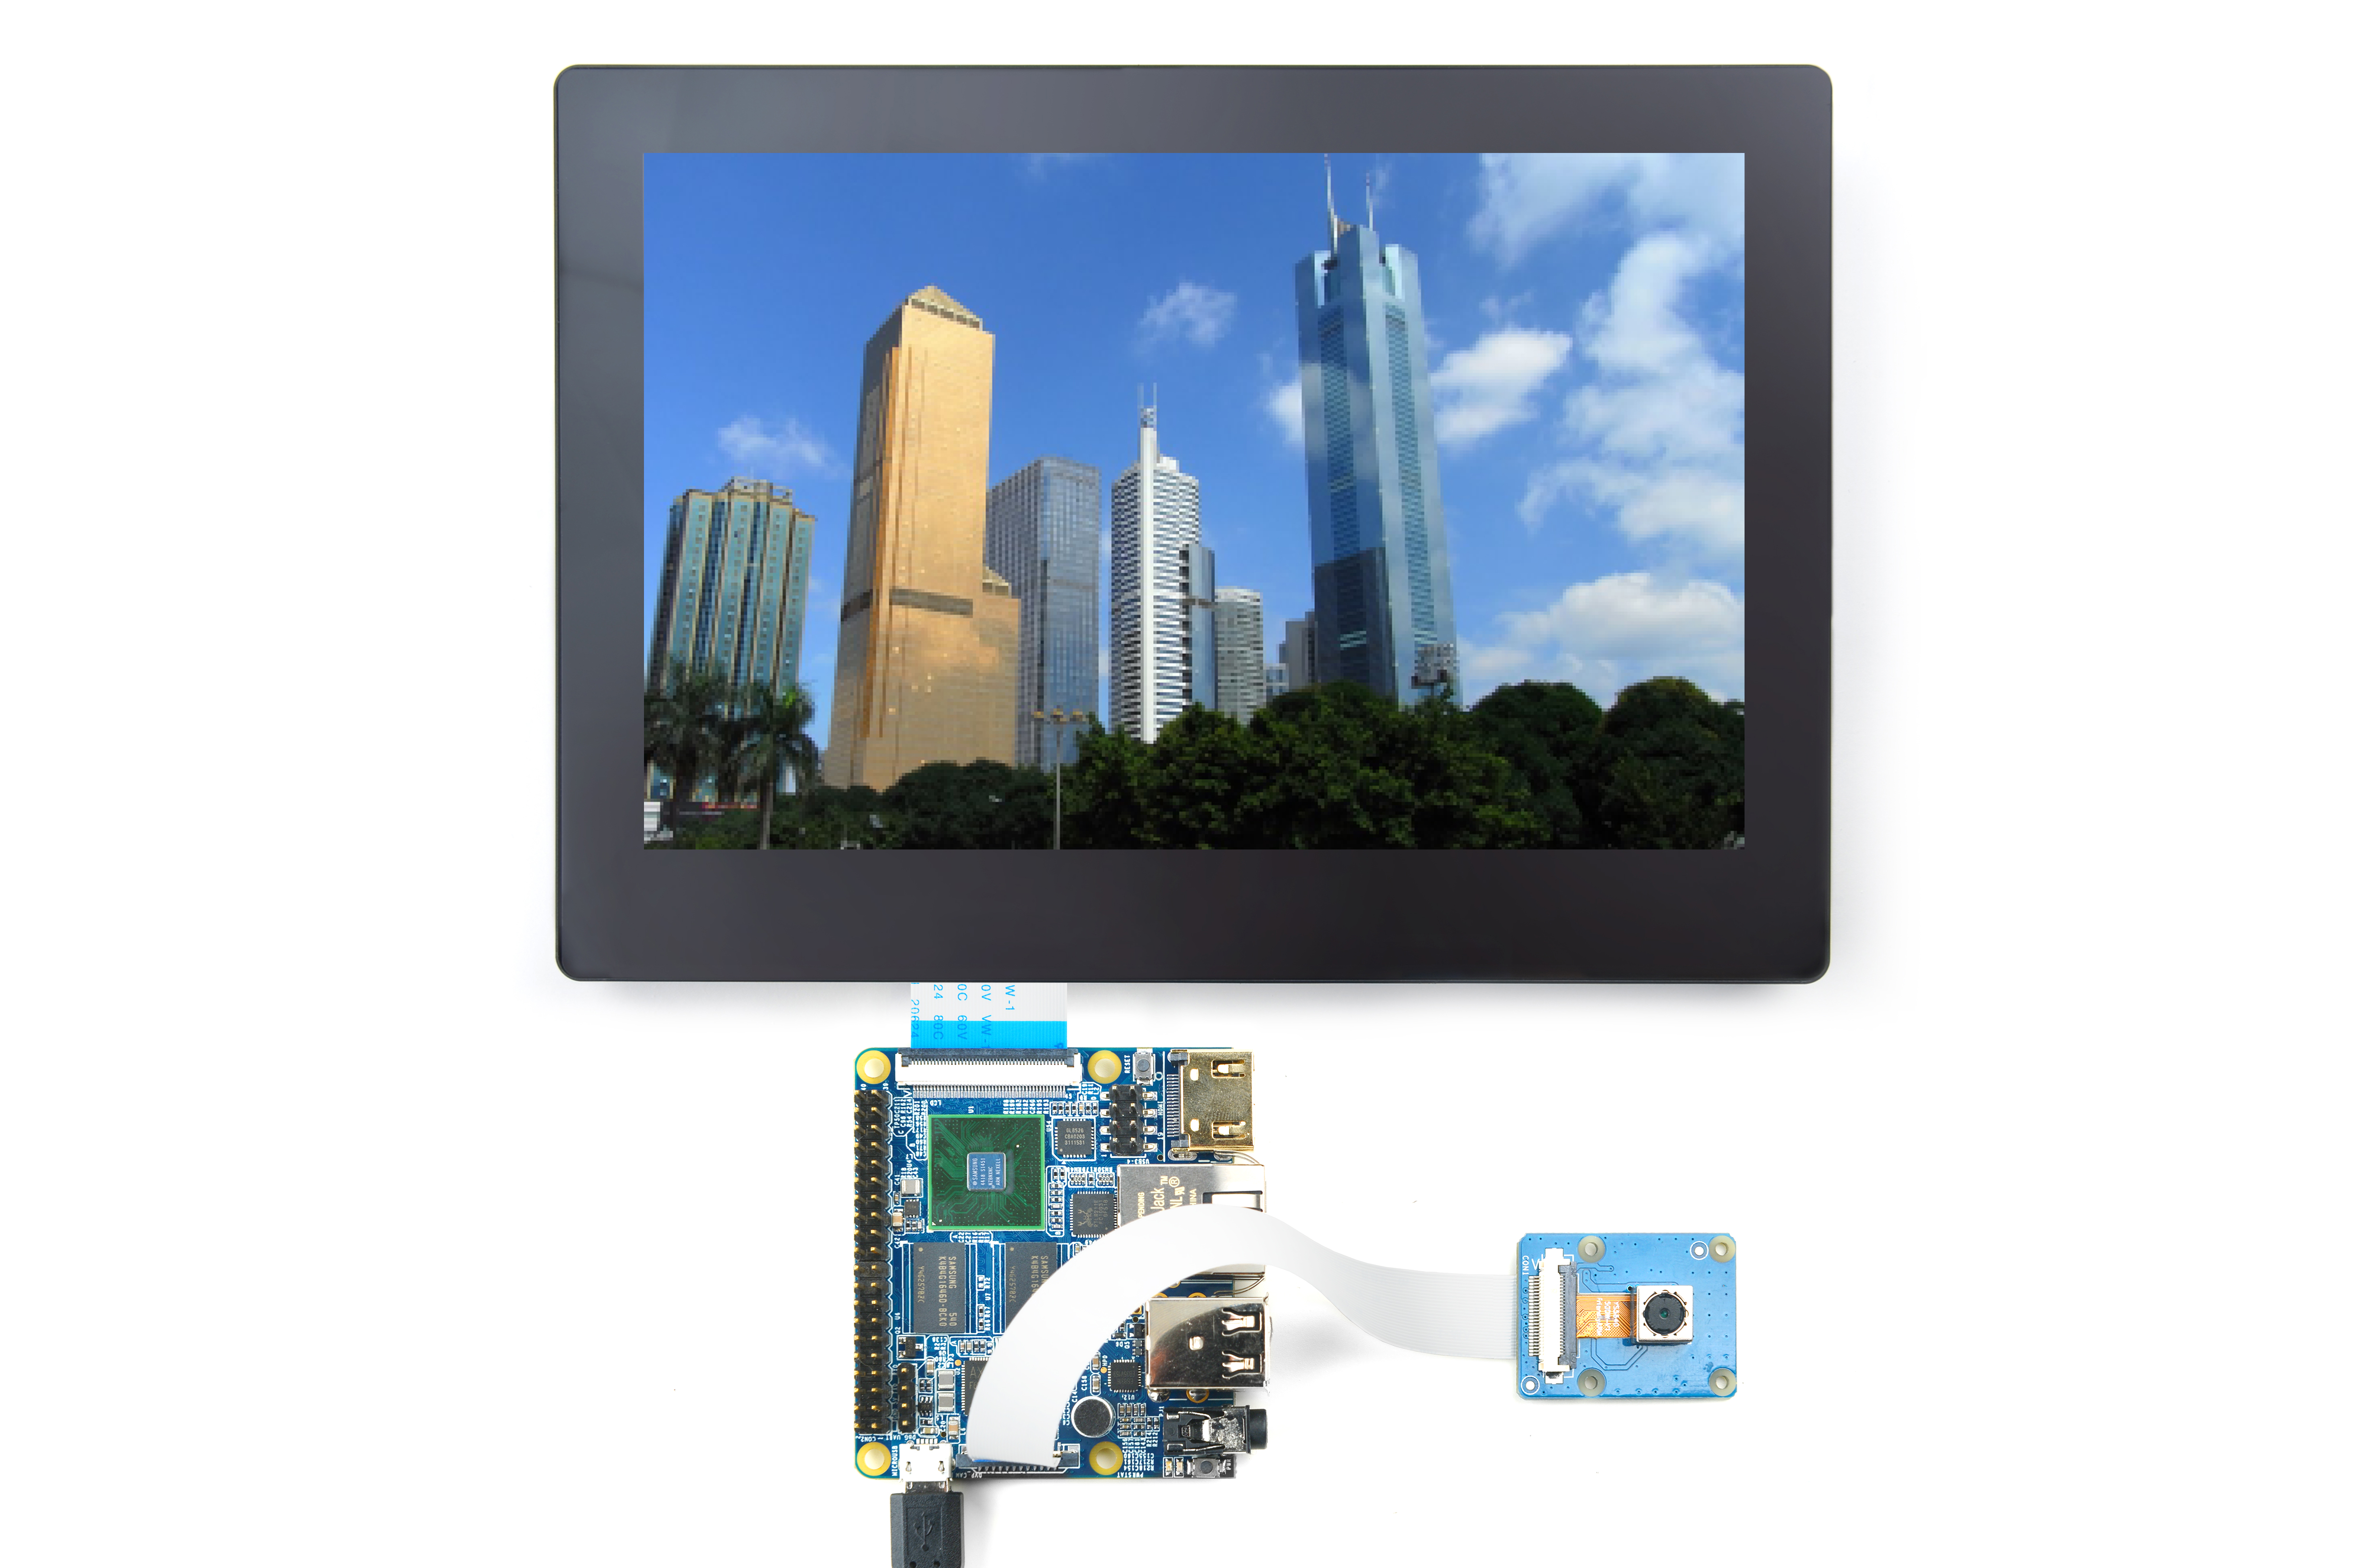
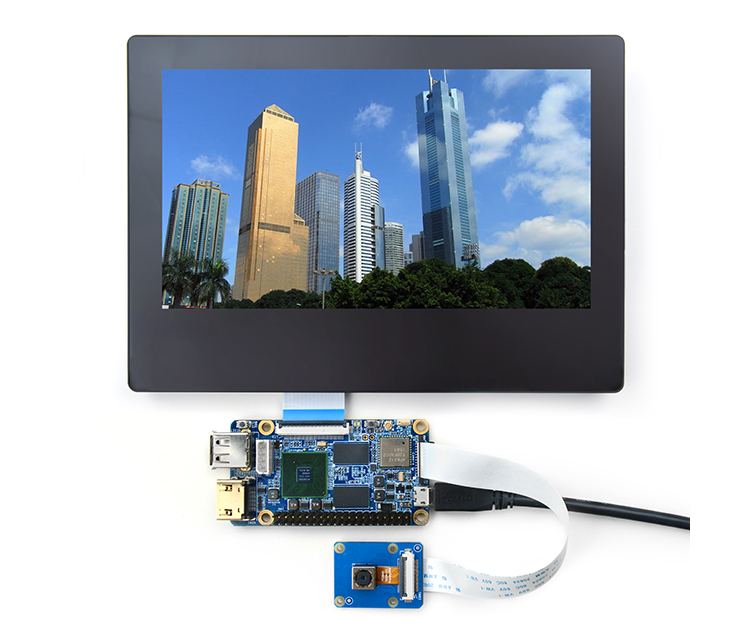
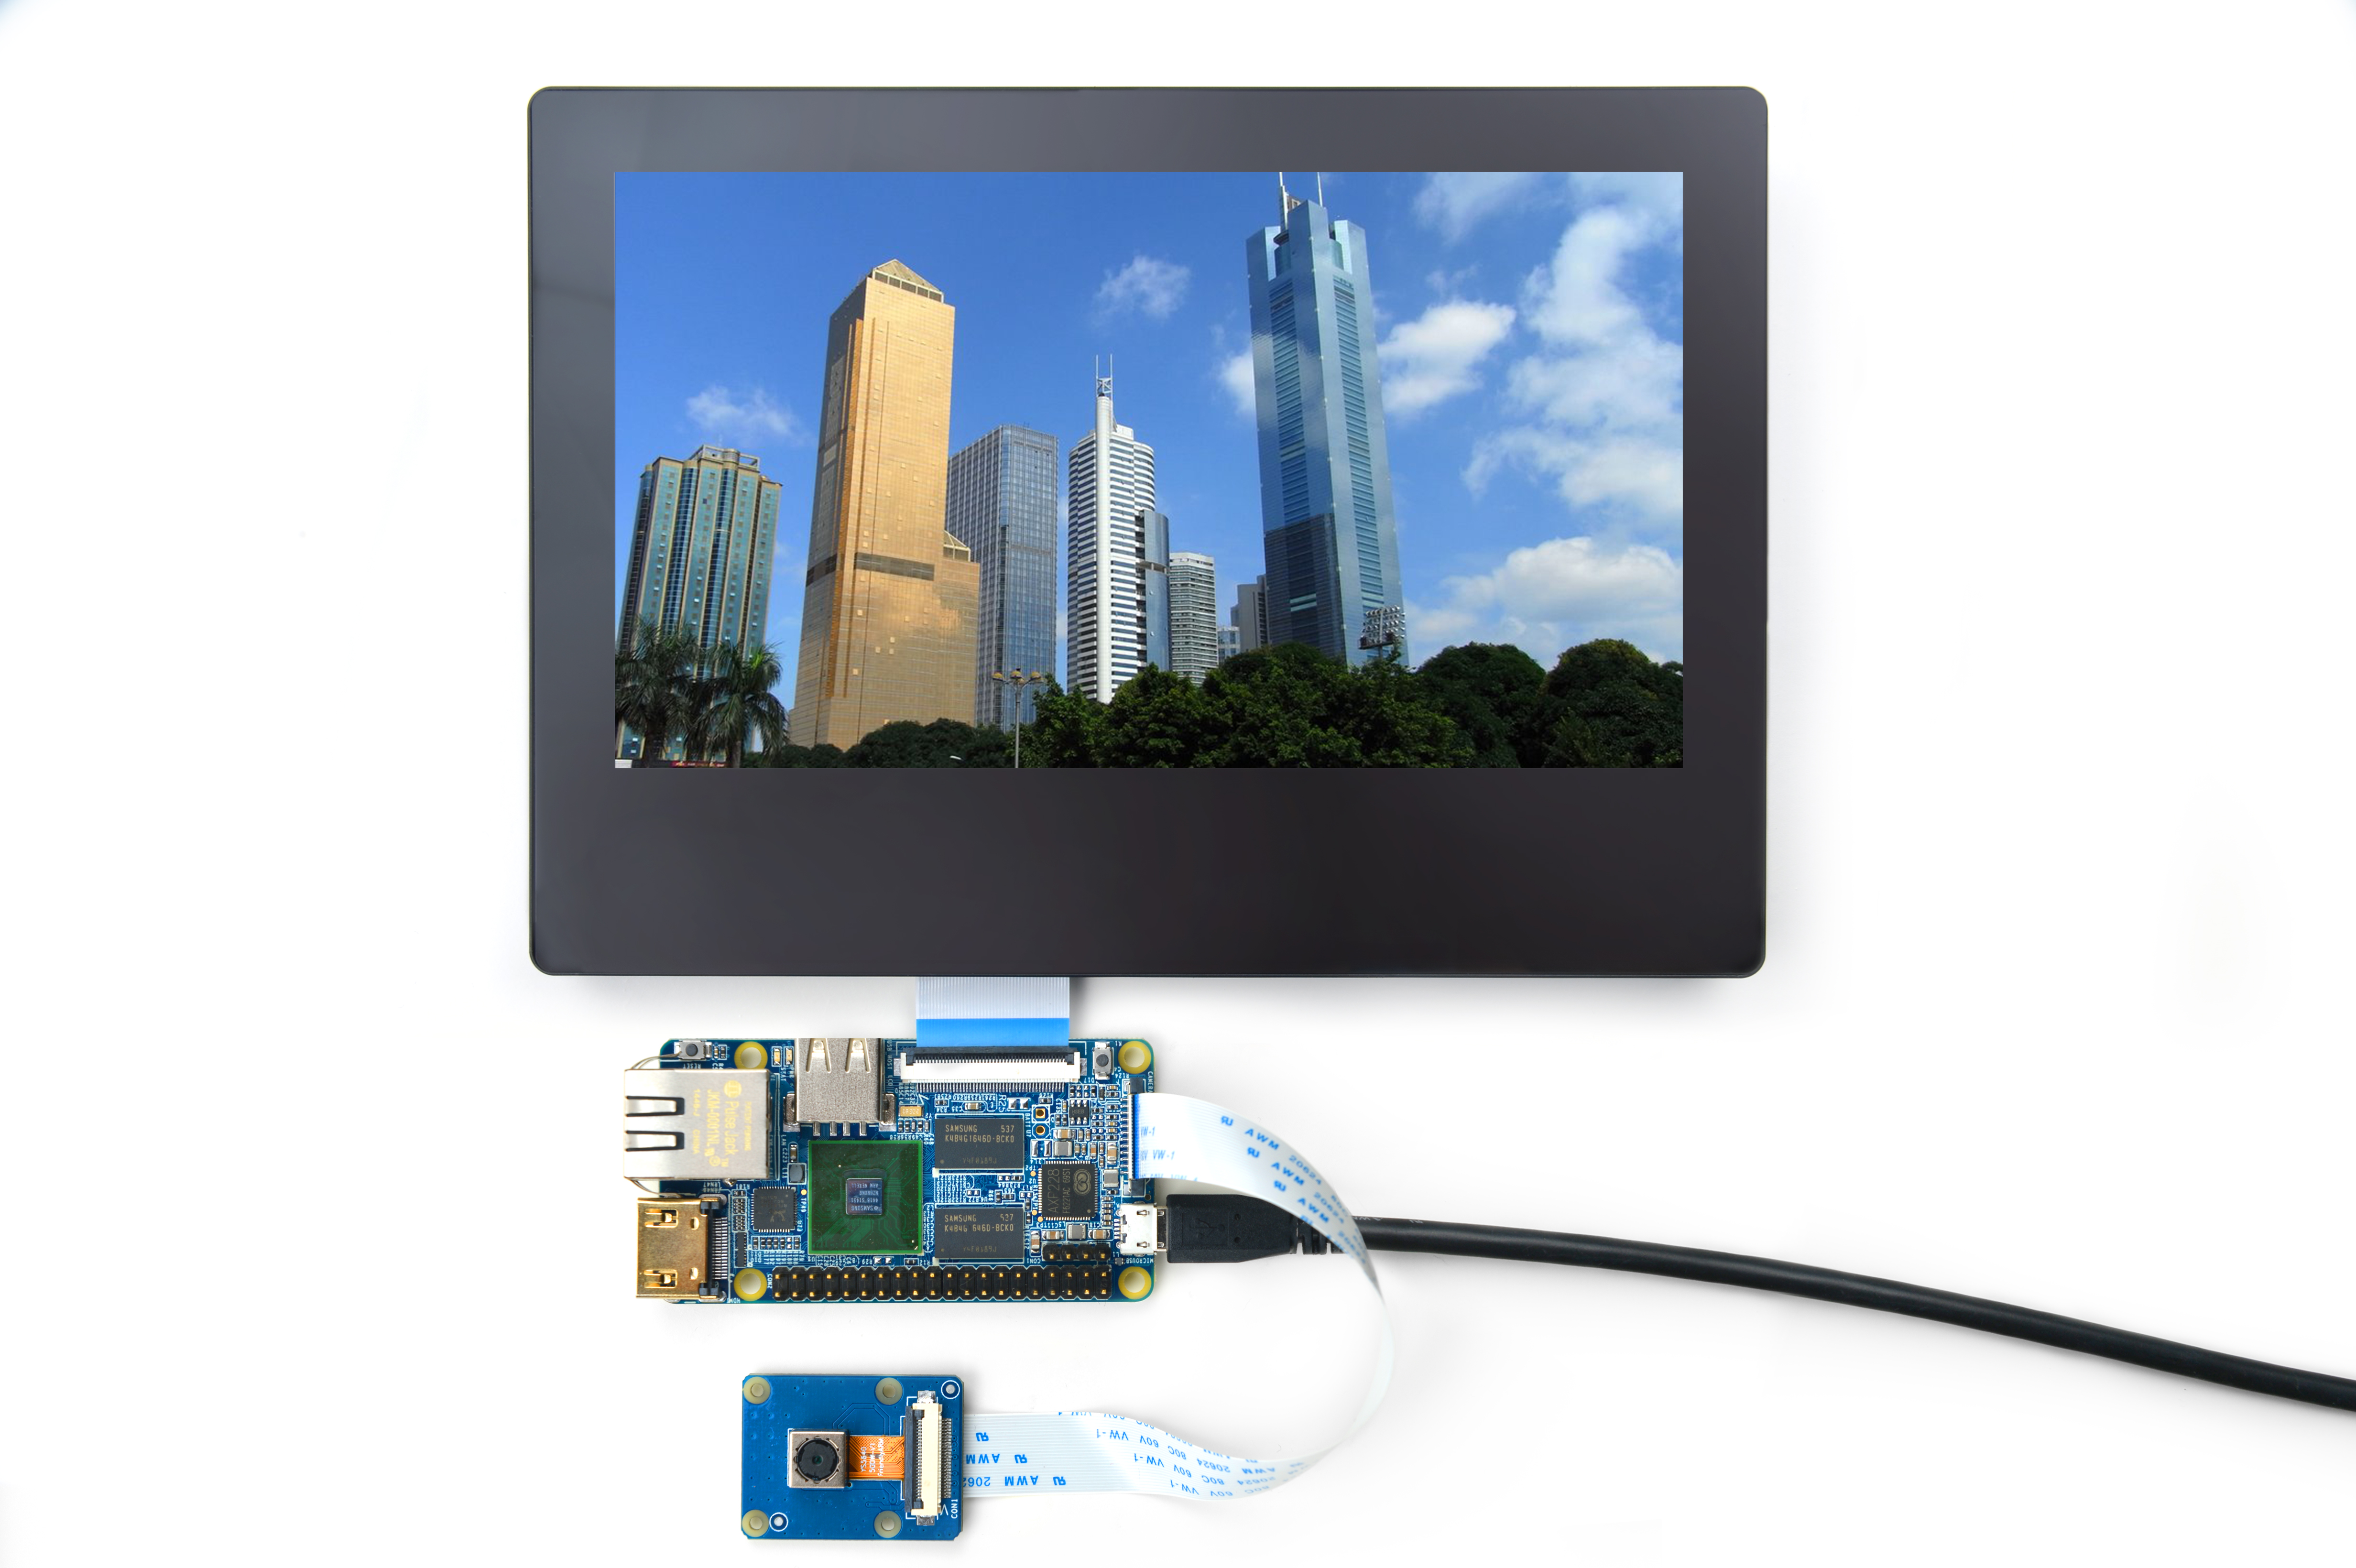
- NanoPi M2 works with CAM500B
3.2 Connect CAM500B to NanoPi 2
- NanoPi 2 works with CAM500B.
3.3 Connect CAM500B to NanoPi 2 Fire
- NanoPi 2 Fire works with CAM500B.
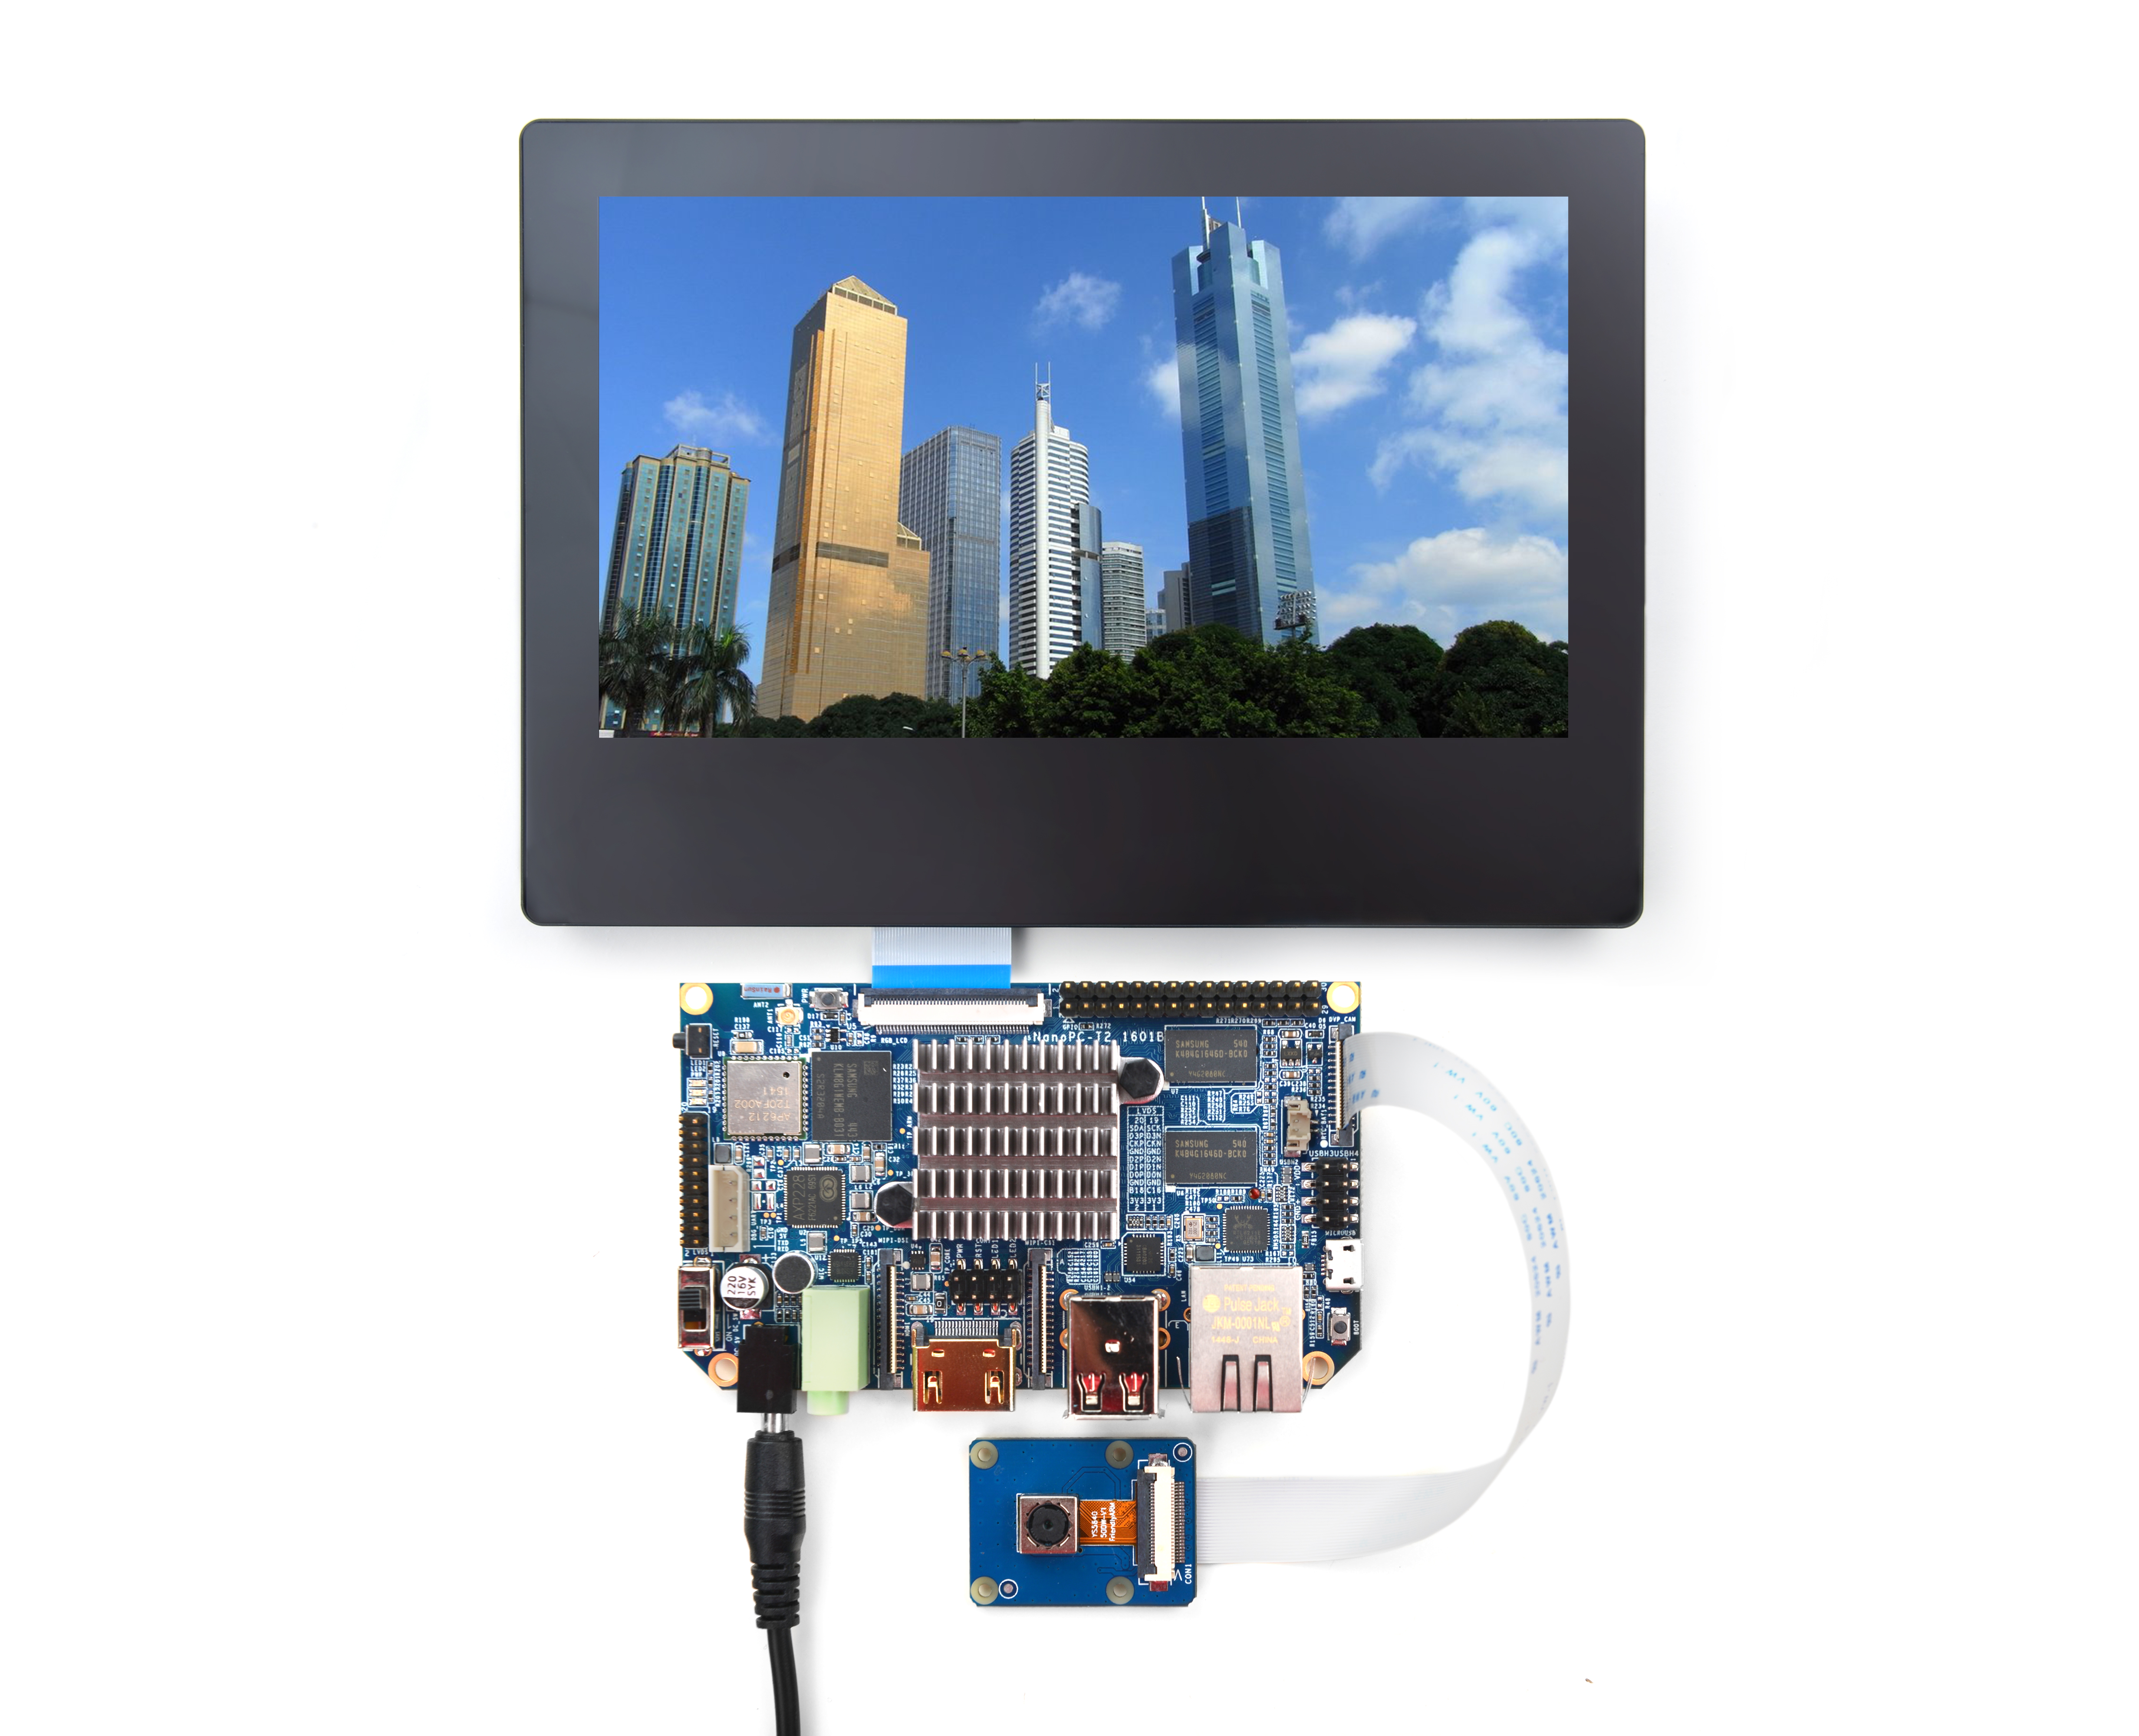
3.4 Connect CAM500B to NanoPC-T2
- NanoPC-T2 works with CAM500B
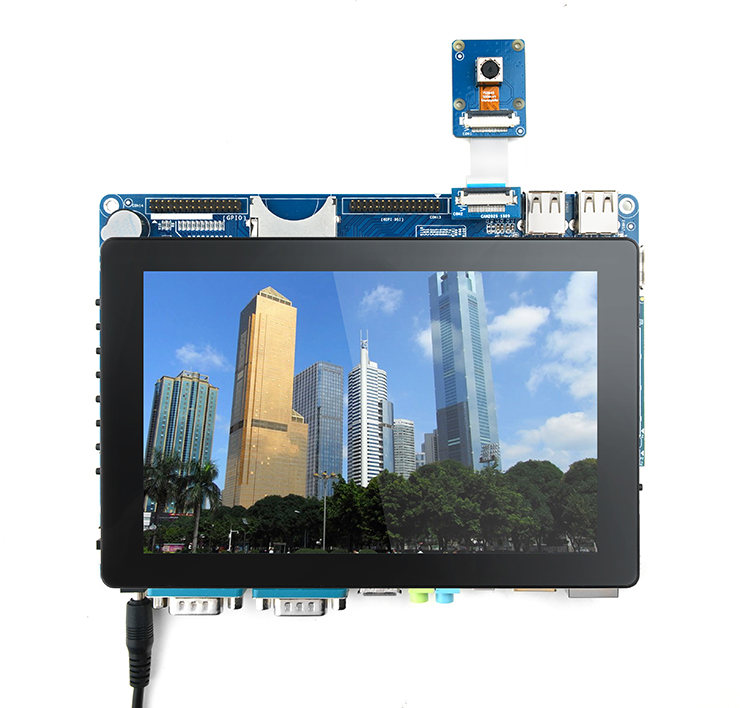
3.5 Connect CAM500B to Smart4418
- Smart4418 works with CAM500B
3.6 Connect CAM500B to NanoPi M3
- NanoPi M3 works with CAM500B
3.7 Connect CAM500B to NanoPC-T3
- NanoPC-T3 works with CAM500B
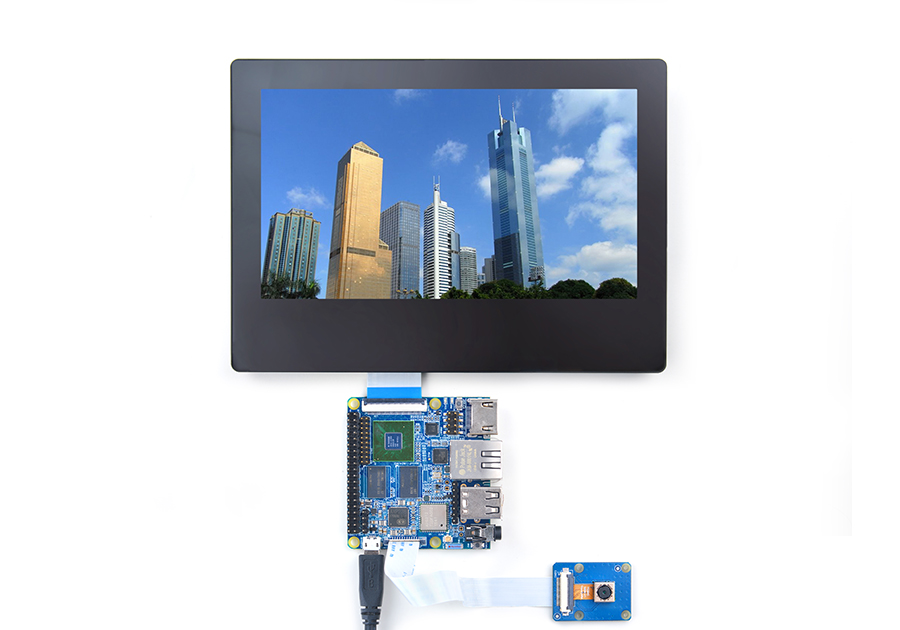
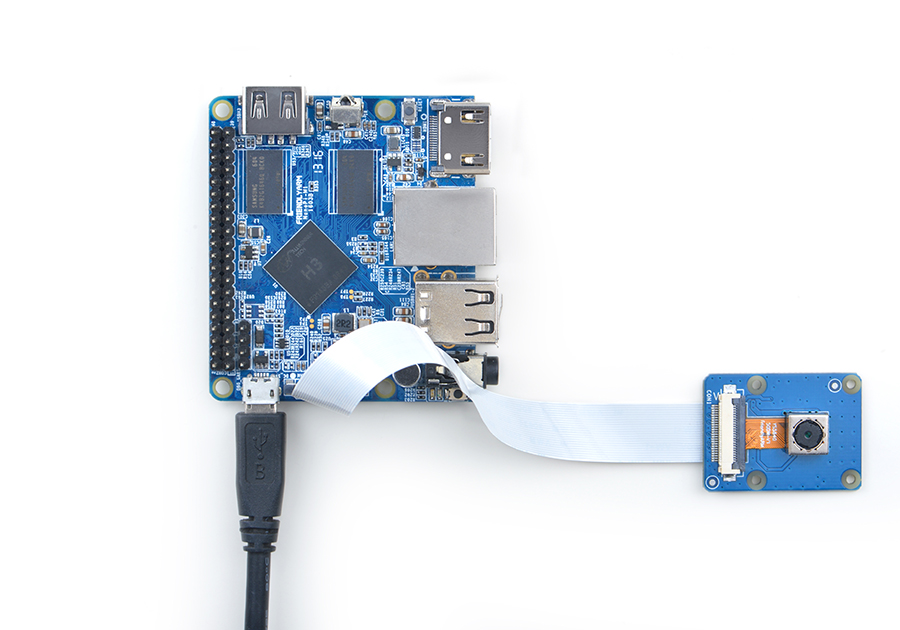
3.8 Connect CAM500B to NanoPi M1
- NanoPi M1 works with CAM500B
3.9 Connect CAM500B to NanoPi M1 Plus
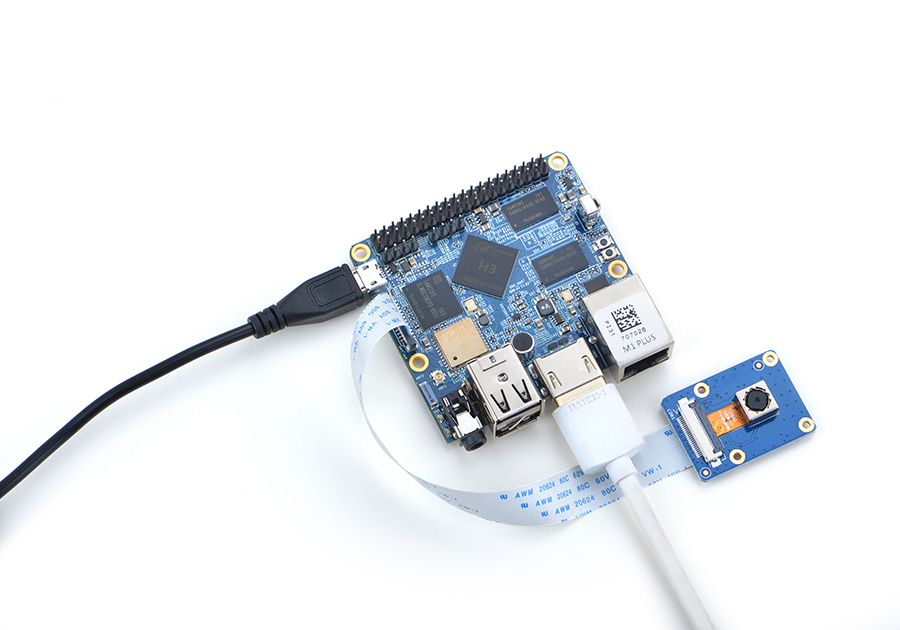
- NanoPi M1 Plus works with CAM500B
3.10 Connect CAM500B to NanoPi NEO Air
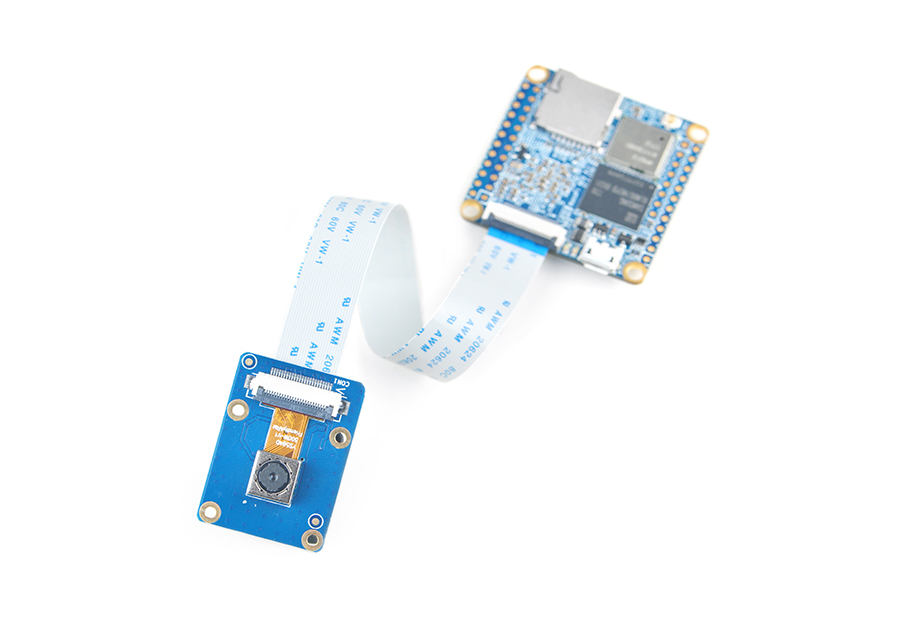
- NanoPi NEO Air works with CAM500B
4 Connect CAM500B to S5P4418/S5P6818 Boards
- If your 4418/6818 based board runs Android5.1 and it is connected to FriendlyElec's LCD or an HDMI monitor after Android is fully loaded click on the "Camera" icon and the application will be started. You can take pictures or record videos.
- Under Debian/Ubuntu a camera utility "nanocams" is available for previewing 40 frames and picture taking.You can try it by following the commands below:
sudo nanocams -p 1 -n 40 -c 4 -o IMG001.jpg
For more details about the usage of the nanocams run "nanocams -h". You can get its source code from our git hub:
git clone https://github.com/friendlyarm/nexell_linux_platform.git
5 Connect CAM500B to H3 Based Boards
连接开发板和摄像头,然后上电启动系统,连接网络,以root用户登录终端并编译运行mjpg-streamer:
$ cd /root/C/mjpg-streamer
$ make
$ ./start.sh
请自行修改start.sh, 确保使用正确的/dev/videoX节点, 下列命令可以用来确定摄像头的video节点:
$ apt-get install v4l-utils
$ v4l2-ctl -d /dev/video0 -D
Driver Info (not using libv4l2):
        Driver name   : sun6i-video
        Card type     : sun6i-csi
        Bus info      : platform:camera
        Driver version: 4.14.0
	...
上述信息表示/dev/video0是摄像头的设备节点。mjpg-streamer是一个开源的网络视频流服务器,在板子上成功运行mjpg-streamer后会打印下列信息:
$ ./start.sh
 i: Using V4L2 device.: /dev/video0
 i: Desired Resolution: 1280 x 720
 i: Frames Per Second.: 30
 i: Format............: YUV
 i: JPEG Quality......: 90
 o: www-folder-path...: ./www/
 o: HTTP TCP port.....: 8080
 o: username:password.: disabled
 o: commands..........: enabled
start.sh脚本里执行了下列2个命令:
export LD_LIBRARY_PATH="$(pwd)"
./mjpg_streamer -i "./input_uvc.so -d /dev/video0 -y 1 -r 1280x720 -f 30 -q 90 -n -fb 0" -o "./output_http.so -w ./www"
mjpg_streamer相关参数的含义如下:
-i: 选择输入插件,input_uvc.so表示从摄像头采集数据;
-o: 选择输出插件,output_http.so表示使用http协议传输数据;
-d: 输入插件的子参数,指定摄像头设备节点;
-y: 输入插件的子参数,指定摄像头采集数据的格式,1:yuyv, 2:yvyu, 3:uyvy 4:vyuy,如果不使用-y参数,则表示采集MJPEG格式;
-r: 输入插件的子参数,指定摄像头采集分辨率;
-f: 输入插件的子参数,指定想使用的摄像头采集fps,具体是否支持依赖于驱动;
-q: 输入插件的子参数,指定libjpeg软编码的图像质量;
-n: 输入插件的子参数, 禁止dynctrls功能;
-fb: 输入插件的子参数, 指定是否在/dev/fbX上显示采集的图像;
-w: 输出插件的子参数, 指定包含网页的目录;
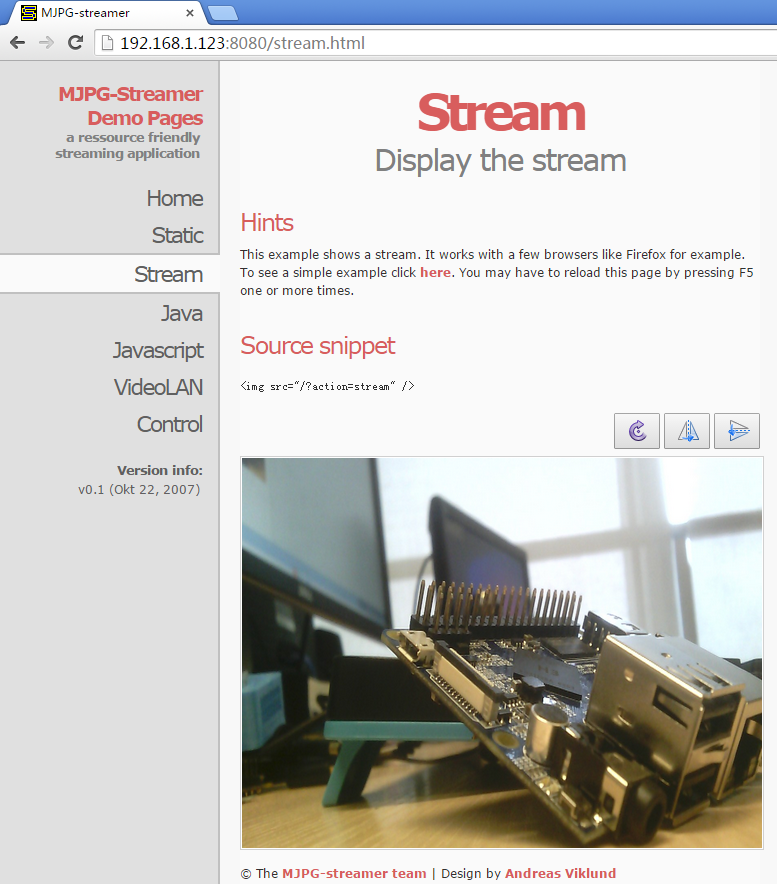
成功运行start.sh脚本后,假设开发板的IP地址为192.168.1.230,在PC的浏览器中输入 192.168.1.230:8080 就能浏览摄像头采集的画面了,效果如下:
mjpg-streamer是用libjpeg对摄像头数据进行软编码,Linux-4.14内核的ROM目前并不支持视频硬编码, 但是如果使用H3板子 + Linux-3.4内核的ROM的话, 可以使用ffmpeg对摄像头数据进行硬编码,这样能大大降低CPU的占用率并提高编码速度:
$ ffmpeg -t 30 -f v4l2 -channel 0 -video_size 1280x720 -i /dev/video0 -pix_fmt nv12 -r 30 -b:v 64k -c:v cedrus264 test.mp4
默认会录制30秒的视频,输入q能终止录制。录制完成后会在当前目录生成一个名为test.mp4的视频文件,可将其拷贝到PC上进行播放验证。
6 Resources
An open source APP developed by FriendlyElec for CAM500A/CAM500B (supports preview, picture-taking and video recording)
- [APP source code: https://github.com/friendlyarm/android_CameraDemo]
- [Source code for NanoPi 2:https://github.com/friendlyarm]
7 Update Log
7.1 Dec-27-2016
- Released English Version
