Difference between revisions of "Matrix - Buzzer"
From FriendlyELEC WiKi
(→特性) |
(→使用方法) |
||
| Line 11: | Line 11: | ||
* 2.54mm spacing pin | * 2.54mm spacing pin | ||
| − | == | + | ==How To== |
| − | === | + | ===Connection=== |
| − | * | + | *Connect to Tiny4412 SDK (1506) |
| − | :: | + | ::Firstly you need to remove the jumper on BP1_EN on the Tiny4412 SDK 1506 carrier board |
| − | :: | + | ::Please connect Pin S to GPIO PIN1, V to 5V and G grounded |
| − | === | + | ===Code Sample in C Under Linux=== |
<syntaxhighlight lang="c"> | <syntaxhighlight lang="c"> | ||
#include <stdio.h> | #include <stdio.h> | ||
| Line 82: | Line 82: | ||
</syntaxhighlight> | </syntaxhighlight> | ||
| − | === | + | ===Compile and Run=== |
<syntaxhighlight lang="bash"> | <syntaxhighlight lang="bash"> | ||
git clone http://github.com/friendlyarm/fa-hardware.git | git clone http://github.com/friendlyarm/fa-hardware.git | ||
| Line 90: | Line 90: | ||
make | make | ||
</syntaxhighlight> | </syntaxhighlight> | ||
| − | + | Copy your compiled bin to your board and you are ready to go. | |
==相关资料== | ==相关资料== | ||
Revision as of 08:50, 7 August 2015
Contents
1 Introduction
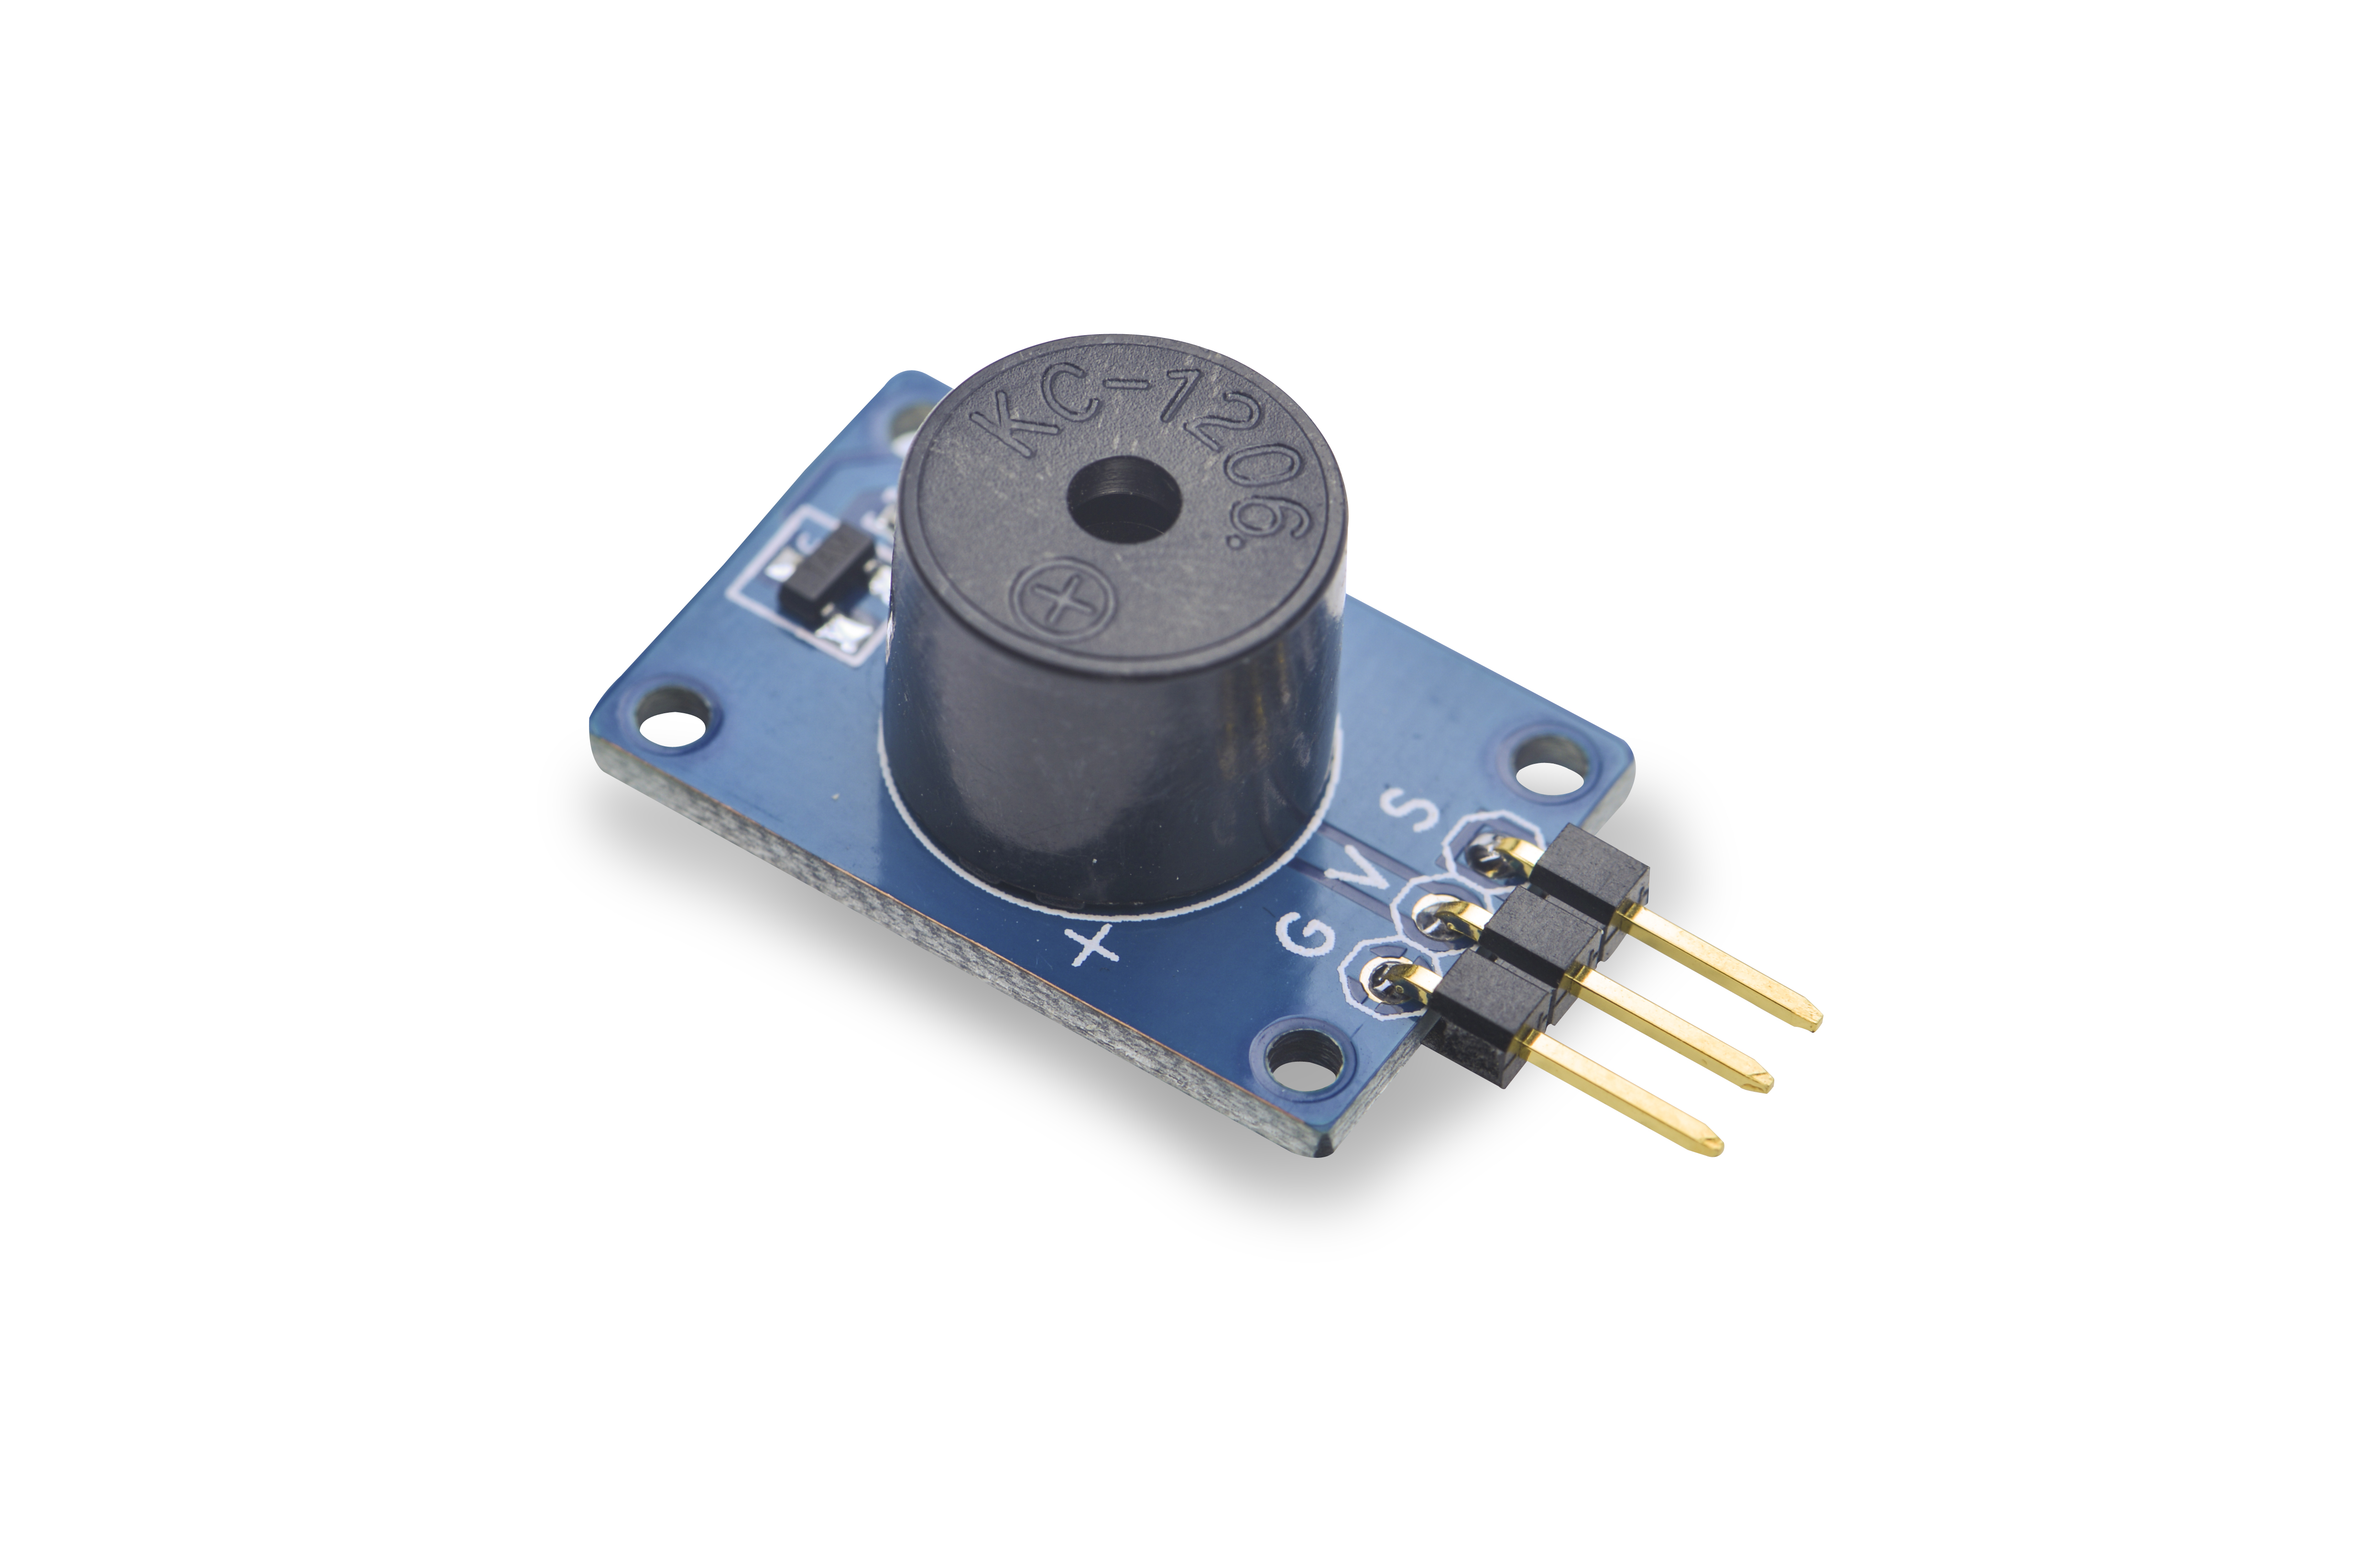
We utilize a 5V passive buzzer. To drive this buzzer an oscillating source is needed. Pin V is power, Pin G is grounded and Pin S is PMW signal input. Pin S is connected to a triode to turn on/off the buzzer. A PWM signal can be either 3.3V or 5V and the buzzer's sound will vary accordingly.
2 Features
- 5V Power Supply
- 3.3V/5V PWM
- Tiny, easy to be used in various situations
- 2.54mm spacing pin
3 How To
3.1 Connection
- Connect to Tiny4412 SDK (1506)
- Firstly you need to remove the jumper on BP1_EN on the Tiny4412 SDK 1506 carrier board
- Please connect Pin S to GPIO PIN1, V to 5V and G grounded
3.2 Code Sample in C Under Linux
#include <stdio.h>
#include <unistd.h>
#include <stdlib.h>
#include "libfahw.h"

int parseCmd(int argc, char **argv, int *pin, int *Hz, int *duty)
{
    int num = atoi(argv[1]);
    int hz = atoi(argv[2]);
    int dt = atoi(argv[3]);

    if (hz<0) {
        return -1;
    }
    if (dt<0 || dt>1000) {
        return -1;
    }
    switch(num) {
    case 0:
        *pin = TINY4412_PWM0;
        break;
    case 1:
        *pin = TINY4412_PWM1;
        break;
    default:
        printf("Unsupported pin TINY4412_PWM%d\n", num);
        num = 0;
        *pin = TINY4412_PWM0;
    }
    *Hz = hz;
    *duty = dt;
    printf("Using config: pin=PWM%d freq=%dHz duty=%d\n", num, hz, dt);
    return 0;
}

int main(int argc, char ** argv)
{
    int pin = TINY4412_PWM0;
    int Hz;
    int duty;

    if (argc == 4) {
        if (parseCmd(argc, argv, &pin, &Hz, &duty) == -1) {
            return -1;
        }
    } else {
        Hz = 1000;
        duty = 500;
        printf("Usage:%s PWM[0~1] freq duty[0~1000]\n", argv[0]);
        printf("Using default config: pin=PWM0 freq=%dHz duty=%d\n", Hz, duty);
    }

    if (PWMPlay(pin, Hz, duty) == -1) {
        printf("Fail to output PWM\n");
    }
    printf("Press enter to stop PWM\n");
    getchar();
    PWMStop(pin);
    printf("Stopped PWM\n");
    return 0;
}
3.3 Compile and Run
git clone http://github.com/friendlyarm/fa-hardware.git
cd fa-hardware
cd demo
cd matrix-buzzer
make
Copy your compiled bin to your board and you are ready to go.
