FriendlyThings for Rockchip
查看中文
Note: the steps and methods presented here apply to all FriendlyElec's RK3399 based boards. For steps and methods that apply to other platforms refer to FriendlyThings
Contents
1 Introduction
FriendlyThings is an Android SDK developed by FriendlyElec to access hardware. Users can use it to access various hardware resources Uart, SPI, I2C, GPIO etc on a FriendlyElec ARM board under Android. This SDK is based on Android-NDK. Users can use it to develop popular IoT applications without directly interacting with drivers.
2 Android Versions
The Android BSPs provided by FriendlyElec already have FriendlyThings SDK(libfriendlyarm-things.so) and currently have two version:
- Android 7.1.2-rk3399
BSP source code download link: https://gitlab.com/friendlyelec/rk3399-nougat
BSP source code location on the network disk: sources/rk3399-android-7.git-YYYYMMDD.tgz
Latest ROM download link: http://download.friendlyelec.com/NanoPC-T4
- Android 8.1-rk3399
BSP source code download link: https://gitlab.com/friendlyelec/rk3399-android-8.1
BSP source code location on the network disk: sources/rk3399-android-8.1.git-YYYYMMDD.tgz
Latest ROM download link: http://download.friendlyelec.com/NanoPC-T4
3 List of Applicable Boards
FriendlyThings SDK(libfriendlyarm-things.so) works with the following FriendlyElec RK3399/RK3568/RK3588 based boards:
- NanoPC-T6
- NanoPi-R6S/R6C
- NanoPi-R5S/R5C
- NanoPC-T4
- NanoPi M4 (an external eMMC module is needed)
- NanoPi NEO4 (an external eMMC module is needed)
FriendlyThings might also work with other FriendlyElec boards such as Samsung S5P4418/S5P6818, Samsung S5PV210, Allwinner H3/H5 etc. For more details refer to FriendlyThings
4 Quick Start
4.1 Step 1: Include libfriendlyarm-things.so in APP
Clone the following library locally:
git clone https://github.com/friendlyarm/friendlythings-sdk
Copy all the files under the libs directory to your working directory and create a "com/friendlyarm" directory in your Android project's src directory, copy the whole "java/FriendlyThings" to your newly created "com/friendlyarm" directory. The whole project directory will look like this(Note:AndroidStudio's project may be a little bit different):
YourProject/
├── AndroidManifest.xml
├── libs
│   ├── arm64-v8a
│   │   └── libfriendlyarm-things.so
│   └── armeabi
│       └── libfriendlyarm-things.so
├── src
│   └── com
│       └── friendlyarm
│           ├── FriendlyThings
│           │   ├── BoardType.java
│           │   ├── FileCtlEnum.java
│           │   ├── GPIOEnum.java
│           │   ├── HardwareControler.java
│           │   ├── SPIEnum.java
│           │   ├── SPI.java
│           │   └── WatchDogEnum.java
Import the following components and the major APIs are included in the HardwareControler.java file:
import com.friendlyarm.FriendlyThings.HardwareControler;
import com.friendlyarm.FriendlyThings.SPIEnum;
import com.friendlyarm.FriendlyThings.GPIOEnum;
import com.friendlyarm.FriendlyThings.FileCtlEnum;
import com.friendlyarm.FriendlyThings.BoardType;
4.2 Step 2: Give APP System Right
Your app needs the system right to access hardware resources;
Give your app the system right by making changes in the AndroidManifest.xml file and the Android.mk file;
It is better to include your app in your Android source code and compile them together. If your app is not compiled together with your Android source code you have to go through tedious steps to compile your app and sign your app to give it the system right.
4.2.1 Modify AndroidManifest.xml
Add the following line in the manifest node in the AndroidManifest.xml file:
android:sharedUserId="android.uid.system"
4.2.2 Modify Android.mk
Create an Android.mk file(the simplest way is to copy a sample Android.mk file), modify the Android.mk file by adding a line LOCAL_CERTIFICATE := platform :
LOCAL_PATH:= $(call my-dir)
include $(CLEAR_VARS)

LOCAL_SRC_FILES := $(call all-subdir-java-files)

LOCAL_PACKAGE_NAME := Project Name

LOCAL_CERTIFICATE := platform
LOCAL_MODULE_TAGS := optional
LOCAL_CFLAGS := -lfriendlyarm-hardware

include $(BUILD_PACKAGE)
4.3 Final Step: Compile Your APP Together with Android Source Code
Go to Android source code's root directory and run "setenv.sh" to export environmental variables, enter your app's directory and run "mm" to compile:
For example: compile the GPIO_LED_Demo on RK3399:
cd rk3399-android-8.1
. setenv.sh
cd vendor/friendlyelec/apps/GPIO_LED_Demo
mm
4.4 Sample project in Android Studio
https://github.com/friendlyarm/AndroidStudio-GPIODemo
5 APIs in libfriendlyarm-things.so Library
Refer to this wiki site:FriendlyThings APIs
6 Access RK3399 Based Boards' Hardware under Android
6.1 Serial Port
Currently the only available serial port for users is UART4 and its device name is "/dev/ttyS4". Other serial ports are already taken. Here is a list of the serial ports and their functions. If you need more serial ports you can convert USB ports to serial ports:
Serial Function UART0 used for Bluetooth UART1 used for Gbps Ethernet UART2 used for serial debug port UART3 used for Gbps Ethernet UART4 available for users and its device name is "/dev/ttyS4" (Note: it is only available in ROMs generated on June 18,2018 or after)
6.1.1 APIs for Accessing Serial Ports
HardwareControler.openSerialPortEx //opens a serial port.
HardwareControler.select   //polls a serial port's status and checks if it has data to be read or if data can be written to it.
HardwareControler.read     //reads data from a serial port.
HardwareControler.write    //writes data to a serial port.
HardwareControler.close    //closes a serial port.
For more details refer to :FriendlyThings APIs
6.2 GPIO
You can access GPIO by calling sysfs APIs. You need to access the "/sys/class/gpio" directory, write a GPIO index number you want to access to the export file, and set the GPIO's direction and value.
Here is a list of GPIOs FriendlyElec's RK3399 boards support:
- NanoPC T4
Physical Index GPIO Index Pin11 33 Pin12 50 Pin15 36 Pin16 54 Pin18 55 Pin22 56 Pin37 96 Pin38 125 Pin40 126
- NanoPi M4和NanoPi NEO4
Physical Index Linux Index Pin11 33 Pin12 50 Pin15 36 Pin16 54 Pin18 55 Pin22 56
6.2.1 APIs for Accessing GPIO
HardwareControler.exportGPIOPin      //导出GPIO
HardwareControler.setGPIODirection   //改变GPIO的方向
HardwareControler.getGPIODirection   //获得当前GPIO的方向
HardwareControler.setGPIOValue    //向引脚输出高电平或低电平
HardwareControler.getGPIOValue    //获得引脚的输入(当前的值)
HardwareControler.unexportGPIOPin //取消导出
接口说明请参考:FriendlyThings APIs
6.2.2 GPIO示例说明
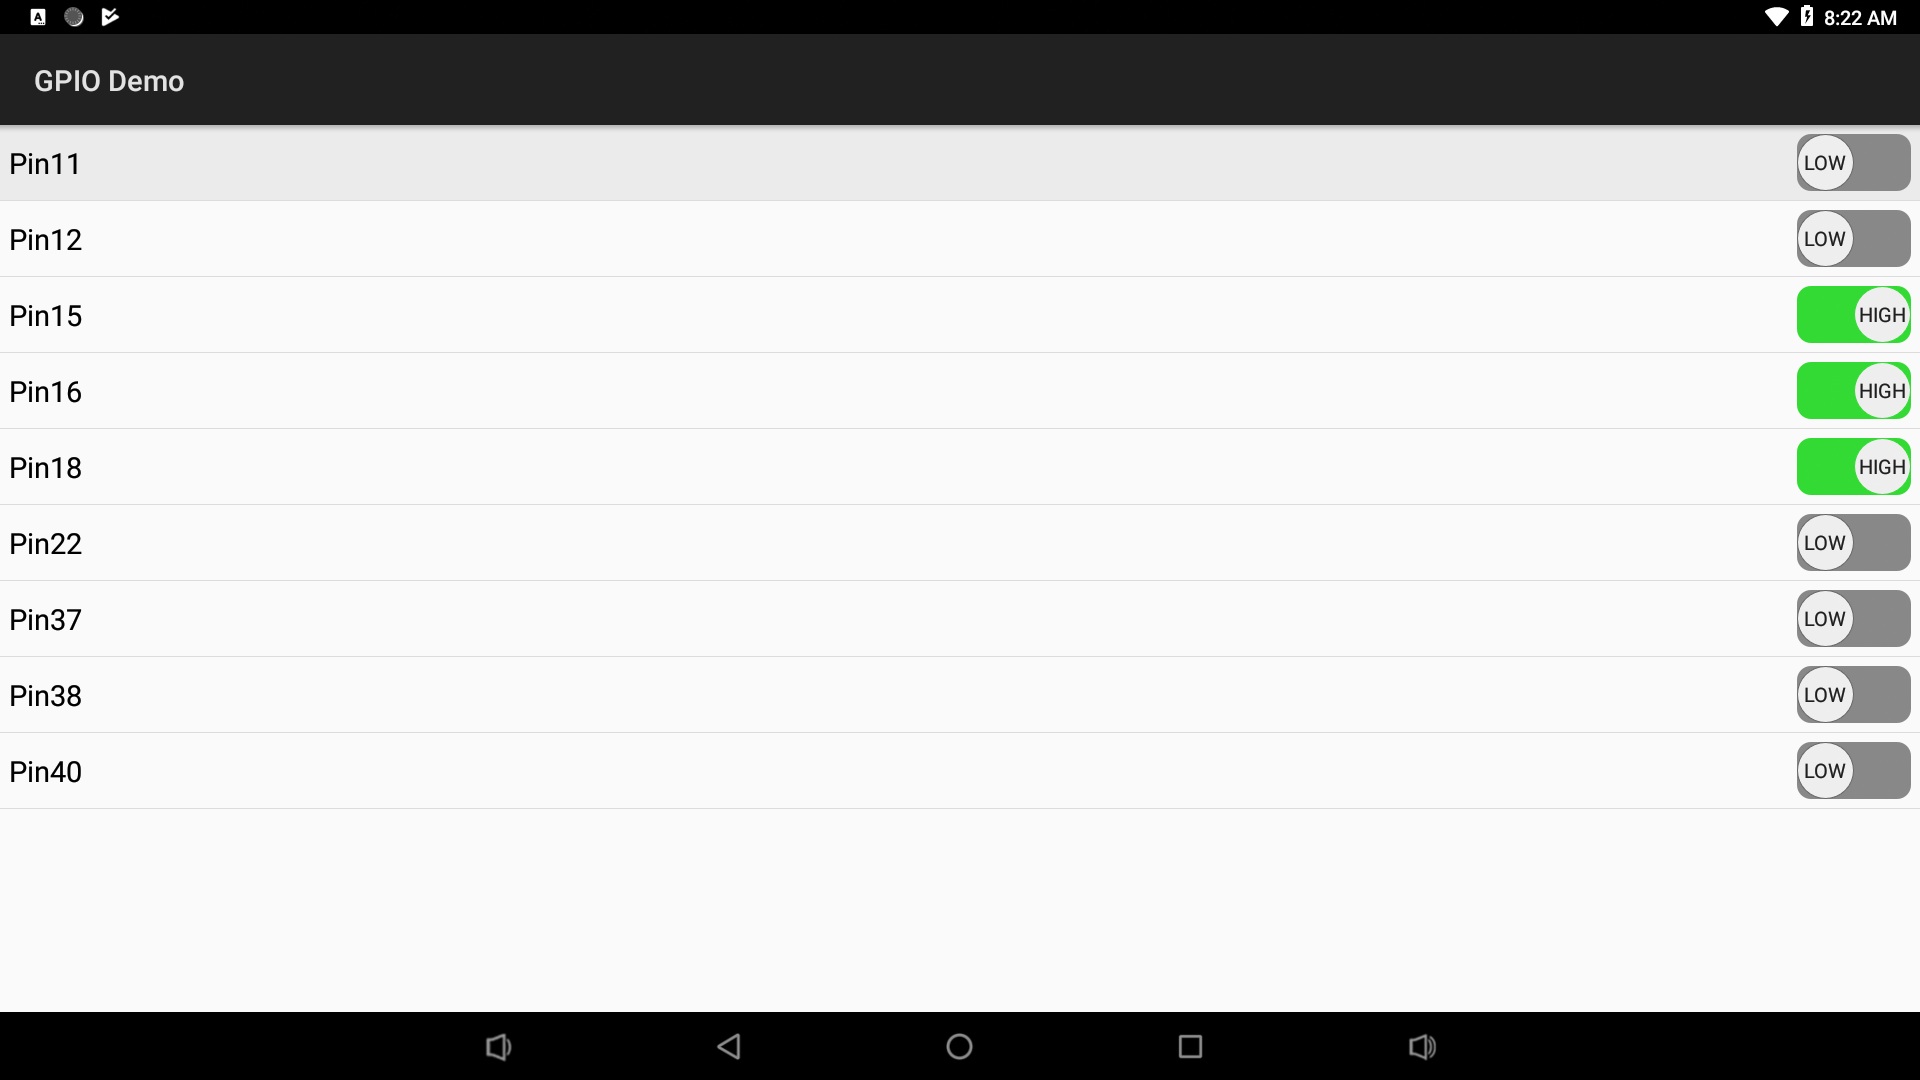
可以用LED配件来测试GPIO示例,在界面上对引脚输出高电平时,LED亮,低电平时,LCD灭。
6.3 ADC
RK3399引出了三路ADC,channel为0, 2, 3,对应的文件节点为:
频道 文件节点 Channel 0 /sys/devices/platform/ff100000.saradc/iio:device0/in_voltage0_raw Channel 2 /sys/devices/platform/ff100000.saradc/iio:device0/in_voltage2_raw Channel 3 /sys/devices/platform/ff100000.saradc/iio:device0/in_voltage3_raw
在 Android 下用标准的文件读取接口就可以读取,你可以将一个可调电阻配件连接到开发板上进行测试。
6.4 PWM
RK3399开发板也是通过sysfs方式来控制PWM,直接操作 /sys/class/pwm/pwmchip1 下的文件节点即可,下面以在命令行操作PWM风扇风速作为示例:
6.4.1 PWM接口说明
- 将PWM0暴露到用户空间
echo 0 > /sys/class/pwm/pwmchip1/export
- 通过设置PWM的period和duty_cycle来控制风速
echo 0 > /sys/class/pwm/pwmchip1/pwm0/enable
echo 50000 > /sys/class/pwm/pwmchip1/pwm0/period
echo 1 > /sys/class/pwm/pwmchip1/pwm0/enable
echo 45000 > /sys/class/pwm/pwmchip1/pwm0/duty_cycle
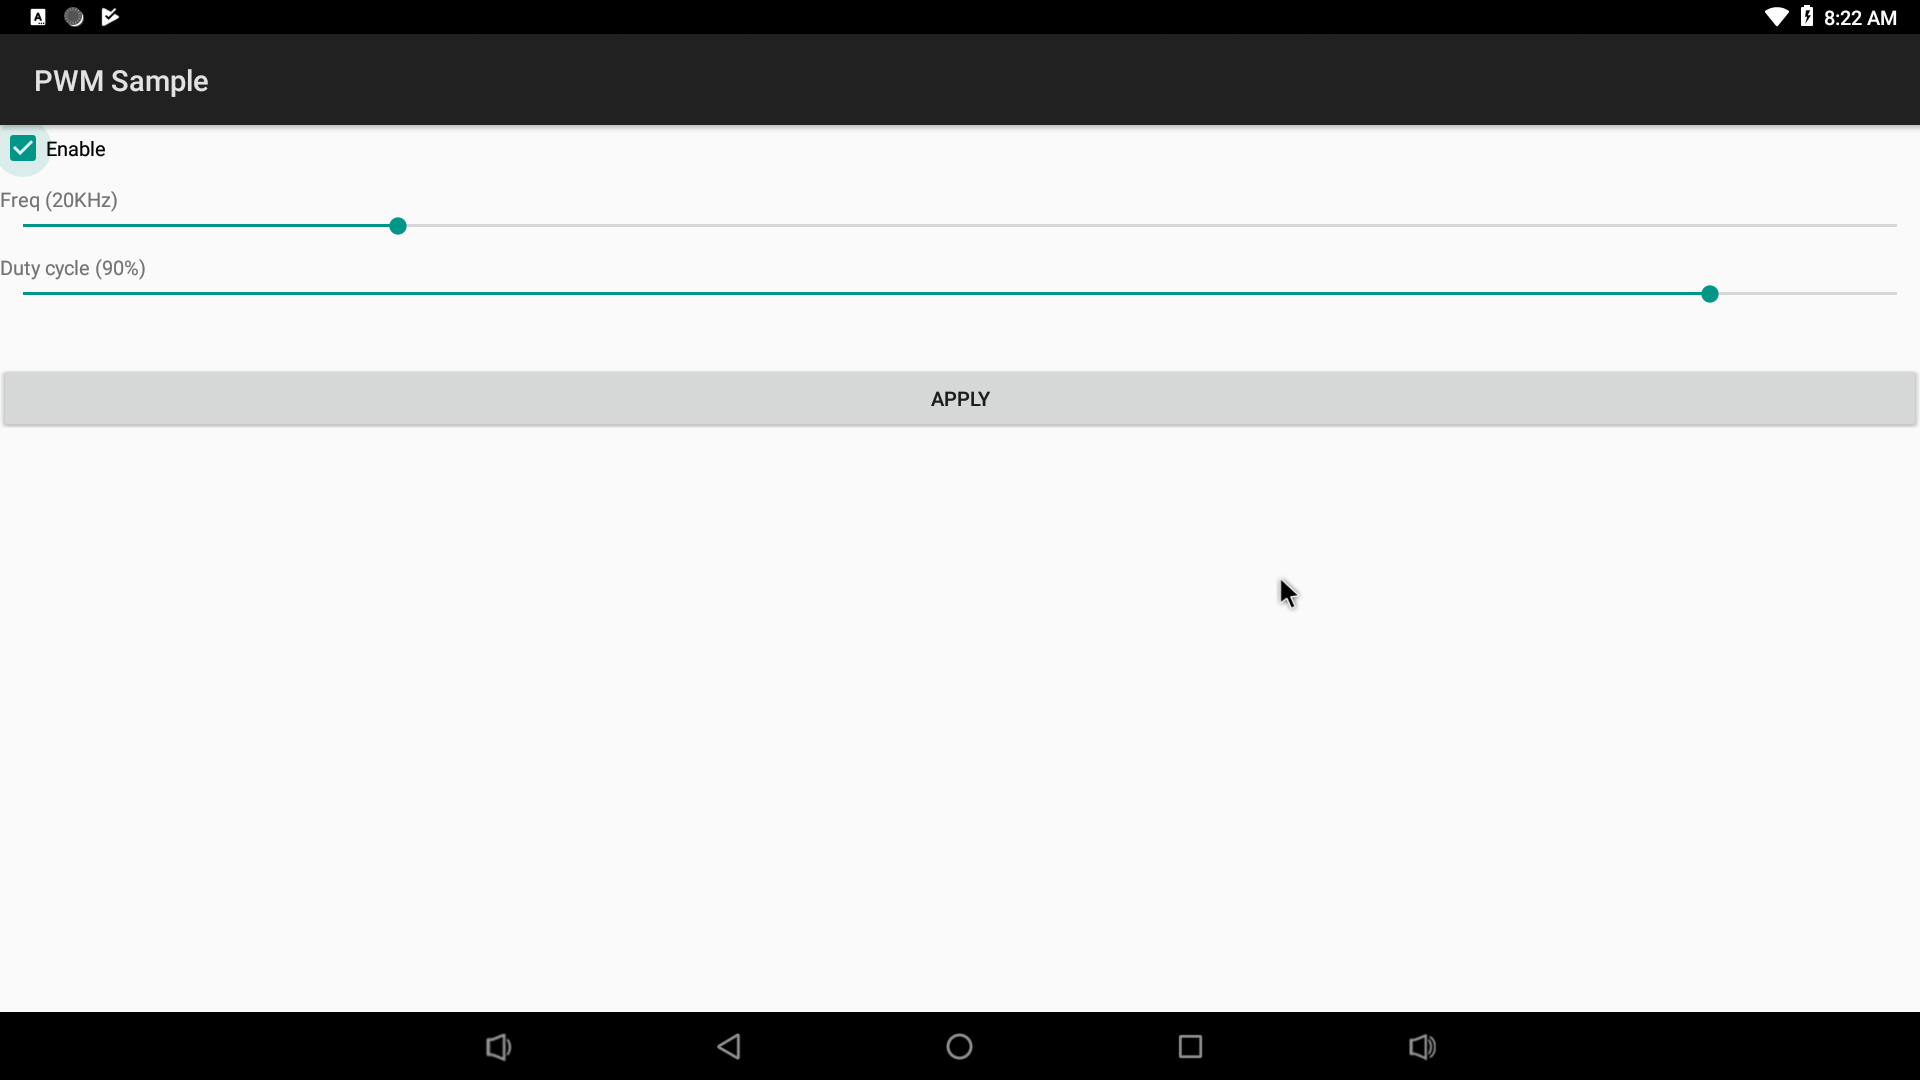
6.4.2 PWM示例说明
可以连接一个PWM风扇(3针)到NanoPC-T4的风扇接口来测试PWM示例。
6.5 I2C
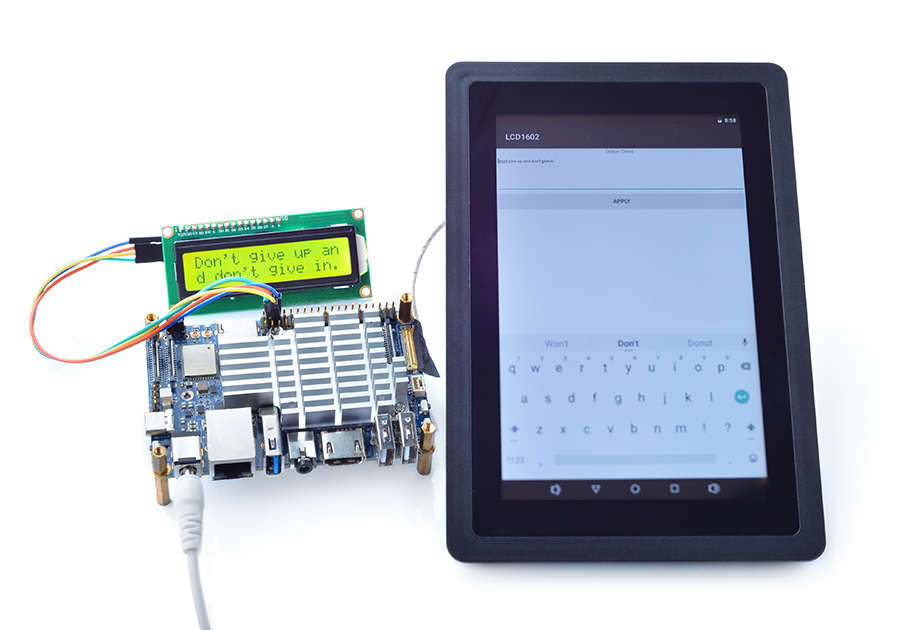
运行I2C Demo需要将一个LCD1602的模块连接到NanoPC-T4的以下引脚:
物理序号 I2C功能 Pin3 I2C2_SDA(3V) Pin4 VCC5V0_SYS Pin5 I2C2_SCL(3V) Pin6 GND
6.6 RTC
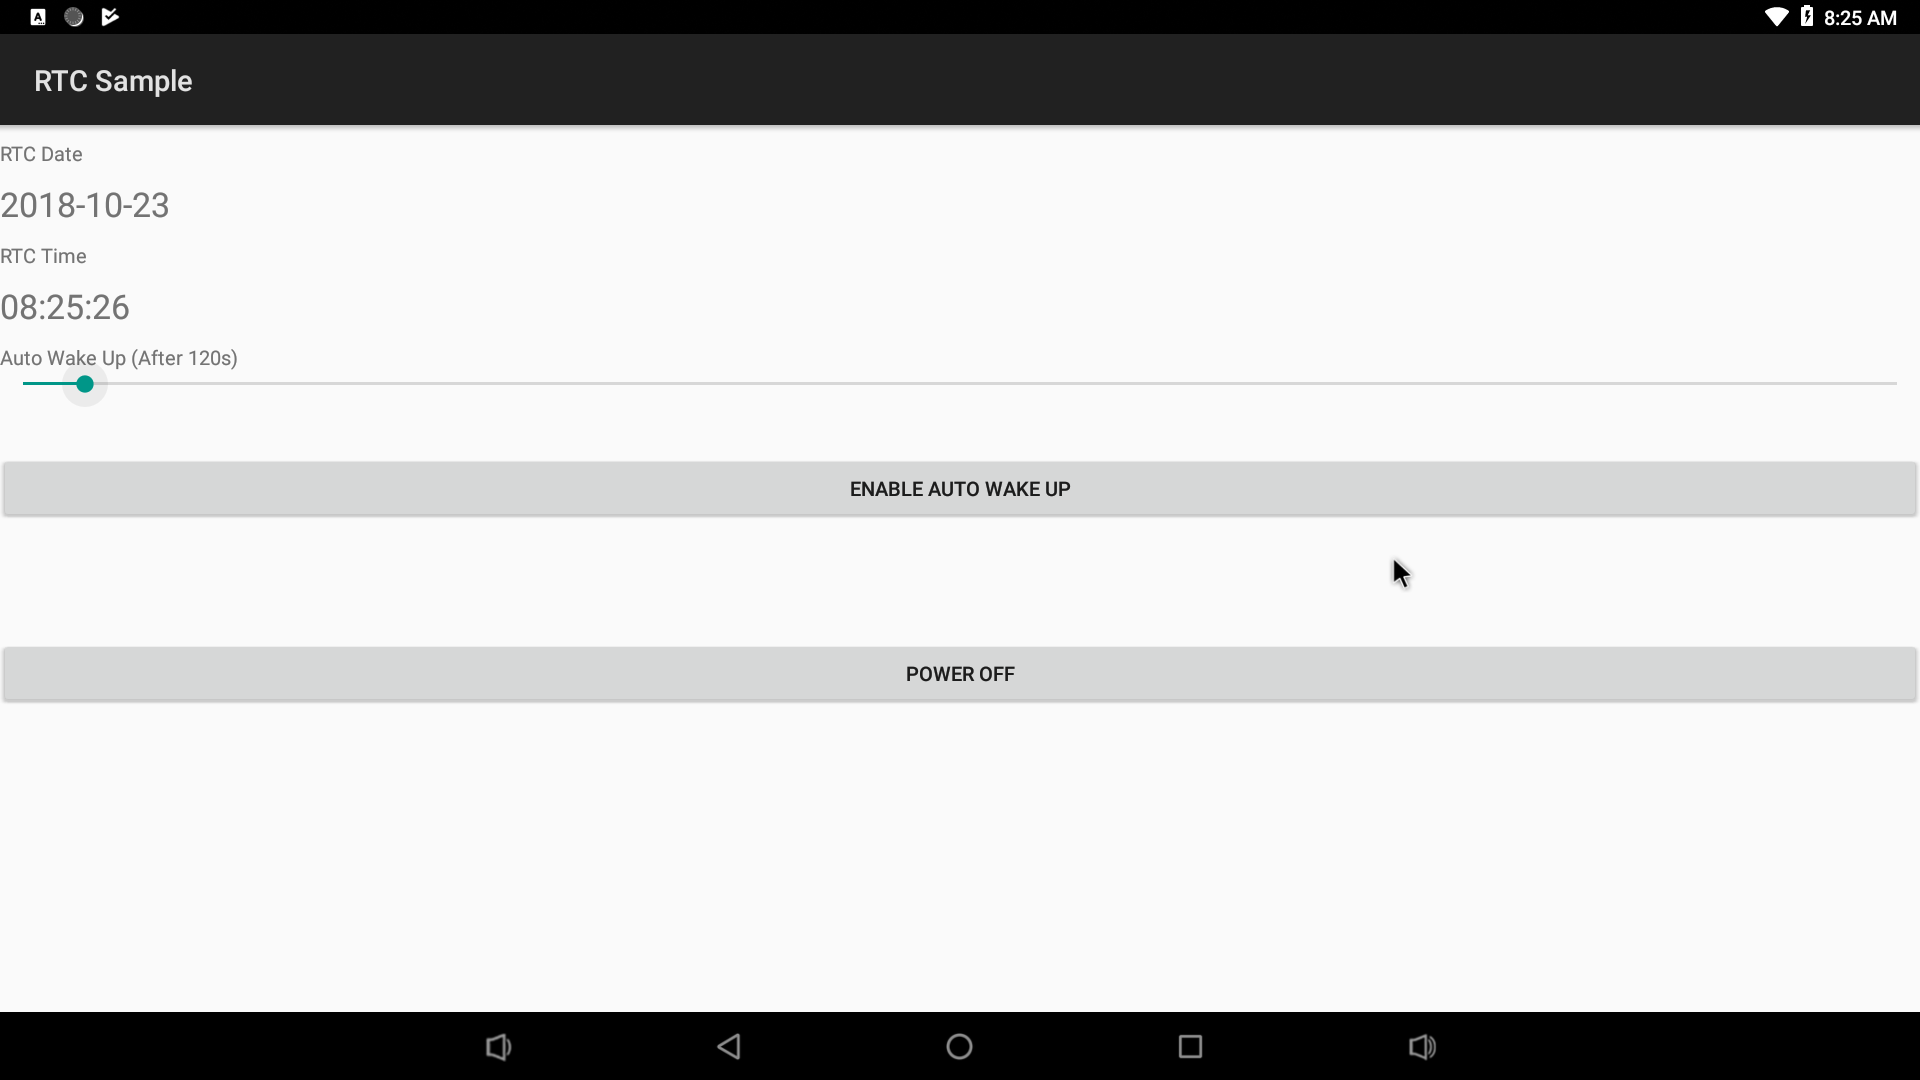
通过 /sys/class/rtc/rtc0/下面的接口来操作RTC,比如查看当前RTC的日期和时间:
cat /sys/class/rtc/rtc0/date
# 2018-10-20
cat /sys/class/rtc/rtc0/time
# 08:20:14
设置开机时间,如设置120秒后开机:
#120秒后定时开机
echo +120 >  /sys/class/rtc/rtc0/wakealarm
6.7 Watch dog
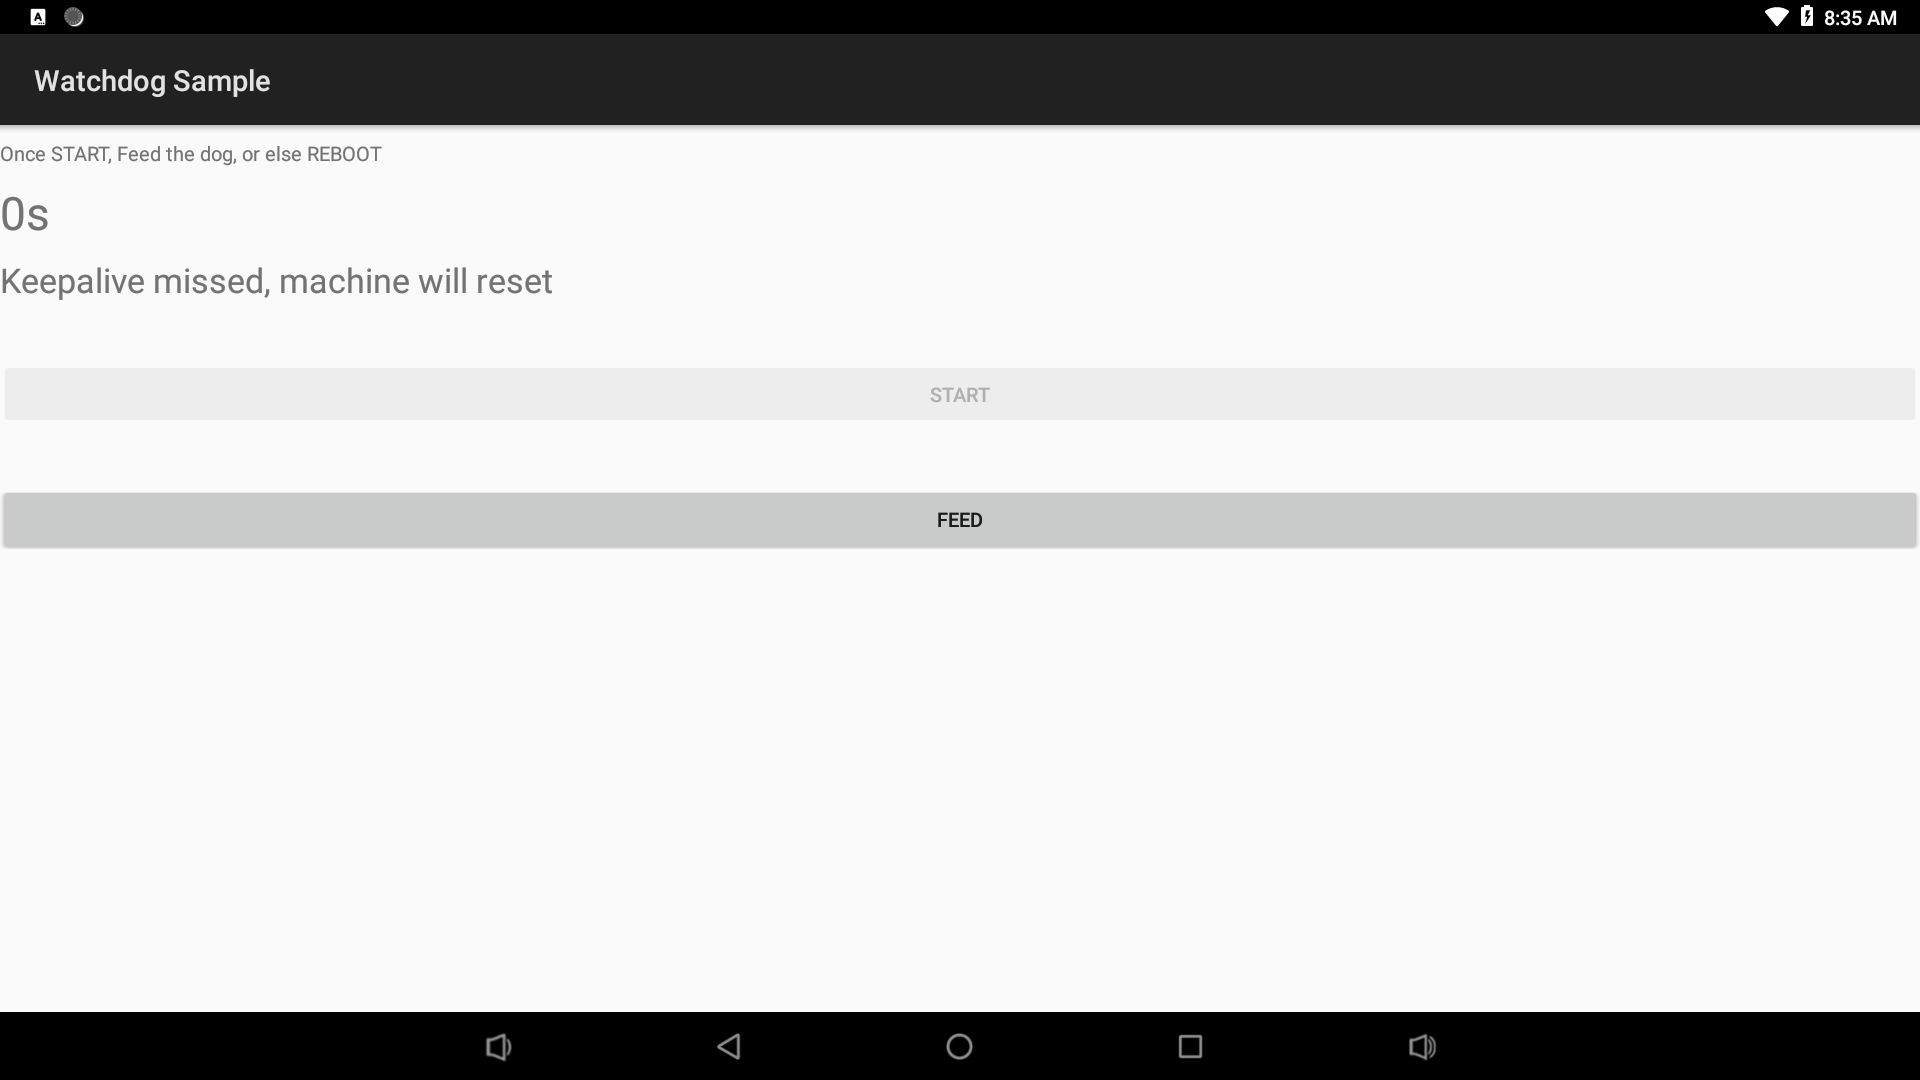
看门狗的操作比较简单,打开设备 /dev/watchdog 并定时写入字符即可,如果系统出现问题导致没有写入字符,设备会过一段时间自动重启:
mWatchDogFD = HardwareControler.open("/dev/watchdog", FileCtlEnum.O_WRONLY);
HardwareControler.write(mWatchDogFD, "a".getBytes());
6.8 SPI
6.8.1 启用SPI
SPI由于与UART4共用引脚,所以需要修改内核DTS文件,修改方法如下:
编辑内核目录下的dts文件 arch/arm64/boot/dts/rockchip/rk3399-nanopi4-common.dtsi:
cd ANDROID_SOURCE/kernel
vim arch/arm64/boot/dts/rockchip/rk3399-nanopi4-common.dtsi
其中,ANDROID_SOURCE请替换为真实的 Android7或Android8源代码目录。
首先找到 spi1 的定义:
&spi1 {
    status = "disabled";  // 将其中的 disabled 改为 okay
然后再在 rk3399-nanopi4-common.dtsi 文件到找到 uart4 的定义:
&uart4 {
    status = "okay";   // 将其中的 okay 改为 disabled
最后重新编译内核:
cd ANDROID_SOURCE/
./build-nanopc-t4.sh -K -M
更新 rockdev/Image-nanopc_t4/resource.img 到开发板即可,可以将resource.img拷贝到安装有 eflasher 系统的TF卡中,位置是FriendlyARM分区的androidX 目录,替换里面的resource.img文件,然后用TF卡重刷系统。
6.8.2 SPI示例
SPI示例默认没有预装,需要手动编译,方法是修改Android源代码的以下文件:
vendor/friendlyelec/apps# vi device-partial.mk
去掉前面的注释:
# PRODUCT_PACKAGES += SPI-OLED然后重新编译 Android源代码。
运行SPI示例需要在NanoPC-T4上连接一个 SPI接口的OLED,规格为0.96寸的128x64屏。
屏幕上有7个引脚,与开发板用母对母杜邦线连接,接法如下表:
OLED引脚 功能 NanoPC-T4引脚编号 备注 GND Pin6 GND VCC Pin2 VCC5V DO SCLK Pin23 (SPI1_CLK(3V) 时钟信号,由主设备产生 DI MOSI Pin19 (SPI1_TXD) 主设备数据输出,从设备数据输入 RES Pin16 (GPIO1_C6(3V)) D/C Pin12 (GPIO1_C2) CS CS0 Pin24 (SPI1_CSn0) 从设备使能信号,由主设备控制
6.8.3 SPI接口说明
7 示例程序下载地址
所有硬件访问的示例程序均已集成到 Android 的源代码当中,位于 Android7.1.2 和 Android8.1 源代码的以下目录:vendor/friendlyelec/apps,也可以单独网上下载,下表中列出各个 Demo 的源代码地址:
7.1 Android8.1
7.1.1 Applicable Boards
- NanoPC-T4/NanoPi-M4/NanoPi-NEO4
Android8.1 Demos Serial Port GPIO ADC https://gitlab.com/friendlyelec/rk3399-android-8.1/tree/master/vendor/friendlyelec/apps/ADCDemo
PWM https://gitlab.com/friendlyelec/rk3399-android-8.1/tree/master/vendor/friendlyelec/apps/PWMDemo
I2C RTC Watch dog SPI
7.2 Android7.1.2
7.2.1 Applicable Boards
- NanoPC-T4/NanoPi-M4/NanoPi-NEO4
Android7.1.2 Demos Serial Port GPIO ADC https://gitlab.com/friendlyelec/rk3399-nougat/tree/nanopc-t4-nougat/vendor/friendlyelec/apps/ADCDemo
PWM https://gitlab.com/friendlyelec/rk3399-nougat/tree/nanopc-t4-nougat/vendor/friendlyelec/apps/PWMDemo
I2C RTC Watch dog SPI
