|
|
| Line 126: |
Line 126: |
| | | | |
| | ==Develop Qt Application== | | ==Develop Qt Application== |
| − | ===Install Qt-Embedded on Host PC===
| + | Please refer to: [[How to build Qt application]] |
| − | <!---
| + | |
| − | Visit the product page of one of the following products and download the target-ate-4.8.6-to-hostpc.tgz file:
| + | |
| − | * NanoPi2, NanoPi M2, NanoPi T2: [https://www.mediafire.com/folder/ilkcy37otd7il/NanoPi2Board Download]
| + | |
| − | | + | |
| − | Enter the root directory and uncompress the file:
| + | |
| − | <syntaxhighlight lang="bash">
| + | |
| − | cd /
| + | |
| − | tar xvzf ~/target-ate-4.8.6-to-hostpc.tgz
| + | |
| − | </syntaxhighlight>
| + | |
| − | | + | |
| − | After it is done verify it by using the following command:
| + | |
| − | <syntaxhighlight lang="bash">
| + | |
| − | /usr/local/Trolltech/QtEmbedded-4.8.6-arm/bin/qmake -v
| + | |
| − | </syntaxhighlight>
| + | |
| − | | + | |
| − | If you install it successfully you will get the following information:<br />
| + | |
| − | QMake version 2.01a <br />
| + | |
| − | Using Qt version 4.8.6 in /usr/local/Trolltech/QtEmbedded-4.8.6-arm/lib <br />
| + | |
| − | --->
| + | |
| − | The Ubuntu Core file system has a complete Qt-Embedded binary package. You can directly copy it to your host PC and use it.Here are the steps:<br />
| + | |
| − | <br />
| + | |
| − | Firstly make an installation SD card with Ubuntu Core with Qt-Embedded. After this SD card is made successfully there will be a root section for Ubuntu core. You need to mount this section to a directory e.g. "/media/root/rootfs" and run the following commands:
| + | |
| − | <syntaxhighlight lang="bash">
| + | |
| − | # sudo mkdir -p /usr/local/Trolltech
| + | |
| − | </syntaxhighlight>
| + | |
| − | If this is a 32-bit file system copy the following directory:
| + | |
| − | <syntaxhighlight lang="bash">
| + | |
| − | # sudo cp -af /media/root/rootfs/usr/local/Trolltech/QtEmbedded-5.9.1-arm /usr/local/Trolltech/
| + | |
| − | </syntaxhighlight>
| + | |
| − | If this is a 64-bit file system copy the following directory instead:
| + | |
| − | <syntaxhighlight lang="bash">
| + | |
| − | # sudo cp -af /media/root/rootfs/usr/local/Trolltech/QtEmbedded-5.9.1-arch64 /usr/local/Trolltech/
| + | |
| − | </syntaxhighlight>
| + | |
| − | | + | |
| − | <!---
| + | |
| − | ===Install Cross Compiler on Host PC (arm-linux-gcc 4.9.3)===
| + | |
| − | Download and uncompress the compiler:
| + | |
| − | <syntaxhighlight lang="bash">
| + | |
| − | git clone https://github.com/friendlyarm/prebuilts.git
| + | |
| − | sudo mkdir -p /opt/FriendlyARM/toolchain
| + | |
| − | sudo tar xf prebuilts/gcc-x64/arm-cortexa9-linux-gnueabihf-4.9.3.tar.xz -C /opt/FriendlyARM/toolchain/
| + | |
| − | </syntaxhighlight>
| + | |
| − | | + | |
| − | Add the compiler's directory to "PATH" and append the following lines in "~/.bashrc":
| + | |
| − | <syntaxhighlight lang="bash">
| + | |
| − | export PATH=/opt/FriendlyARM/toolchain/4.9.3/bin:$PATH
| + | |
| − | export GCC_COLORS=auto
| + | |
| − | </syntaxhighlight>
| + | |
| − | | + | |
| − | Run "~/.bashrc" to make your setting effective. Attention: there is a space after ".":
| + | |
| − | <syntaxhighlight lang="bash">
| + | |
| − | . ~/.bashrc
| + | |
| − | </syntaxhighlight>
| + | |
| − | | + | |
| − | This compiler is a 64-bit one therefore it cannot be run on a 32-bit Linux machine. After the compiler is installed you can verify it by running the following commands:
| + | |
| − | <syntaxhighlight lang="bash">
| + | |
| − | arm-linux-gcc -v
| + | |
| − | Using built-in specs.
| + | |
| − | COLLECT_GCC=arm-linux-gcc
| + | |
| − | COLLECT_LTO_WRAPPER=/opt/FriendlyARM/toolchain/4.9.3/libexec/gcc/arm-cortexa9-linux-gnueabihf/4.9.3/lto-wrapper
| + | |
| − | Target: arm-cortexa9-linux-gnueabihf
| + | |
| − | Configured with: /work/toolchain/build/src/gcc-4.9.3/configure --build=x86_64-build_pc-linux-gnu
| + | |
| − | --host=x86_64-build_pc-linux-gnu --target=arm-cortexa9-linux-gnueabihf --prefix=/opt/FriendlyARM/toolchain/4.9.3
| + | |
| − | --with-sysroot=/opt/FriendlyARM/toolchain/4.9.3/arm-cortexa9-linux-gnueabihf/sys-root --enable-languages=c,c++
| + | |
| − | --with-arch=armv7-a --with-tune=cortex-a9 --with-fpu=vfpv3 --with-float=hard
| + | |
| − | ...
| + | |
| − | Thread model: posix
| + | |
| − | gcc version 4.9.3 (ctng-1.21.0-229g-FA)
| + | |
| − | </syntaxhighlight>
| + | |
| − | --->
| + | |
| − | ===Install Cross Compiler on Host PC===
| + | |
| − | There are two compilers: one for a 32-bit OS and the other for a 64-bit OS.<br />
| + | |
| − | You can check if your OS is a 64-bit one by running the following commands:
| + | |
| − | <syntaxhighlight lang="bash">
| + | |
| − | $ sudo uname --m
| + | |
| − | aarch64
| + | |
| − | </syntaxhighlight>
| + | |
| − | Or you can tell that by the name of the directory for "Qt-Embedded":<br />
| + | |
| − | QtEmbedded-5.9.1-arm: a 32-bit compiler with gcc 4.9.3 (arm-cortexa9-linux-gnueabihf-4.9.3.tar.xz);<br />
| + | |
| − | QtEmbedded-5.9.1-arch64: a 64-bit compiler with gcc 6.4 (aarch64-cortexa53-linux-gnu-6.4.tar.xz);<br />
| + | |
| − | | + | |
| − | ====32-bit Compiler(for S5P4418/S5P6818/Allwinner H3)====
| + | |
| − | Download and extract compiler package:
| + | |
| − | <syntaxhighlight lang="bash">
| + | |
| − | git clone https://github.com/friendlyarm/prebuilts.git
| + | |
| − | sudo mkdir -p /opt/FriendlyARM/toolchain
| + | |
| − | sudo tar xf prebuilts/gcc-x64/arm-cortexa9-linux-gnueabihf-4.9.3.tar.xz -C /opt/FriendlyARM/toolchain/
| + | |
| − | </syntaxhighlight>
| + | |
| − | | + | |
| − | Add compiler's directory to the "PATH" variable and append the following lines in the "~/.bashrc" file:
| + | |
| − | <syntaxhighlight lang="bash">
| + | |
| − | export PATH=/opt/FriendlyARM/toolchain/4.9.3/bin:$PATH
| + | |
| − | export GCC_COLORS=auto
| + | |
| − | </syntaxhighlight>
| + | |
| − | | + | |
| − | Run the "~/.bashrc" script and the setting will be effective immediately. Note: there is a space after ".":
| + | |
| − | <syntaxhighlight lang="bash">
| + | |
| − | . ~/.bashrc
| + | |
| − | </syntaxhighlight>
| + | |
| − | | + | |
| − | After the compiler is installed and setup you can verify it by running the following commands:
| + | |
| − | <syntaxhighlight lang="bash">
| + | |
| − | arm-linux-gcc -v
| + | |
| − | Using built-in specs.
| + | |
| − | COLLECT_GCC=arm-linux-gcc
| + | |
| − | COLLECT_LTO_WRAPPER=/opt/FriendlyARM/toolchain/4.9.3/libexec/gcc/arm-cortexa9-linux-gnueabihf/4.9.3/lto-wrapper
| + | |
| − | Target: arm-cortexa9-linux-gnueabihf
| + | |
| − | Configured with: /work/toolchain/build/src/gcc-4.9.3/configure --build=x86_64-build_pc-linux-gnu
| + | |
| − | --host=x86_64-build_pc-linux-gnu --target=arm-cortexa9-linux-gnueabihf --prefix=/opt/FriendlyARM/toolchain/4.9.3
| + | |
| − | --with-sysroot=/opt/FriendlyARM/toolchain/4.9.3/arm-cortexa9-linux-gnueabihf/sys-root --enable-languages=c,c++
| + | |
| − | --with-arch=armv7-a --with-tune=cortex-a9 --with-fpu=vfpv3 --with-float=hard
| + | |
| − | ...
| + | |
| − | Thread model: posix
| + | |
| − | gcc version 4.9.3 (ctng-1.21.0-229g-FA)
| + | |
| − | </syntaxhighlight>
| + | |
| − | | + | |
| − | ====64-bit Compiler(for Amlogic S905/S5P6818/Allwinner H5)====
| + | |
| − | Download and extract compiler package:
| + | |
| − | <syntaxhighlight lang="bash">
| + | |
| − | git clone https://github.com/friendlyarm/prebuilts.git
| + | |
| − | sudo mkdir -p /opt/FriendlyARM/toolchain
| + | |
| − | sudo tar xf prebuilts/gcc-x64/aarch64-cortexa53-linux-gnu-6.4.tar.xz -C /opt/FriendlyARM/toolchain/
| + | |
| − | </syntaxhighlight>
| + | |
| − | | + | |
| − | Add compiler's directory to the "PATH" variable and append the following lines in the "~/.bashrc" file:
| + | |
| − | <syntaxhighlight lang="bash">
| + | |
| − | export PATH=/opt/FriendlyARM/toolchain/6.4-aarch64/bin:$PATH
| + | |
| − | export GCC_COLORS=auto
| + | |
| − | </syntaxhighlight>
| + | |
| − | | + | |
| − | Run the "~/.bashrc" script and the setting will be effective immediately. Note: there is a space after ".":
| + | |
| − | <syntaxhighlight lang="bash">
| + | |
| − | . ~/.bashrc
| + | |
| − | </syntaxhighlight>
| + | |
| − | | + | |
| − | After the compiler is installed and setup you can verify it by running the following commands:
| + | |
| − | <syntaxhighlight lang="bash">
| + | |
| − | # aarch64-linux-gcc -v
| + | |
| − | Using built-in specs.
| + | |
| − | COLLECT_GCC=aarch64-linux-gcc
| + | |
| − | COLLECT_LTO_WRAPPER=/opt/FriendlyARM/toolchain/6.4-aarch64/libexec/gcc/aarch64-cortexa53-linux-gnu/6.4.0/lto-wrapper
| + | |
| − | Target: aarch64-cortexa53-linux-gnu
| + | |
| − | Configured with: /work/toolchain/build/aarch64-cortexa53-linux-gnu/build/src/gcc/configure --build=x86_64-build_pc-linux-gnu --host=x86_64-build_pc-linux-gnu --target=aarch64-cortexa53-linux-gnu --prefix=/opt/FriendlyARM/toolchain/6.4-aarch64 --with-sysroot=/opt/FriendlyARM/toolchain/6.4-aarch64/aarch64-cortexa53-linux-gnu/sysroot --enable-languages=c,c++ --enable-fix-cortex-a53-835769 --enable-fix-cortex-a53-843419 --with-cpu=cortex-a53 --with-pkgversion=ctng-1.23.0-150g-FA --with-bugurl=http://www.friendlyarm.com/ --enable-objc-gc --enable-__cxa_atexit --disable-libmudflap --disable-libgomp --disable-libssp --disable-libquadmath --disable-libquadmath-support --disable-libsanitizer --disable-libmpx --with-gmp=/work/toolchain/build/aarch64-cortexa53-linux-gnu/buildtools --with-mpfr=/work/toolchain/build/aarch64-cortexa53-linux-gnu/buildtools --with-mpc=/work/toolchain/build/aarch64-cortexa53-linux-gnu/buildtools --with-isl=/work/toolchain/build/aarch64-cortexa53-linux-gnu/buildtools --enable-lto --with-host-libstdcxx='-static-libgcc -Wl,-Bstatic,-lstdc++,-Bdynamic -lm' --enable-threads=posix --enable-target-optspace --disable-libstdcxx-pch --enable-clocale=gnu --enable-libstdcxx-debug --enable-libstdcxx-time=yes --enable-gnu-indirect-function --enable-gnu-unique-object --enable-linker-build-id --with-linker-hash-style=gnu --enable-plugin --enable-gold --with-libintl-prefix=/work/toolchain/build/aarch64-cortexa53-linux-gnu/buildtools --disable-multilib --with-local-prefix=/opt/FriendlyARM/toolchain/6.4-aarch64/aarch64-cortexa53-linux-gnu/sysroot --enable-long-long --enable-checking=release
| + | |
| − | Thread model: posix
| + | |
| − | gcc version 6.4.0 (ctng-1.23.0-150g-FA)
| + | |
| − | </syntaxhighlight>
| + | |
| − | | + | |
| − | <!---
| + | |
| − | ===Your "Hello world"===
| + | |
| − | Create a "helloqt" directory and a main.cpp file on your host PC:
| + | |
| − | <syntaxhighlight lang="bash">
| + | |
| − | cd ~
| + | |
| − | mkdir helloqt
| + | |
| − | vi main.cpp
| + | |
| − | </syntaxhighlight>
| + | |
| − | | + | |
| − | Here is a main.cpp sample:
| + | |
| − | <syntaxhighlight lang="c">
| + | |
| − | #include <QApplication>
| + | |
| − | #include <QPushButton>
| + | |
| − | int main(int argc, char **argv)
| + | |
| − | {
| + | |
| − | QApplication app (argc, argv);
| + | |
| − | QPushButton button ("Hello world !");
| + | |
| − | button.show();
| + | |
| − | return app.exec();
| + | |
| − | }
| + | |
| − | </syntaxhighlight>
| + | |
| − | | + | |
| − | Exit vi and run the following commands to compile the program:
| + | |
| − | <syntaxhighlight lang="bash">
| + | |
| − | cd ~/helloqt
| + | |
| − | /usr/local/Trolltech/QtEmbedded-4.8.6-arm/bin/qmake -project
| + | |
| − | /usr/local/Trolltech/QtEmbedded-4.8.6-arm/bin/qmake
| + | |
| − | make
| + | |
| − | </syntaxhighlight>
| + | |
| − | | + | |
| − | If compilation is successful you will get a helloqt bin file. Copy the bin file to your board and run it from a terminal:
| + | |
| − | <syntaxhighlight lang="bash">
| + | |
| − | . setqt4env
| + | |
| − | helloqt -qws&
| + | |
| − | </syntaxhighlight>
| + | |
| − | --->
| + | |
| − | ===Compile & Run Your Qt Program===
| + | |
| − | Download a code sample and create a "build" directory:
| + | |
| − | <syntaxhighlight lang="bash">
| + | |
| − | cd ~
| + | |
| − | git clone https://github.com/friendlyarm/QtE-Demo.git
| + | |
| − | mkdir ~/build-qte-demo
| + | |
| − | cd ~/build-qte-demo
| + | |
| − | </syntaxhighlight>
| + | |
| − | <br />
| + | |
| − | Steps for a 32-bit OS:
| + | |
| − | <syntaxhighlight lang="bash">
| + | |
| − | /usr/local/Trolltech/QtEmbedded-5.9.1-arm/bin/qmake ~/QtE-Demo
| + | |
| − | export PATH=/opt/FriendlyARM/toolchain/4.9.3/bin/:$PATH
| + | |
| − | make
| + | |
| − | </syntaxhighlight>
| + | |
| − | <br />
| + | |
| − | Steps for a 64-bit OS:
| + | |
| − | <syntaxhighlight lang="bash">
| + | |
| − | /usr/local/Trolltech/QtEmbedded-5.9.1-arch64/bin/qmake ~/QtE-Demo
| + | |
| − | export PATH=/opt/FriendlyARM/toolchain/6.4-aarch64/bin/:$PATH
| + | |
| − | make
| + | |
| − | </syntaxhighlight>
| + | |
| − | | + | |
| − | After compilation succeeds a QtE-Demo binary will be generated. You can start it by running the following commands:
| + | |
| − | <syntaxhighlight lang="bash">
| + | |
| − | . setqt5env
| + | |
| − | QtE-Demo -qws&
| + | |
| − | </syntaxhighlight>
| + | |
| − | | + | |
| − | ===Set Your Qt Program to Autorun===
| + | |
| − | You can set your Qt program to autorun. Let's take the helloqt4 as an example. We assume it is under "/root". You need to open the "/etc/rc.local" file and delete the following two lines:
| + | |
| − | <syntaxhighlight lang="bash">
| + | |
| − | cd /usr/local/Trolltech/QtEmbedded-4.8.6-arm/demos/embedded/fluidlauncher
| + | |
| − | ./fluidlauncher -qws&
| + | |
| − | </syntaxhighlight>
| + | |
| − | | + | |
| − | You need to keep ". /usr/bin/setqt4env" and append "/root/helloqt -qws &".
| + | |
| − | | + | |
| − | <!---
| + | |
| − | ===Open Source Qt Program===
| + | |
| − | The GUI you will see after you boot our UbuntuCore is developed by FriendlyARM. We replaced its original Qt Demo with this GUI. This GUI is open source and its source code is under "/opt". After this program starts it will list various system information including CPU's temperature, RAM and etc. It also includes some basic Qt utilities: qmake, uic and etc which make it much easier for users to compile and generate Qt executables.
| + | |
| − | --->
| + | |
| | | | |
| | ==Q & A== | | ==Q & A== |
Ubuntu Core with Qt-Embedded is a light Linux system without X-windows. It uses the Qt-Embedded's GUI and is popular in industrial and enterprise applications.
Besides the regular Ubuntu core's features our Ubuntu-Core has the following additional features:
The system is automatically logged in as "pi". You can do "sudo npi-config" to disable auto login.
The npi-config is a commandline utility which can be used to initialize system configurations such as user password, system language, time zone, Hostname, SSH switch , Auto login and etc. Type the following command to run this utility.
When Ubuntu is loaded the TF card's section will be automatically extended.You can check the section's size by running the following command:
You can use the NetworkManager utility in Ubuntu to manager its network. You can run "nmcli" in the commandline utility to start it. Here are the commands to start a WiFi connection:
Note: if the status of a device is "unmanaged" it means that device cannot be accessed by NetworkManager. To make is accessed you need to clear the settings under "/etc/network/interfaces" and reboot your system.
The "SSID" and "PASSWORD" need to be replaced with your actual SSID and password.If you have multiple WiFi devices you need to specify the one you want to connect to a WiFi source with iface
If a connection succeeds it will be automatically setup on next system reboot.
For more details about NetworkManager refer to this link: Use NetworkManager to configure network settings
If a board is connected to a network via Ethernet before it is powered on it will automatically obtain an IP with DHCP activated after it is powered up. If you want to set up a static IP refer to: Use NetworkManager to configure network settings。
If your board has an onboard bluetooth module you can search for surrounding bluetooth devices by running the following command:
You can run "hciconfig" to check bluetooth's status.
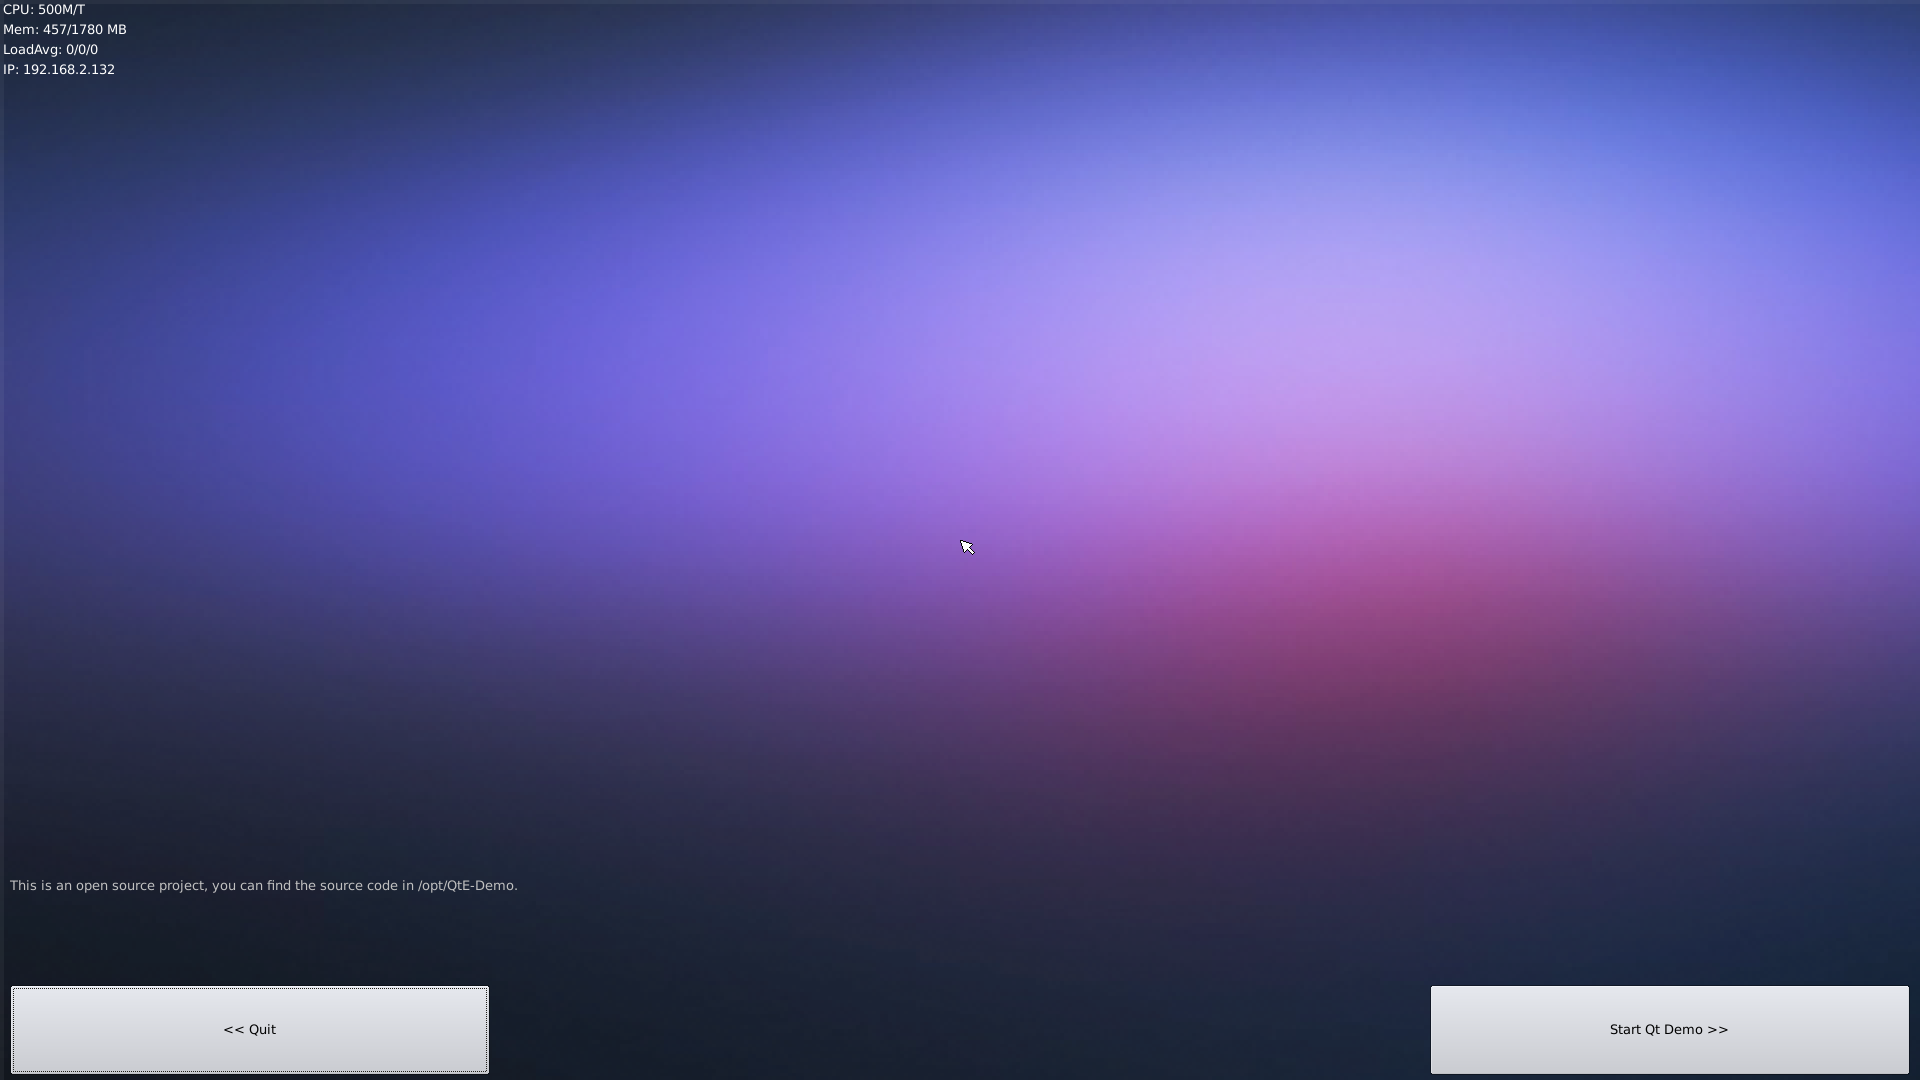
Here is what you expect to observe. This is an open source Qt Demo:
Go to Boot Options -> Autologin -> Qt/Embedded, select Enable and reboot.
If you connect your board to an LCD with capacitive touch panel in general that LCD's calibration is not required. However if your LCD is one with resistive touch panel you will have to do calibration which is triggered by running "/usr/bin/setqt4env" on your first system booting.
If you want to re-calibrate your LCD with resistive touch panel you need to delete the calibration file by using the following command:
After you reboot your system you will enter the calibration process.
Your arm-linux-gcc 4.9.3 may not include these library files. You need to try downloading the compiler again.
We used the bin file released by UbuntuCore's official site. You can get its source code from http://packages.ubuntu.com/.

