BakeBit - JoyStick/zh
From FriendlyELEC WiKi
1 介绍
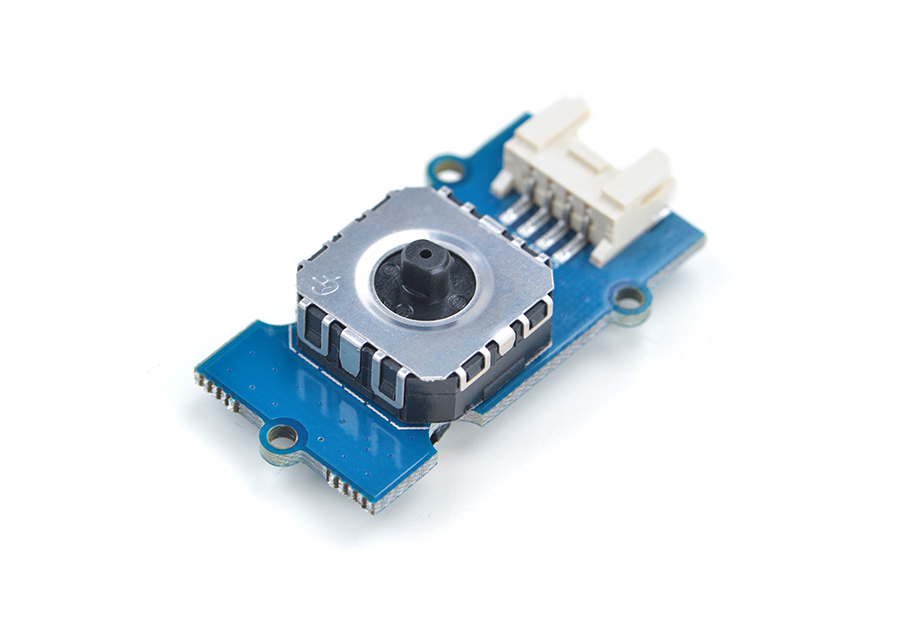
- BakeBit - JoyStick是一个摇杆模块,可以反馈二维平面的X和Y方向的运动。
当拨动摇杆时,接入电路的滑动变阻器的阻值就发生变化,对应的X/Y电压值也随之变化。
2 特性
- 使用标准的2.0mm 4 Pin BakeBit接口
- 模拟信号输出
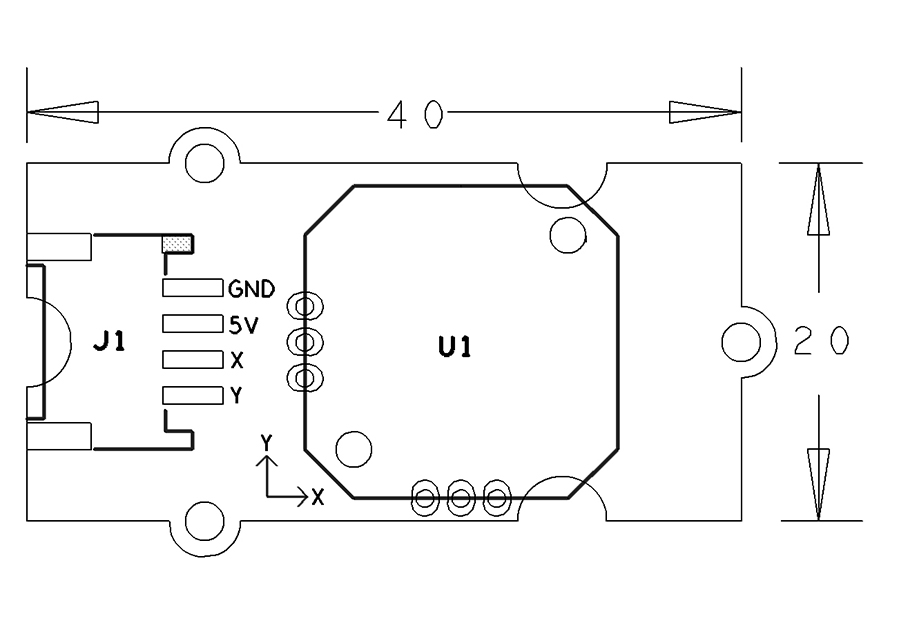
- PCB尺寸(mm):24*42
- 引脚说明:
| 名称 | 描述 |
| GND | 地 |
| 5V | 电源5V |
| X | X方向信号输出 |
| Y | Y方向信号输出 |
3 示例程序:UI Control via Joystick
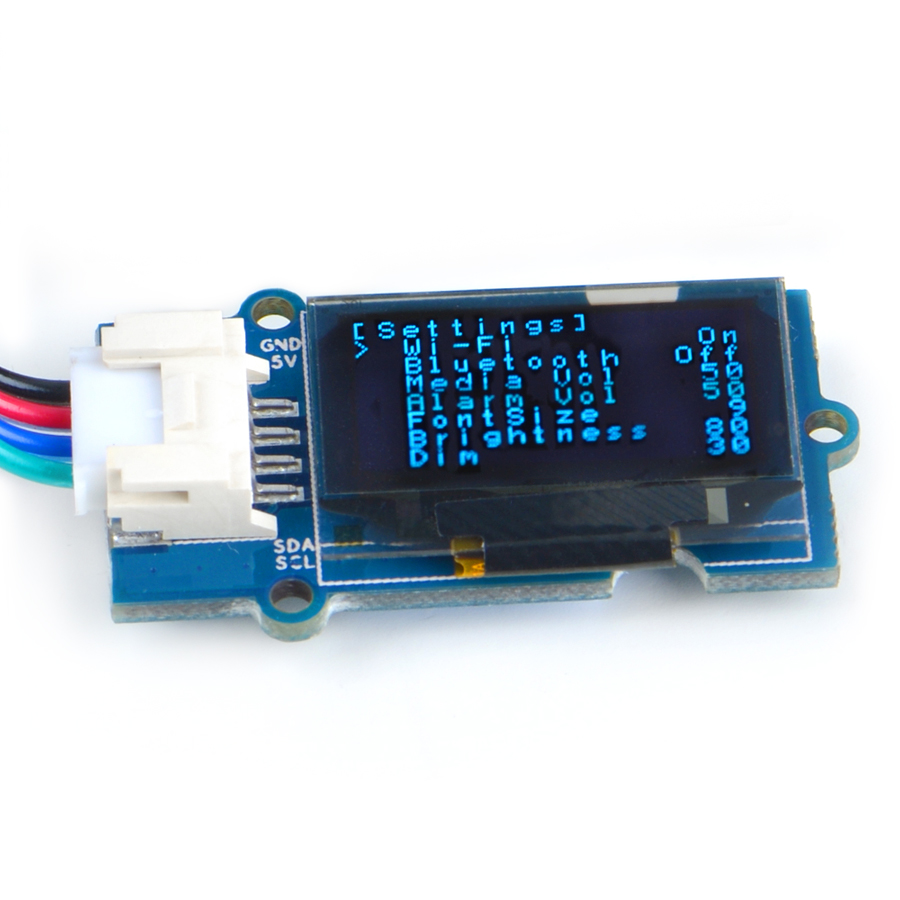
这个项目实现一个简单的设置界面,并使用摇杆来操控界面上的元素,一个很实用的例子,在程序运行时,摇杆的上下是移动要操作的项目,左右用于更改设置。
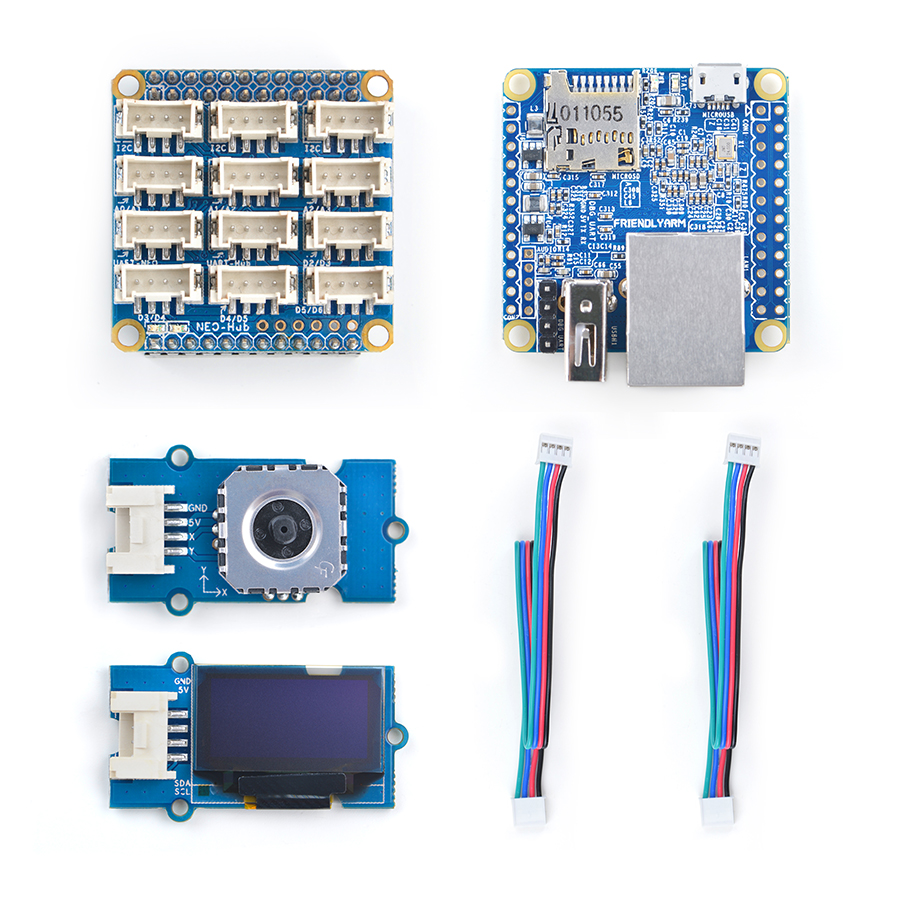
本示例需要配合BakeBit - OLED 128x64使用。
3.1 硬件连接
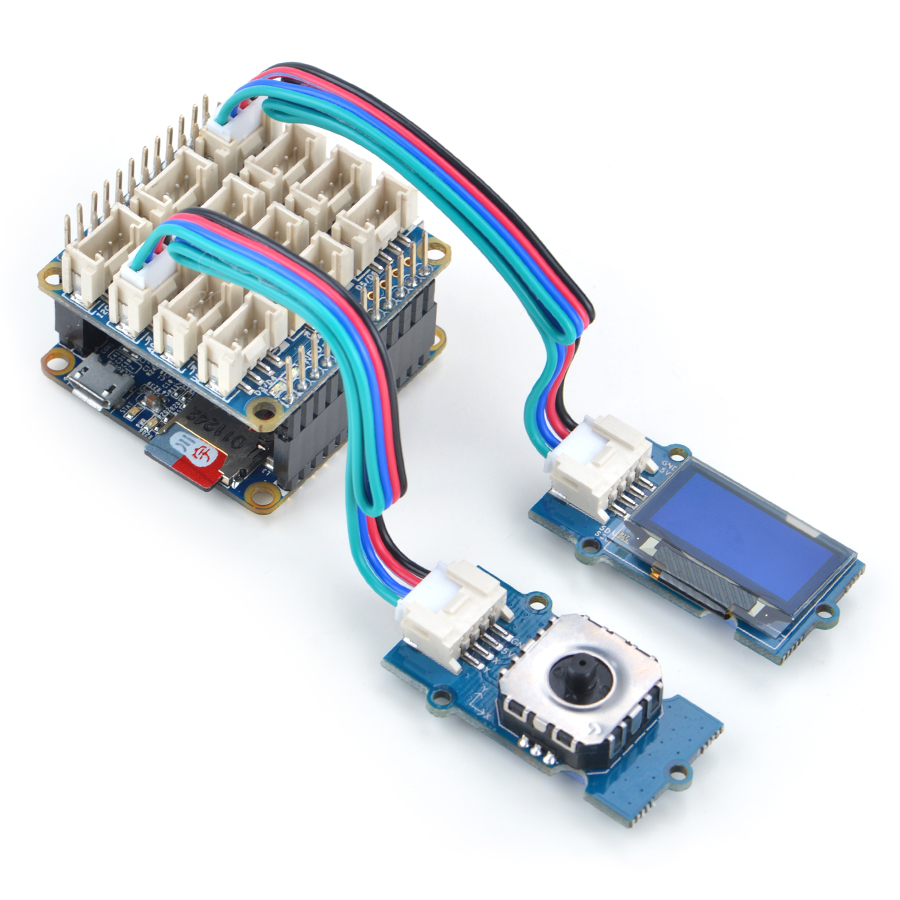
简单的将 摇杆 插入 A0接口,将 OLED 插入 I2C 接口,如下面这样:
3.2 示例源代码
import bakebit_128_64_oled as oled
import bakebit
import time


oled.init()                  #initialze SEEED OLED display
oled.clearDisplay()          #clear the screen and set start position to top left corner
oled.setNormalDisplay()      #Set display to normal mode (i.e non-inverse mode)
oled.setPageMode()           #Set addressing mode to Page Mode

# Uses two pins - one for the X axis and one for the Y axis
# This configuration means you are using port A0
xPin = 0
yPin = 1
bakebit.pinMode(xPin,"INPUT")
bakebit.pinMode(yPin,"INPUT")

texts = ["Wi-Fi"
    , "Bluetooth"
    , "Media Vol"
    , "Alarm Vol"
    , "FontSize"
    , "Brightness"
    , "Dim" ]

values = [True
    , False
    , 50
    , 50
    , 9
    , 80
    , 30 ]

opIndex = 0
m = int(1024.0/5)
while True:
    try:
        # Get X/Y coordinates
        x = bakebit.analogRead(xPin)
        y = bakebit.analogRead(yPin)

        oled.setTextXY(0,0)
        oled.putString("[Settings]")

        if x<m:
            # left
            print("left")
            if type(values[opIndex]) is int:
                values[opIndex]=values[opIndex]-1
                if values[opIndex]<0:
                    values[opIndex] = 0
            elif type(values[opIndex]) is bool:
                values[opIndex] = not values[opIndex]

        elif x>(1024-m):
            # right
            print("right")
            if type(values[opIndex]) is int:
                values[opIndex]=values[opIndex]+1
                if values[opIndex]>999:
                    values[opIndex] = 999
            elif type(values[opIndex]) is bool:
                values[opIndex] = not values[opIndex]
        elif y<m:
			opIndex = opIndex - 1
        elif y>(1024-m):
			opIndex = opIndex + 1
        elif opIndex<0:
			opIndex=6
        elif opIndex>6:
			opIndex=0

        for i in range(7):
            oled.setTextXY(0,i+1)
            valueStr = ""
            if type(values[i]) is int:
                valueStr = str(values[i])
            elif type(values[i]) is bool:
                if values[i]:
                    valueStr = "On"
                else:
                    valueStr = "Off"
            for j in range(3-len(valueStr)):
                valueStr = " " + valueStr

            title = texts[i]
            if len(title) > 10:
                title = title[:10]

            for j in range(10-len(title)):
                title = title + " "

            if opIndex == i:
                oled.putString("> " + title + " " + valueStr)
            else:
                oled.putString("  " + title + " " + valueStr)
    	print("x =", x, " y =", y, " opIndex=", opIndex)

    except IOError:
        print ("Error")
3.3 运行示例
假设你已经参考bakebit教程安装了BakeBit源代码,
要运行示例程序,可以在开发板上进入 BakeBit/Software/Python目录,运行bakebit_prj_UIControl_via_Joystick.py:
cd ~/BakeBit/Software/Python
sudo python bakebit_prj_UIControl_via_Joystick.py
3.4 运行结果
程序运行时会在OLED上显示一个设置界面,上下拨动摇杆移动项目前面的光标,左右拨动更改设置,如下图所示:
4 相关资料
- [Schematic](BakeBit - JoyStick.pdf)
- [BakeBit Github项目](https://github.com/friendlyarm/BakeBit)
- [BakeBit Starter Kit手册](http://wiki.friendlyarm.com/bakebit/bakebit_starter_kit_manual_cn.pdf)
