Template:RK3399-Android-SSD
Contents
1 Using SSD on Android
1.1 Step1: Format SSD as ext4
These steps need to be operated under the LINUX system.
For the convenience of operation, please switch to the root user with the following command on the terminal:
su -The default password for the root user is fa.
1.1.1 Detection of SSD
root@FriendlyELEC:~# cat /proc/partitions
major minor  #blocks  name
   1        0       4096 ram0
 259        0  125034840 nvme0n1
If there is a nvme0n1 device node it means an SSD is recognized.
1.1.2 Partition of SSD
To mount an SSD under Linux we re-partition it as one section by running the following command:
(echo o; echo n; echo p; echo 1; echo ""; echo ""; echo w; echo q) | fdisk /dev/nvme0n1
If you want to re-partition it to multiple sections you can run "fdisk /dev/nvme0n1". For more detail about this command refer to the fdisk's manual.
1.1.3 Format partition to EXT4
After an SSD is successfully partitioned you can check its partitions by running "cat /proc/partitions". The /dev/nvme0n1p1 partition is used to store data:
root@FriendlyELEC:~# cat /proc/partitions
major minor  #blocks  name

   1        0       4096 ram0
 259        0  125034840 nvme0n1
 259        2  125033816 nvme0n1p1
The following command formats a section to ext4:
mkfs.ext4 /dev/nvme0n1p1 -L SSD
1.2 Step2: Auto Mount SSD on Android System Startup
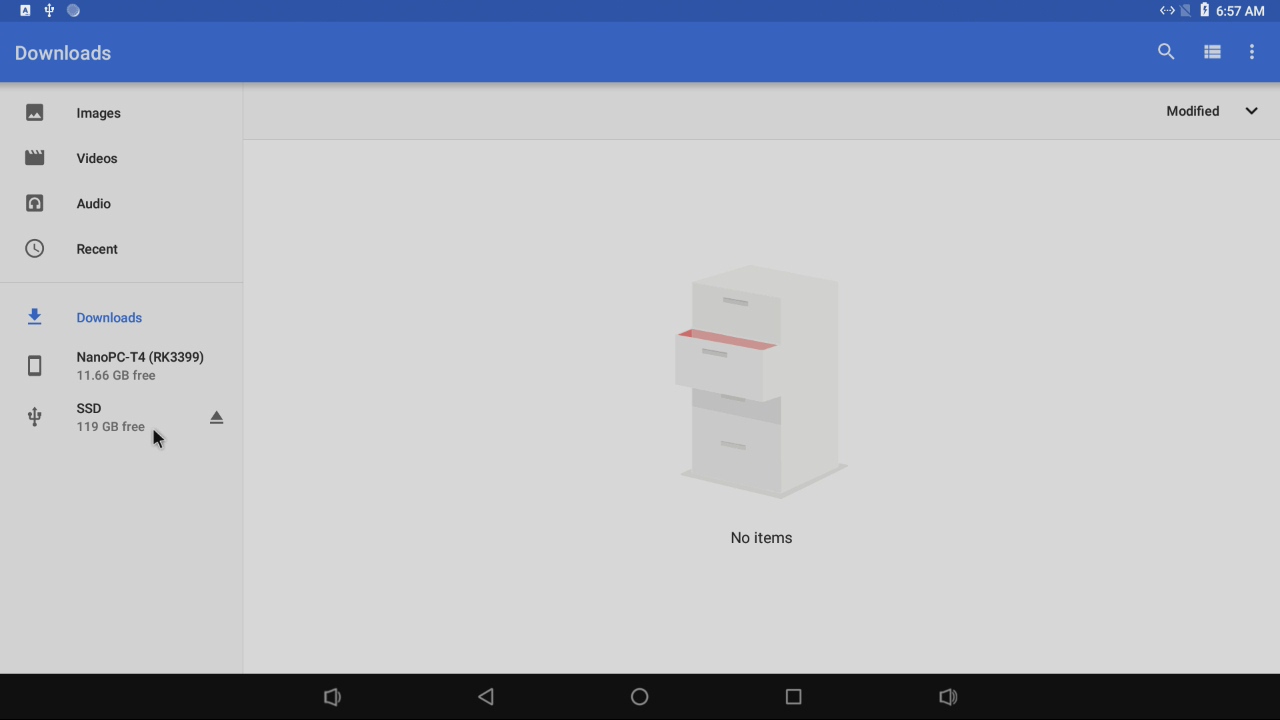
Android will automatically mount the SSD as an external storage device. No additional settings are required. Open the built-in Files application of Android and you can see that the SSD device is mounted:

third-party software can recognize SSDs normally.