How to setup RTMP server on NanoPC-T4
Contents
1 Introduction
This article gives basic steps on how to use a RK3399 based board under Linux to collect real-time video stream data and push the data to a RTMP server which a user can visit and watch the video stream.
All the steps presented in this article are verifies with the following OS systems:
- FriendlyCore
- FriendlyDesktop
2 Setup a RTMP Server
You will use a RK3399 board as a RTMP server. You need to install the nginx and nginx-rtmp-module packages by running the following commands:
sudo apt-get update
sudo apt-get -y install nginx
sudo apt-get -y remove nginx
sudo apt-get clean
sudo rm -rf /etc/nginx/*
sudo apt-get install -y curl build-essential libpcre3 libpcre3-dev libpcre++-dev zlib1g-dev libcurl4-openssl-dev libssl-dev
sudo mkdir -p /var/www
rm -rf nginx_src
mkdir -p nginx_src
cd nginx_src
NGINXSRC=$PWD
wget http://nginx.org/download/nginx-1.13.8.tar.gz
git clone https://github.com/arut/nginx-rtmp-module.git
(cd nginx-rtmp-module/; git checkout -b ng1.13.8 791b6136f02bc9613daf178723ac09f4df5a3bbf)
tar -zxvf nginx-1.13.8.tar.gz
cd nginx-1.13.8
./configure --prefix=/var/www --sbin-path=/usr/sbin/nginx --conf-path=/etc/nginx/nginx.conf --pid-path=/var/run/nginx.pid --error-log-path=/var/log/nginx/error.log --http-log-path=/var/log/nginx/access.log --with-http_ssl_module --without-http_proxy_module --add-module=$NGINXSRC/nginx-rtmp-module
make
sudo make install
Check nginx's version and whether it is installed:
nginx -v3 Configure a RTMP Server
编辑如下nginx配置文件:
sudo vim /etc/nginx/nginx.conf
在末尾添加如下RTMP配置:
rtmp {
    server {
        listen 1935;
        chunk_size 4096;
        application live {
            live on;
            record off;
        }
    }
}
重启 nginx 服务让配置生效:
sudo systemctl restart nginx4 验证RTMP服务器
在采集摄像头之前,先用测试视频来确否RTMP服务器能正常工作:
gst-launch-1.0 videotestsrc is-live=true ! videoconvert ! x264enc bitrate=1000 tune=zerolatency ! \
    video/x-h264 ! h264parse ! video/x-h264 ! queue ! flvmux streamable=true name=mux ! \
    rtmpsink sync=false location='rtmp://192.168.1.122:1935/live/test'
在电脑的Ubuntu系统下,用rtmpdump测试从开发板拉取视频流:
rtmpdump -r "rtmp://192.168.1.122/live/test" -V -z -o out.flv
如果rtmpdump能持续采集到数据,生成的out.flv可以正常播放,说明RTMP服务器是正常工作的了。
5 推送OV13850摄像头图像到RMTP服务器
下面给出两个命令,一个是仅有图像没有声音,另一个是直播带有音频的图像。
仅有图像没有声音:
gst-launch-1.0 rkisp io-mode=4 device=/dev/video0 ! \
    video/x-raw,format=NV12,width=1280,height=720,framerate=30/1 ! queue ! mpph264enc ! h264parse ! \
    flvmux streamable=true ! queue ! \
    rtmpsink sync=false location='rtmp://192.168.1.122:1935/live/test'
有图像有声音:
gst-launch-1.0 rkisp io-mode=4 device=/dev/video0 ! \
    video/x-raw,format=NV12,width=1280,height=720,framerate=30/1 ! queue ! mpph264enc ! h264parse ! \
    flvmux name=mux streamable=true alsasrc device=hw:0 ! queue ! \
    audioresample ! audio/x-raw,rate=48000 ! \
    queue ! voaacenc bitrate=32000 ! aacparse ! queue ! mux. mux. ! \
    rtmpsink sync=false location='rtmp://192.168.1.122:1935/live/test'
6 推送罗技C922 Pro摄像头图像到RMTP服务器
6.1 查询USB摄像头节点
用以下命令查看一下USB摄像头的设备节点:
uvcdynctrl -l我们测试的罗技摄像头是C922 Pro,从结果中可以获知我们可以通过 /dev/video8 获取它的图像:
video8 C922 Pro Stream Webcam
6.2 查询USB摄像头所支持的格式
安装所需工具:
sudo apt install v4l-utils
下面的命令将查询摄像头所支持的格式,在RK3399平台,只需关注MJPG格式相关的分辨率和帧率:
sudo v4l2-ctl --list-formats-ext -d /dev/video8
注意,设备节点在你的板子上可能不是/dev/video8,你需要检查一下。
6.3 直播USB摄像头图像
用以下命令:
gst-launch-1.0 v4l2src device=/dev/video8 ! "image/jpeg,width=1280,height=720,framerate=30/1" ! jpegdec ! videoconvert ! queue ! mpph264enc ! queue ! h264parse ! flvmux streamable=true ! queue ! rtmpsink sync=false location='rtmp://192.168.1.122:1935/live/test'
7 播放视频流
7.1 在手机上播放
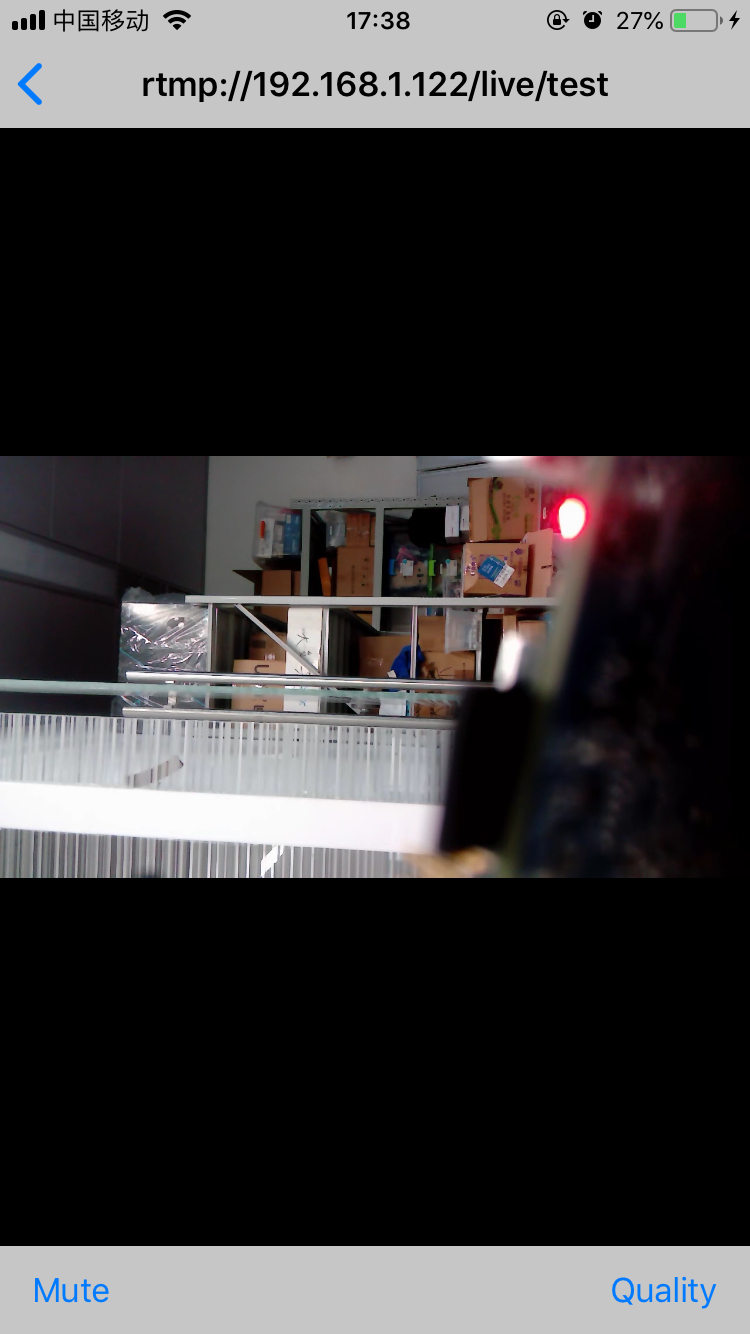
如果手机用的是 iPhone,可以安装一个名为SLDP Player的免费软件,在软件上添加流地址 rtmp://192.168.1.122/live/test 即可查看实时图像:

7.2 通过页面播放
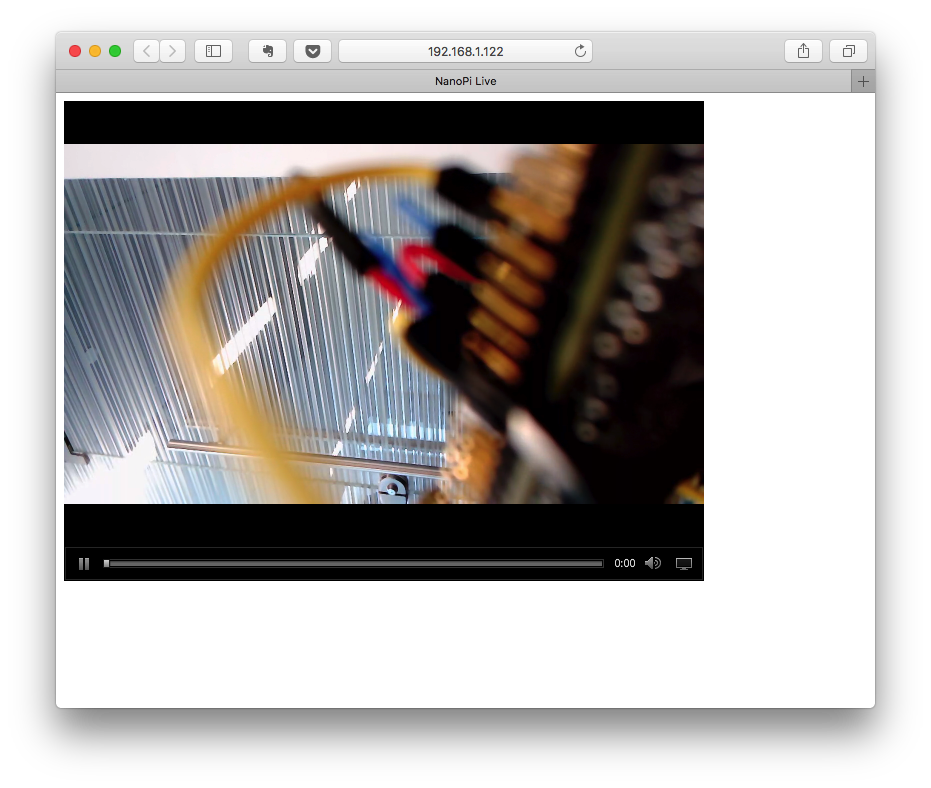
我们将创建一个播放页面,目的是只需用浏览器打开网址 http://开发板的IP地址, 即可浏览直播画面,下面是创建这个播放页面的方法:
mkdir -p ~/strobe_src
cd ~/strobe_src
wget http://downloads.sourceforge.net/project/smp.adobe/Strobe%20Media%20Playback%201.6%20Release%20%28source%20and%20binaries%29/StrobeMediaPlayback_1.6.328-full.zip
unzip StrobeMediaPlayback_1.6.328-full.zip
sudo cp -r for\ Flash\ Player\ 10.1 /var/www/html/strobe
编辑 /var/www/html/index.html, 填入如下内容,记得把下面的“开发板的IP地址”替换成你的实际的IP地址, IP地址可以通过 ifconfig 命令查看:
<!DOCTYPE html PUBLIC "-//W3C//DTD XHTML 1.0 Strict//EN" "http://www.w3.org/TR/xhtml1/DTD/xhtml1-strict.dtd">
<html xmlns="http://www.w3.org/1999/xhtml">
    <head>
    <title>NanoPi Live</title>
    <script type="text/javascript" src="strobe/lib/swfobject.js"></script>
    <script type="text/javascript">
        // Create a StrobeMediaPlayback configuration
        var parameters = {
        // src: "http://players.edgesuite.net/videos/big_buck_bunny/bbb_448x252.mp4",
        src: "rtmp://192.168.1.122/live/test",
        autoPlay: true,
            controlBarAutoHide: false,
            playButtonOverlay: true,
            showVideoInfoOverlayOnStartUp: false,
            optimizeBuffering : false,
            initialBufferTime : 0.1,
            expandedBufferTime : 0.1,
            minContinuousPlayback : 0.1,
            poster: "strobe/images/poster.png"
        };

        // Embed the player SWF:
        swfobject.embedSWF
        ( "strobe/StrobeMediaPlayback.swf"
            , "strobeMediaPlayback"
            , 640
            , 480
            , "10.1.0"
            , {}
            , parameters
            , { allowFullScreen: "true"}
            , { name: "strobeMediaPlayback" }
        );
    </script>
    </head>
    <body>
        <div id="strobeMediaPlayback">
          <p>Alternative content</p>
        </div>
    </body>
</html>
最后,在电脑上用浏览器打开网址 http://开发板的IP地址 即可进入播放界面,如下图所示:

8 推送至斗鱼直播平台
GStreamer推送命令中的 location 参数是用来设定采集到的视频流推向哪里,通过设定这个参数可以将视频流推向任何支持 RTMP 协议的服务器。
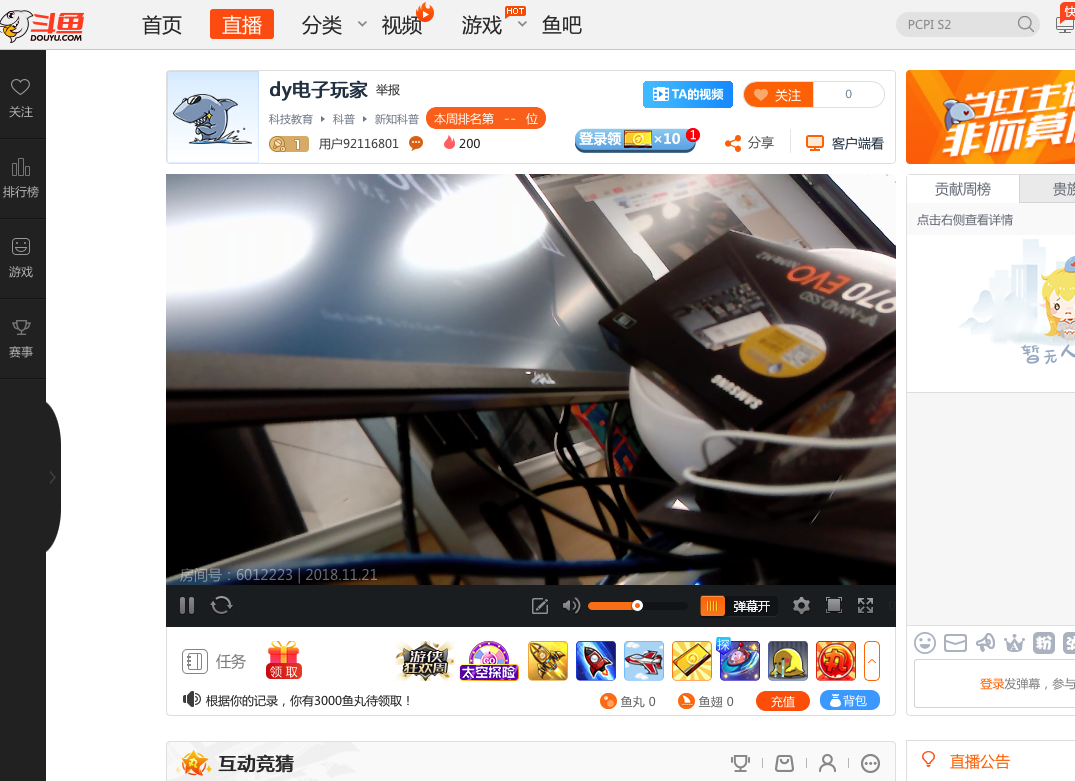
斗鱼平台同样采用了 RTMP 协议传输直播视频,下面以斗鱼平台为例来说明一下推流到斗鱼的方法。
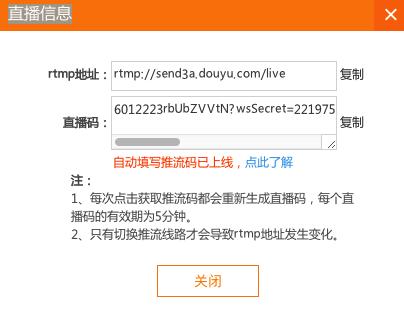
首先获取斗鱼的 RTMP 推流地址, 开启了直播室之后可以获得推流码,所下所示:

把这两个参数组合起来(中间加上/)就是完整的地址:
rtmp://send3a.douyu.com/live/6012223rbUbZVVtN?wsSecret=221975cd093c763ab688f17ba8a7eb63&wsTime=5bf5315e&wsSeek=off&wm=0&tw=0
将完整的地址赋给location参数即可,命令示例如下:
gst-launch-1.0 rkisp io-mode=4 device=/dev/video8 ! \
    video/x-raw,format=NV12,width=1280,height=720,framerate=30/1 ! queue ! mpph264enc ! h264parse ! \
    flvmux name=mux streamable=true alsasrc device=hw:0 ! queue ! \
    audioresample ! audio/x-raw,rate=48000 ! \
    queue ! voaacenc bitrate=32000 ! aacparse ! queue ! mux. mux. ! \
    rtmpsink sync=false location='rtmp://send3a.douyu.com/live/6012223rbUbZVVtN?wsSecret=221975cd093c763ab688f17ba8a7eb63&wsTime=5bf5315e&wsSeek=off&wm=0&tw=0'
9 其他
9.1 FriendlyDesktop取消自动锁屏
sudo apt-get -y remove light-locker
9.2 查看音频设备
aplay -L
