FriendlyCore (based on ubuntu-core with Qt)
Contents
[hide]1 Introduction
FriendlyCore is a light Linux system without X-windows, based on ubuntu core, It uses the Qt-Embedded's GUI and is popular in industrial and enterprise applications.
Besides the regular Ubuntu core's features our FriendlyCore has the following additional features:
- it supports our LCDs with both capacitive touch and resistive touch(S700, X710, HD702, S430, HD101 and S70)
- it supports WiFi
- it supports Ethernet
- it supports Bluetooth and has been installed with bluez utilities
- it supports audio playing
- it supports Qt5.9 EGLES and OpenGL ES1.1/2.0 (Only for S5P4418/S5P6818)
2 Download Image Files
You can click this url to download an image file for a board on the board's download page.
3 Work with FriendlyCore
3.1 FriendlyCore's User Accounts
- If your board is connected to an HDMI monitor you need to use a USB mouse and keyboard.
- If you need to do kernel development you need to connect a serial communication board to your board and access your board from a serial terminal.
- FriendlyCore User Accounts:
Non-root User:
   User Name: pi
   Password: pi
Root:
   User Name: root
   Password: fa
The system is automatically logged in as "pi". You can do "sudo npi-config" to disable auto login.
- Update packages
$ sudo apt-get update
3.2 Configure System with npi-config
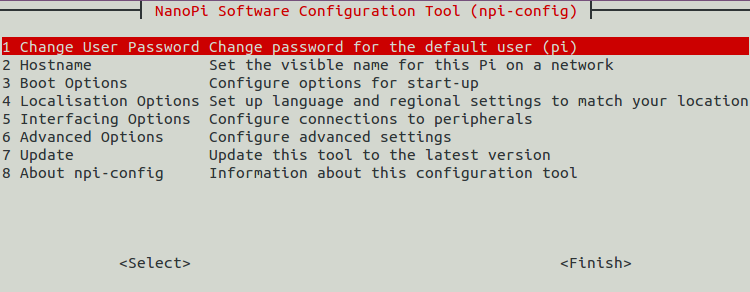
The npi-config is a commandline utility which can be used to initialize system configurations such as user password, system language, time zone, Hostname, SSH switch , Auto login and etc. Type the following command to run this utility.
$ sudo npi-config
Here is how npi-config's GUI looks like:

3.3 Extend TF Card's Section
When FriendlyCore is loaded the TF card's section will be automatically extended.You can check the section's size by running the following command:
$ df -h
3.4 WiFi
You can use the NetworkManager utility in FriendlyCore to manager its network. You can run "nmcli" in the commandline utility to start it. Here are the commands to start a WiFi connection:
- Check device list
sudo nmcli devNote: if the status of a device is "unmanaged" it means that device cannot be accessed by NetworkManager. To make is accessed you need to clear the settings under "/etc/network/interfaces" and reboot your system.
- Start WiFi
sudo nmcli r wifi on- Scan Surrounding WiFi Sources
sudo nmcli dev wifi- Connect to a WiFi Source
sudo nmcli dev wifi connect "SSID" password "PASSWORD"
The "SSID" and "PASSWORD" need to be replaced with your actual SSID and password.If you have multiple WiFi devices you need to specify the one you want to connect to a WiFi source with iface
If a connection succeeds it will be automatically setup on next system reboot.
For more details about NetworkManager refer to this link: Use NetworkManager to configure network settings
- Use USB WiFi
Our OS system has support for popular USB WiFi drivers. Many USB WiFi modules are plug and play with our system. Here is a list of models we tested;
Number Model 1 RTL8188CUS 802.11n WLAN Adapter 2 RT2070 Wireless Adapter 3 RT2870/RT3070 Wireless Adapter 4 RTL8192CU Wireless Adapter 5 mi WiFi mt7601
3.5 Ethernet Connection
If a board is connected to a network via Ethernet before it is powered on it will automatically obtain an IP with DHCP activated after it is powered up. If you want to set up a static IP refer to: Use NetworkManager to configure network settings。
3.6 Bluetooth
If your board has an onboard bluetooth module you can search for surrounding bluetooth devices by running the following command:
hcitool scan
You can run "hciconfig" to check bluetooth's status.
3.7 Playing Audio
You can play an audio file by running the following command:
aplay -t raw -c 2 -f S16_LE -r 44100 /root/test.pcm
3.8 HDMI Audio Output
Our system's default audio output is the 3.5mm audio jack. You can turn on the HDMI audio by editing the /etc/asound.conf file:
pcm.!default {
    type hw
    card 1
    device 0
}

ctl.!default {
    type hw
    card 1
}
card 0 points to the 3.5mm audio jack and card 1 points to the HDMI audio. You need to save your changes and reboot your system to make your changes take effect.
3.9 Connect to USB Camera(FA-CAM202)
The FA-CAM202 is a 200M USB camera.
Refer to this link for more details on how to connect to a FA-CAM202:
Connect NanoPi M1 to DVP Camera CAM500B
4 Develop Qt Application
Please refer to: How to build Qt application
5 Only Support S5P4418/S5P6818 Platform
5.1 Run Qt Demo
Run the following command
$ sudo qt5demo
5.2 Connect to DVP Camera CAM500B
The CAM500B camera module is a 5M-pixel camera with DVP interface. For more tech details about it you can refer to Matrix - CAM500B.
Under Debian/Ubuntu a camera utility "nanocams" is available for previewing 40 frames and picture taking. You can try it by following the commands below
sudo nanocams -p 1 -n 40 -c 4 -o IMG001.jpg
For more details about the usage of the nanocams run "nanocams -h". You can get its source code from our git hub:
git clone https://github.com/friendlyarm/nexell_linux_platform.git
6 Only Support H3 Platform
6.1 Run Qt Demo
Run the following command
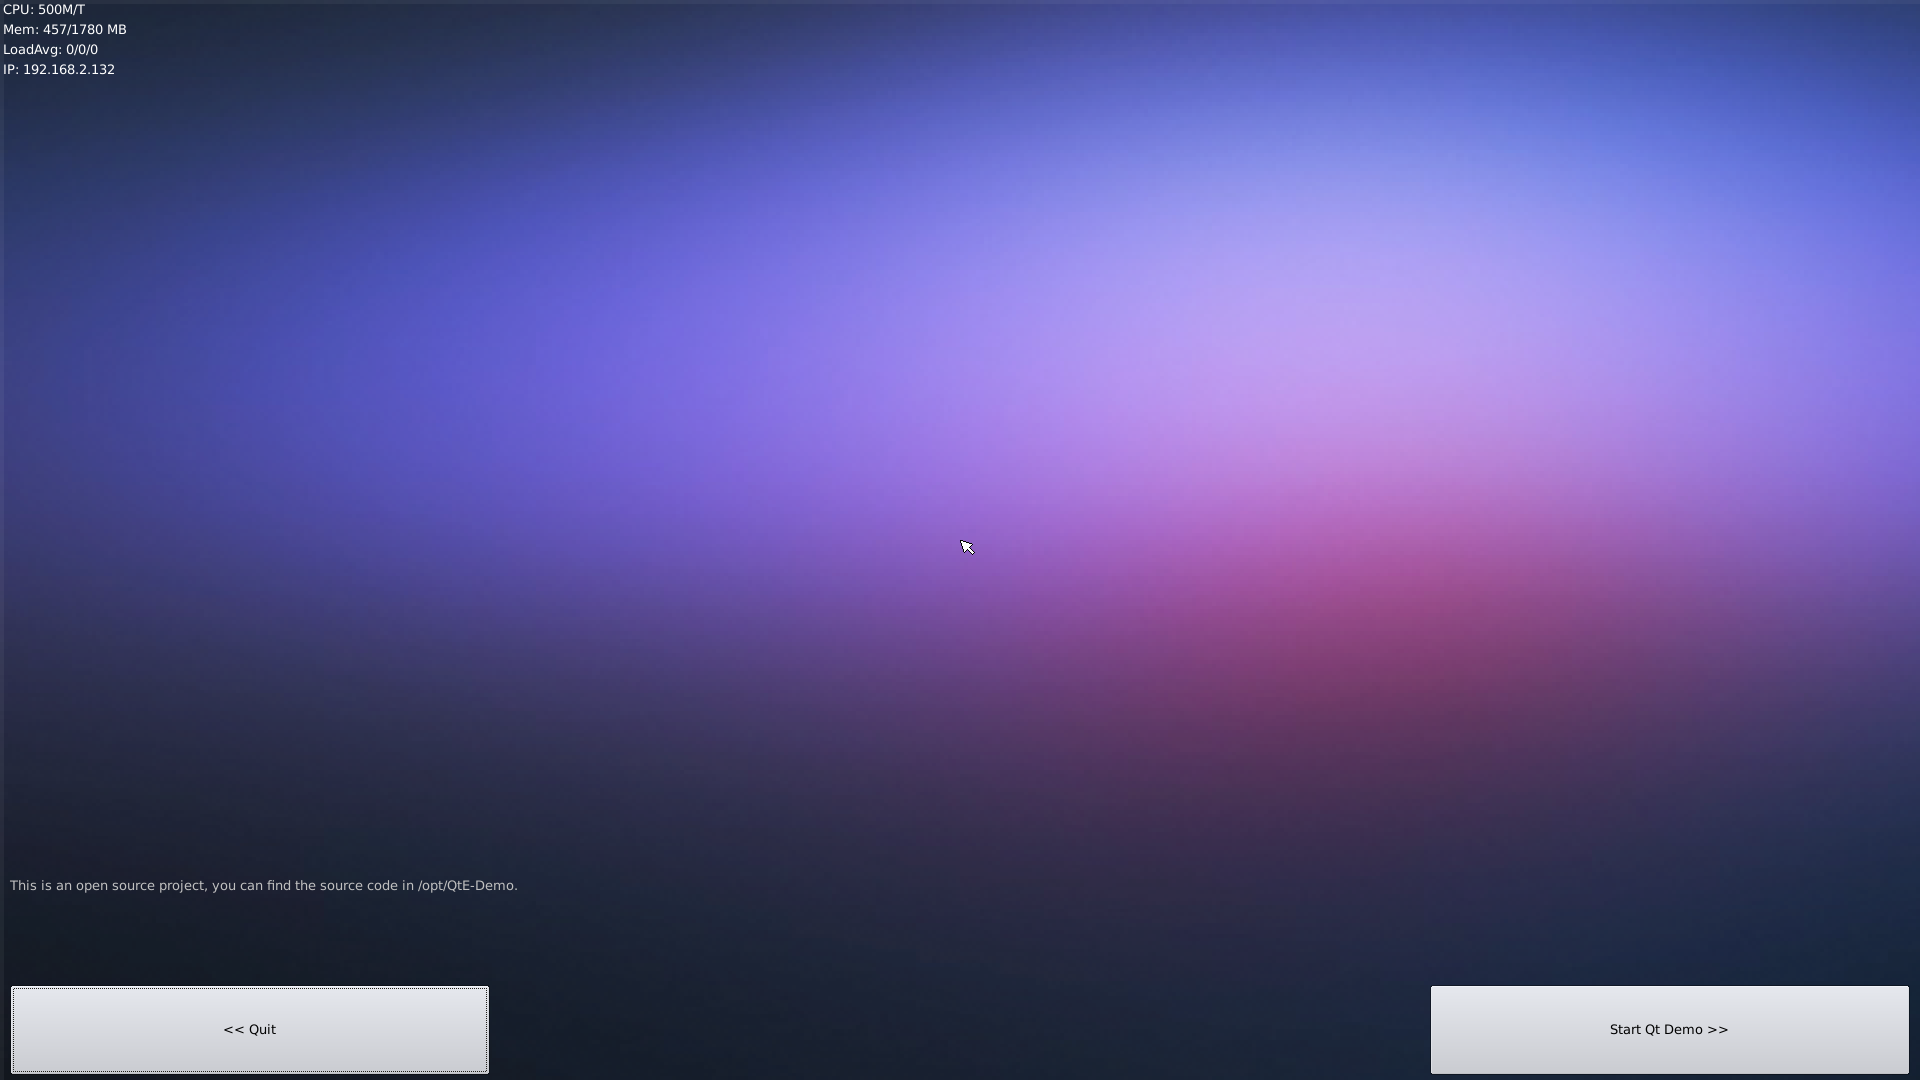
$ sudo /opt/QtE-Demo/run.sh
Here is what you expect to observe. This is an open source Qt Demo:

6.2 Connect to DVP Camera CAM500B
Note: this function is only supported in Linux-3.4.y
The CAM500B camera module is a 5M-pixel camera with DVP interface. For more tech details about it you can refer to Matrix - CAM500B.
connect your H3 board to a CAM500B. Then boot OS, connect your board to a network, log into the board as root and run "mjpg-streamer":
$ cd /root/mjpg-streamer
$ make
$ ./start.sh
The mjpg-streamer application is an open source video steam server. After it is successfully started the following messages will be popped up:
 i: Using V4L2 device.: /dev/video0
 i: Desired Resolution: 1280 x 720
 i: Frames Per Second.: 30
 i: Format............: YUV
 i: JPEG Quality......: 90
 o: www-folder-path...: ./www/
 o: HTTP TCP port.....: 8080
 o: username:password.: disabled
 o: commands..........: enabled
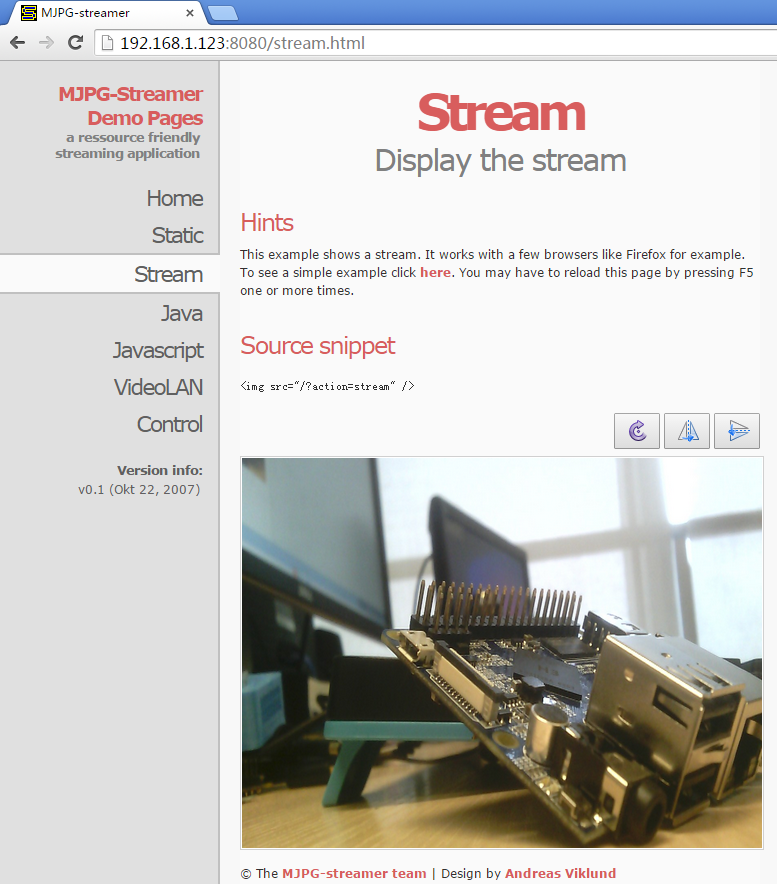
In our case the board's IP address was 192.168.1.230. We typed 192.168.1.230:8080 in a browser and were able to view the images taken from the camera's. Here is what you would expect to observe:

The mjpg-streamer soft-encodes data with libjpeg and you can hard-encode its data with ffmpeg which will greatly increase CPU's efficiency and speed up data encoding:
$ ffmpeg -t 30 -f v4l2 -channel 0 -video_size 1280x720 -i /dev/video0 -pix_fmt nv12 -r 30 \
        -b:v 64k -c:v cedrus264 test.mp4
By default it records a 30-second video. Typing "q" stops video recording. After recording is stopped a test.mp4 file will be generated.
6.3 Check CPU's Working Temperature
You can use the following command to read H3's temperature and frequency
cpu_freq
6.4 Check System Information with Rpi-Monitor
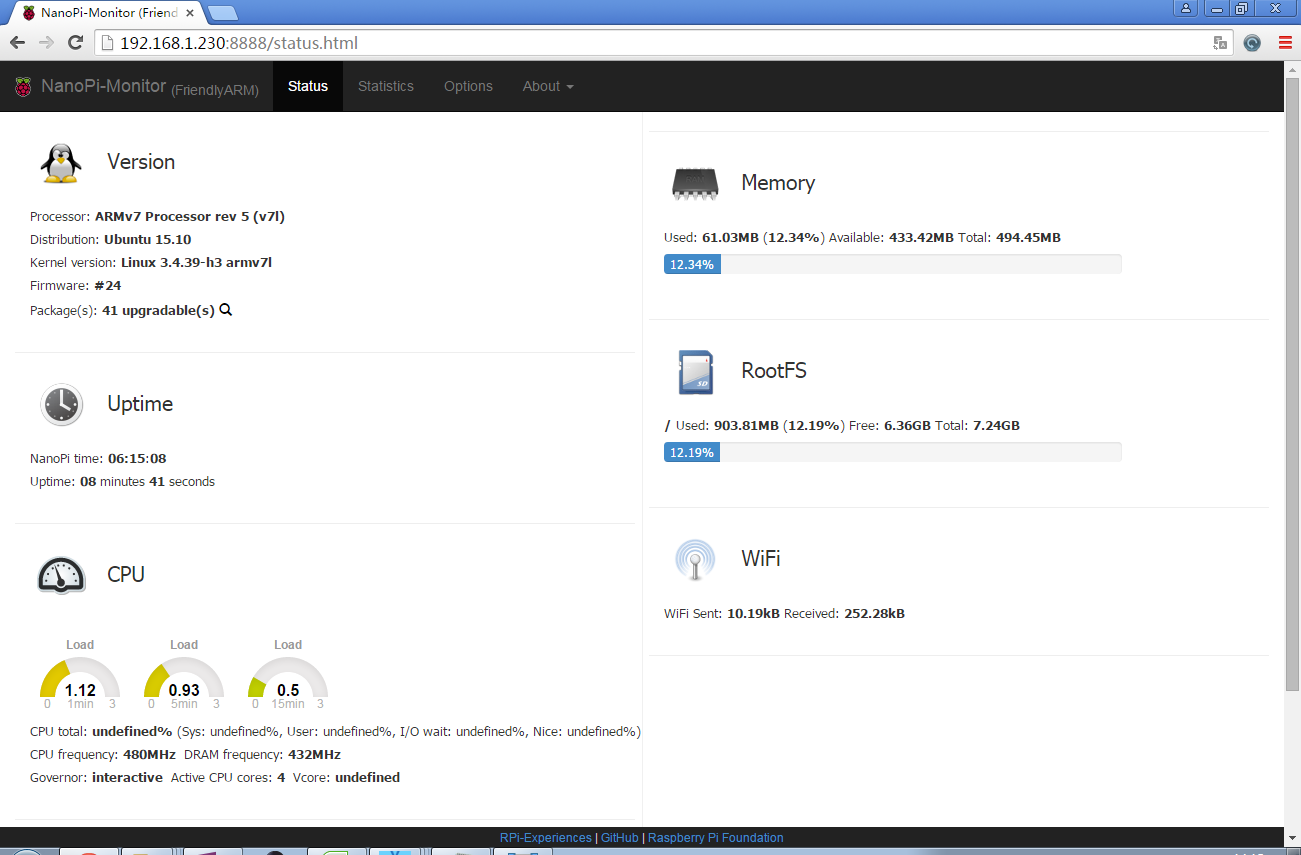
Our OS contains the Rpi-Monitor utility with which users can check system information and status.
In our case our board's IP was 192.168.1.230 and we typed the following IP in a browser:
192.168.1.230:8888We were directed to the following page:

Users can easily check these system information and status.
7 Only Support H5 Platform
7.1 Run Qt Demo
Run the following command
$ sudo /opt/QtE-Demo/run.sh
Here is what you expect to observe. This is an open source Qt Demo:

8 Only Support S905 Platform
8.1 Run Qt Demo
Run the following command
$ sudo /opt/QtE-Demo/run.sh
Here is what you expect to observe. This is an open source Qt Demo:

9 Setup Program to AutoRun
You can setup a program to autorun on system boot with npi-config:
sudo npi-configGo to Boot Options -> Autologin -> Qt/Embedded, select Enable and reboot.
10 Work with LCD
If you connect your board to an LCD with capacitive touch panel in general that LCD's calibration is not required. However if your LCD is one with resistive touch panel you will have to do calibration which is triggered by running "/usr/bin/setqt4env" on your first system booting.
If you want to re-calibrate your LCD with resistive touch panel you need to delete the calibration file by using the following command:
rm /etc/pointercal
After you reboot your system you will enter the calibration process.
11 Q & A
- When I compile my Qt program I get a message complaining that linking to libraries such as libts and libz failed
Your arm-linux-gcc 4.9.3 may not include these library files. You need to try downloading the compiler again.
- Where should I get FriendlyCore's source code
We used the bin file released by UbuntuCore's official site. You can get its source code from http://packages.ubuntu.com/.
12 Update Log
12.1 July-20-2016
- Released English version
12.2 July-20-2017
- Added sections 6.1, 6.2 and 6.3
12.3 August-23-2017
- Updated section 4