Android Thing: Android Hardware Programming
Contents
1 Introduction
FriendlyElec developed a library called “libfriendlyarm-hardware.so”, for android developer to access the hardware resources on the development board in their android apps, the library is based on Android NDK.
2 Accessible Interfaces & Ports
- Serial Port
- PWM
- EEPROM
- ADC
- LED
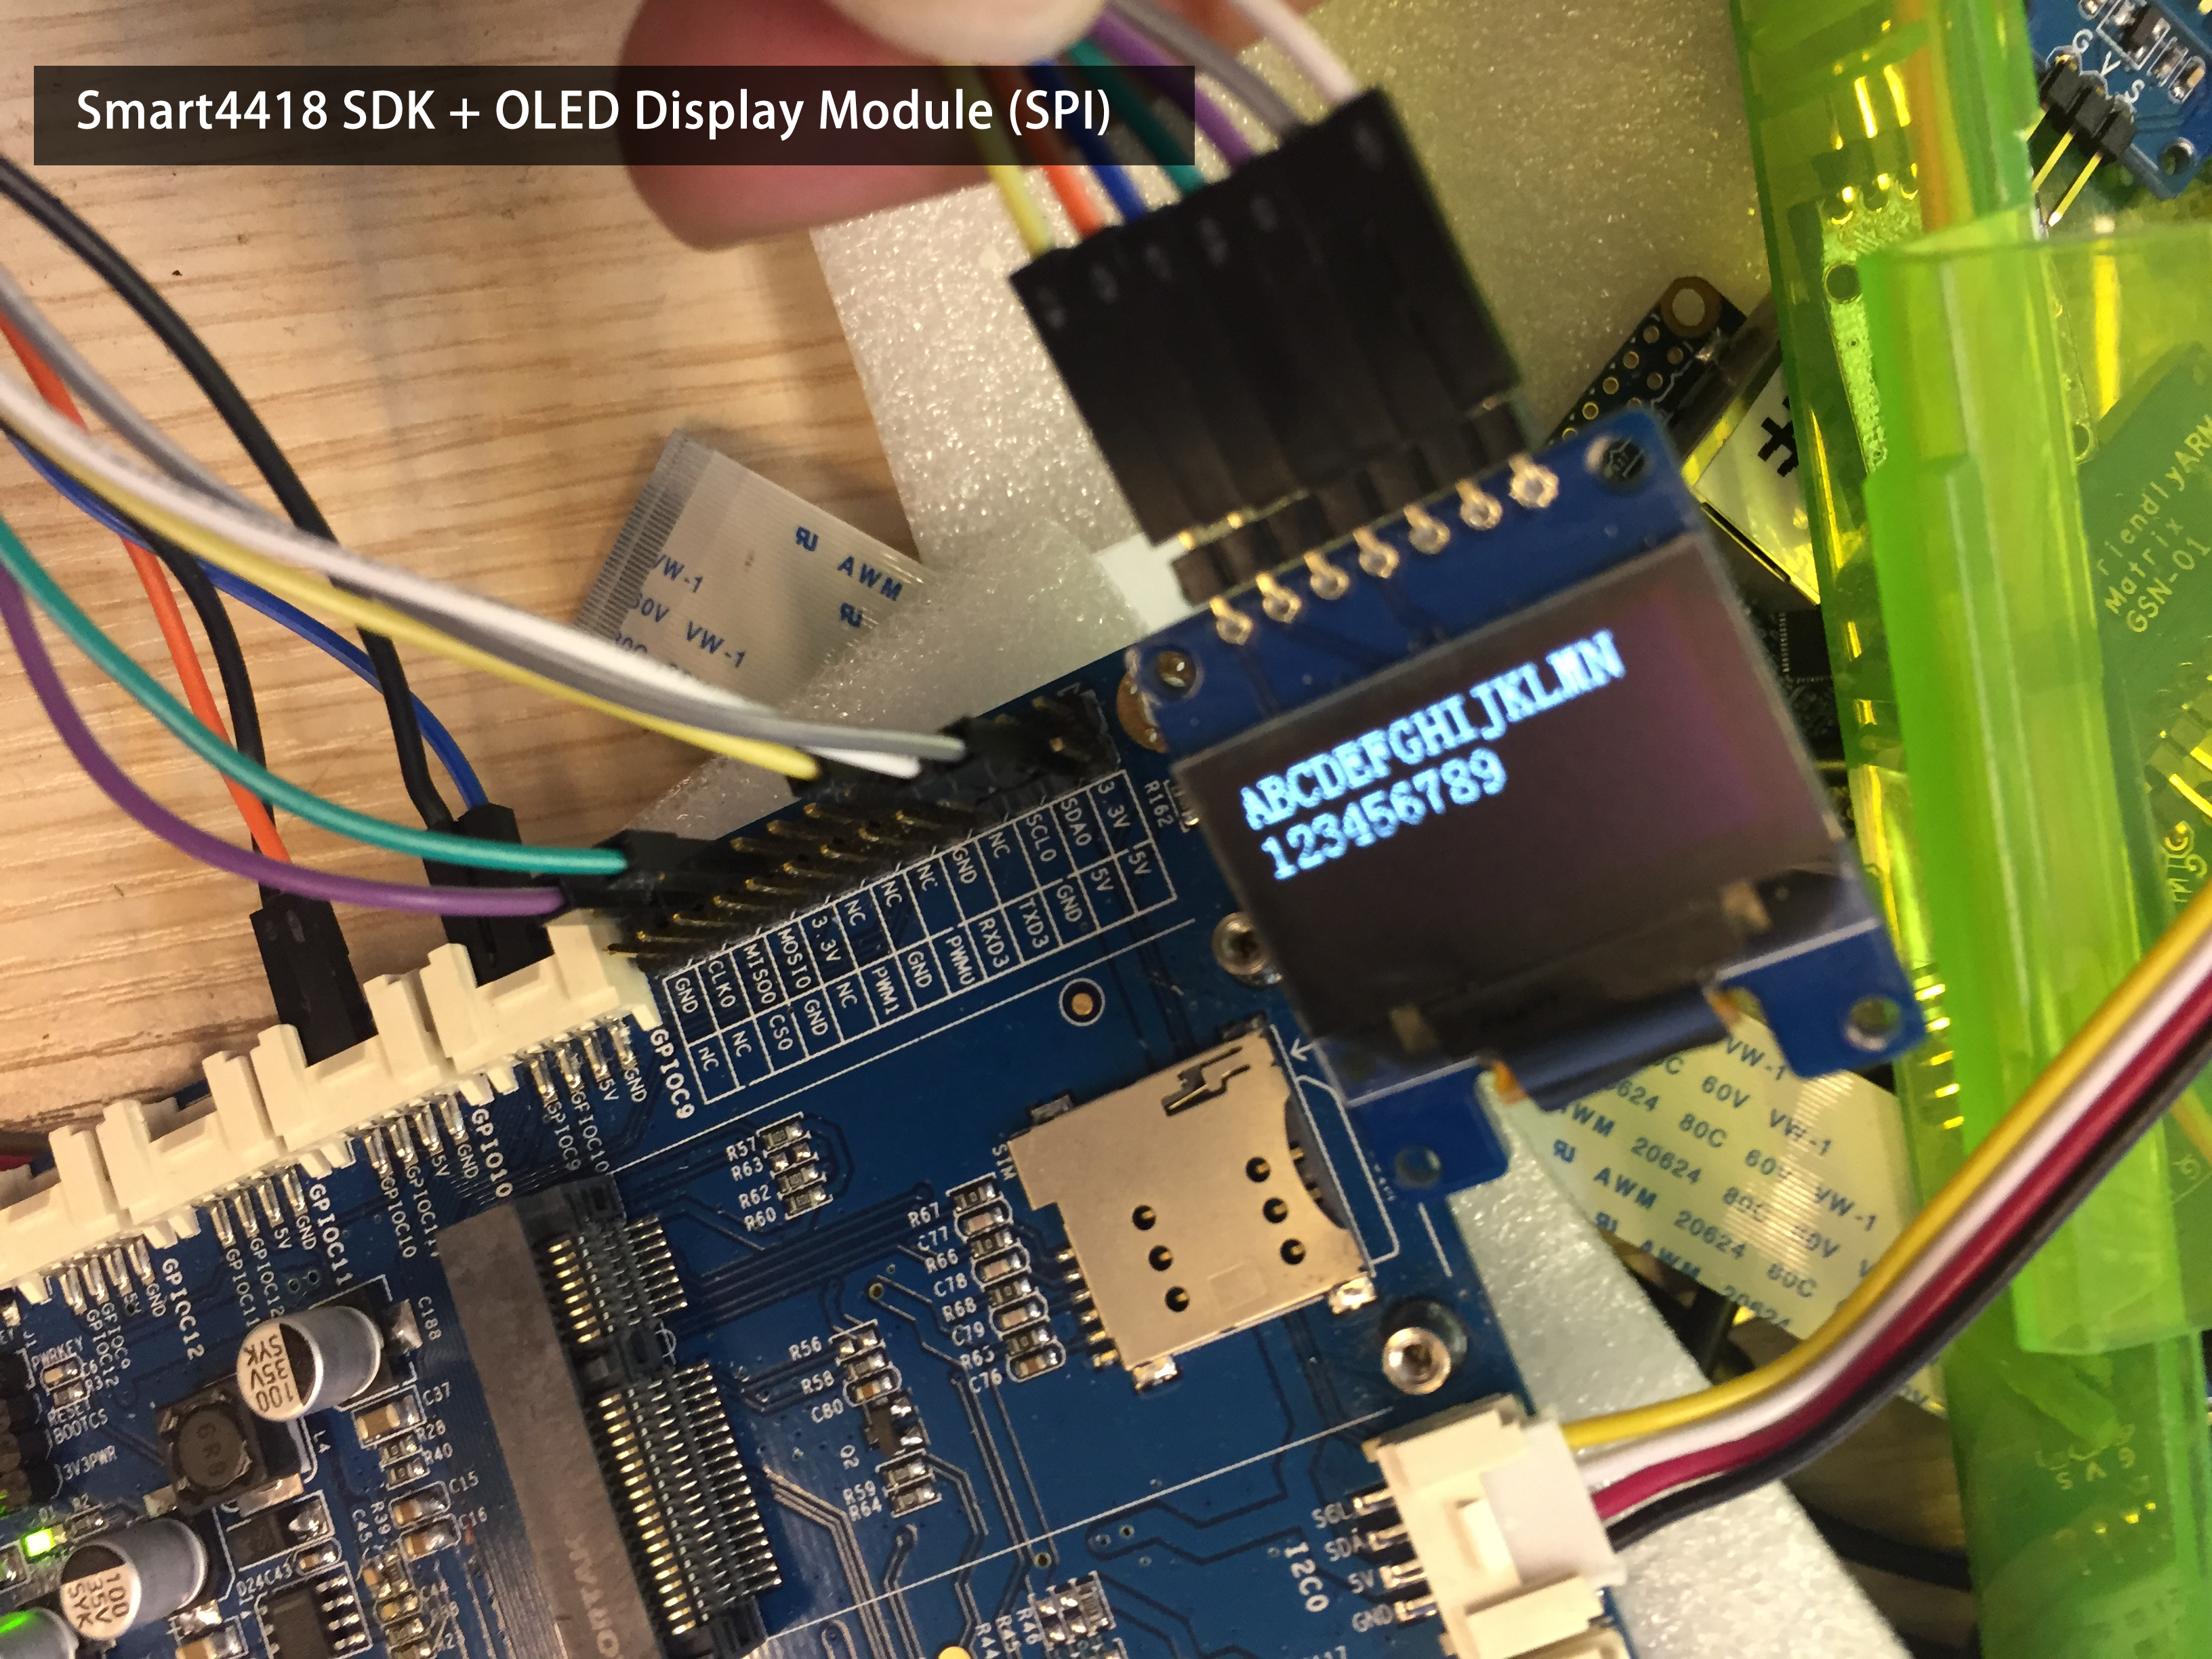
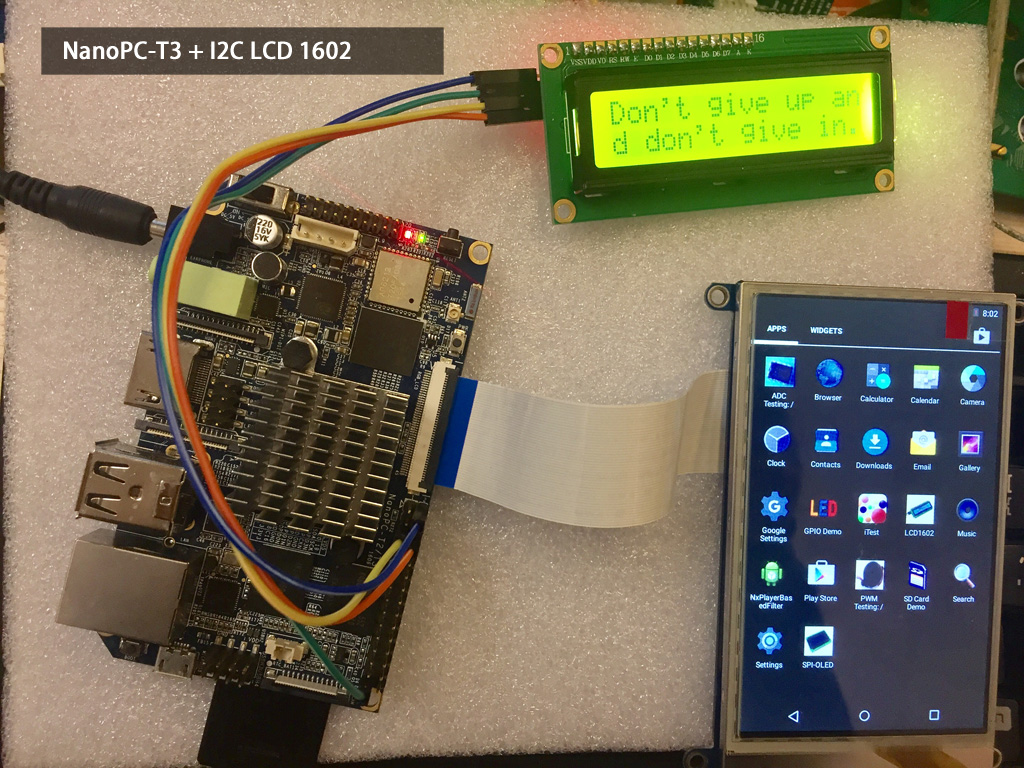
- LCD 1602 (I2C)
- OLED (SPI)
I2C, SPI, GPIO are accessible.
3 Available OS & Boards
- Android 2.3: Mini6410, Tiny6410
- Android 4.2: Mini210S, Smart210 with SDK, Tiny210 with SDK, Tiny4412 with SDK
- Android 4.4: NanoPi M2, NanoPi S2, NanoPC-T2, Smart4418 with SDK
- Android 5: NanoPi M3, NanoPi-T3, Tiny4412 with SDK
4 Code Samples
- Here is a github address for code samples: https://github.com/friendlyarm/AndroidHardwareAccess
5 Compile & Deploy Andorid Code (SerialPortDemo)
5.1 Step 1. Import source code in eclipse (SerialPortDemo)
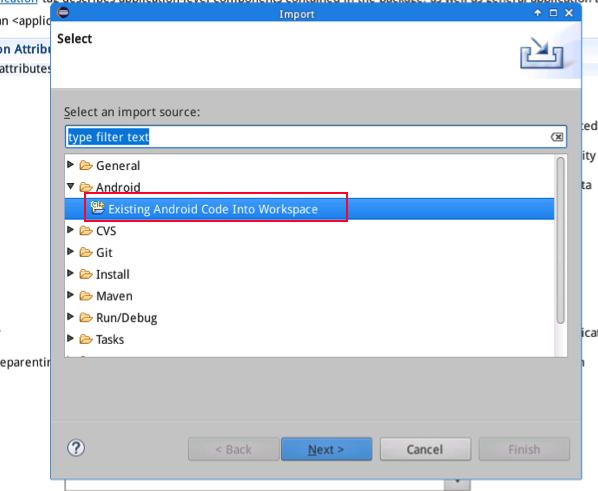
Start eclipse, click on "Import" on its main window's File menu and then select "Existing Android Code Into Workspace" to import your source code
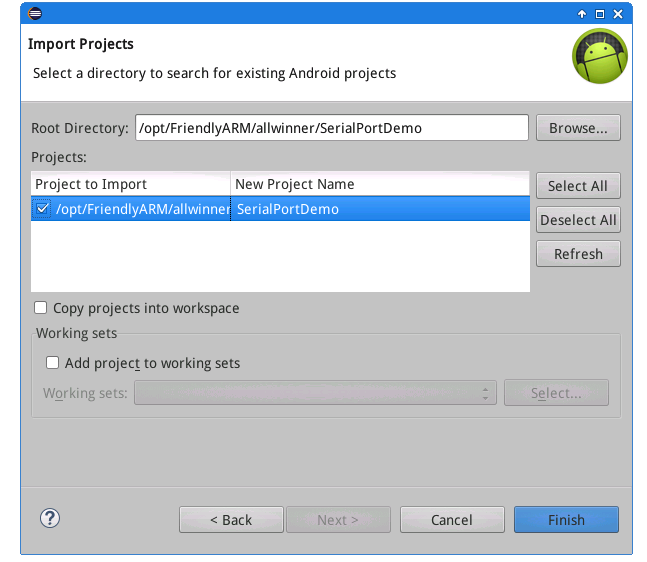
We name this project as "SerialPortDemo"
5.2 Step 2. Edit source code
The names of serial devices this DEMO accesses are listed in this file: src/com/friendlyarm/SerialPortDemo/SerialPortDataProcessView.java
Make changes according to your devices' names:
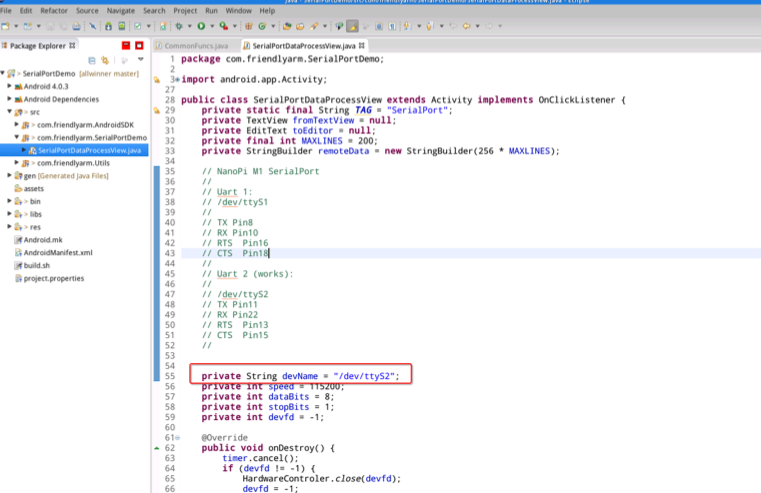
5.2.1 Serial Device Names under Multiple Platforms
- Allwinner H3/H5 Based Boards (NanoPi M1/NanoPi M1 Plus etc)
UART1-> /dev/ttyS1
UART2 -> /dev/ttyS2
UART3 -> /dev/ttyS3 (Only applies to NanoPi M1, NanoPi K1 and NanoPi K1 Plus)
- S5P4418 Based Boards (NanoPi Fire2A/NanoPi M2A/NanoPi S2/NanoPC-T2 etc)
UART1 -> /dev/ttyAMA1 [Note 1]
UART2 -> /dev/ttyAMA2 [Note 1]
UART3 -> /dev/ttyAMA3
UART4 -> /dev/ttyAMA4
- S5P6818 Based Boards (NanoPi M3/NanoPC-T3 etc)
UART1 -> /dev/ttySAC1 [Note 1]
UART2 -> /dev/ttySAC2 [Note 1]
UART3 -> /dev/ttySAC3
UART4 -> /dev/ttySAC4
Note 1: only applies to specific boards, you need to check if a board has that serial device populated.
5.3 Step 3. Compile DEMO's source code and export apk file
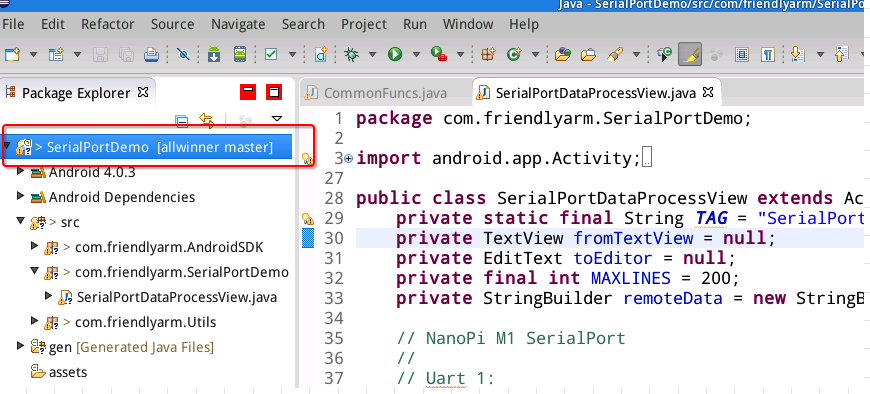
On "Package Explorer" check your project's name:
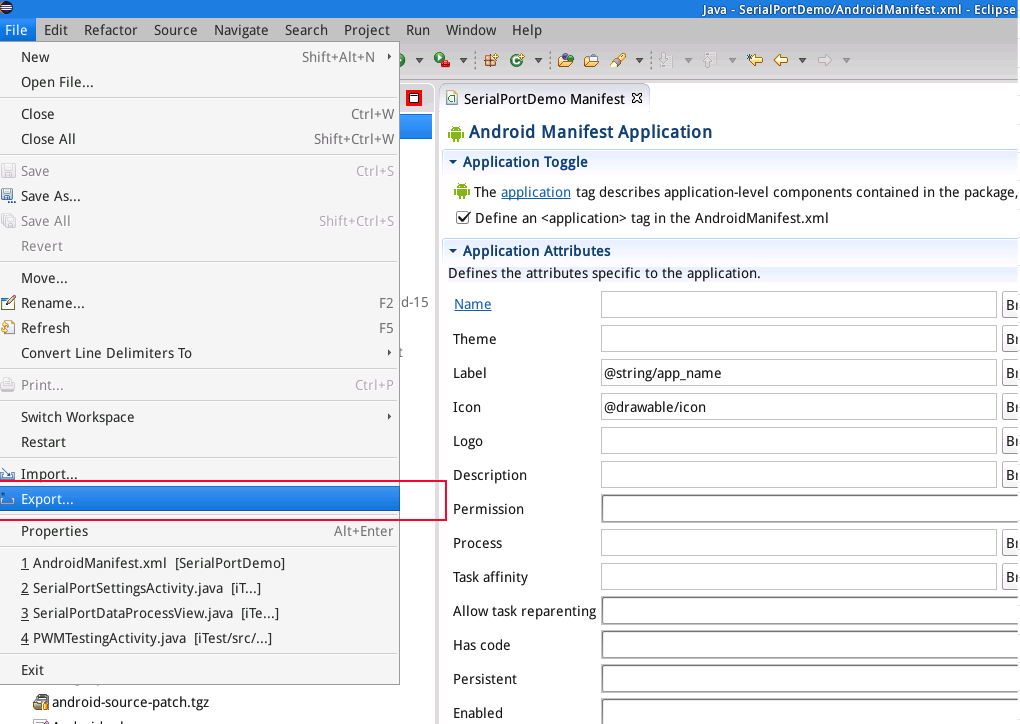
On eclipse's main menu select "File" and then "Export...":
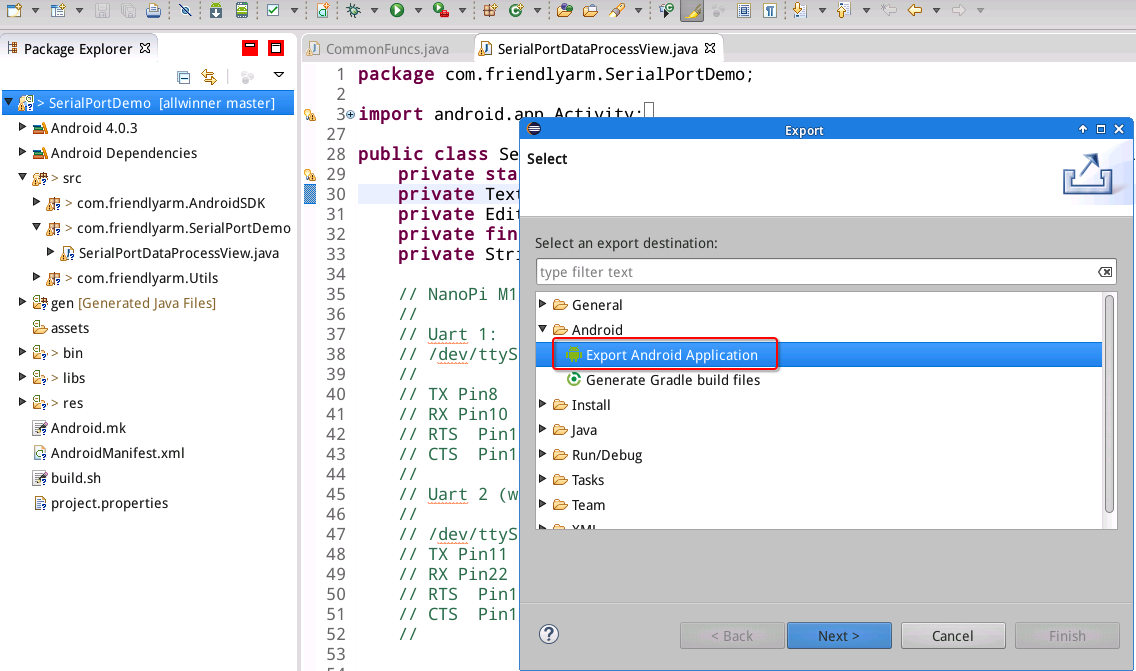
Select "Export Android Application":
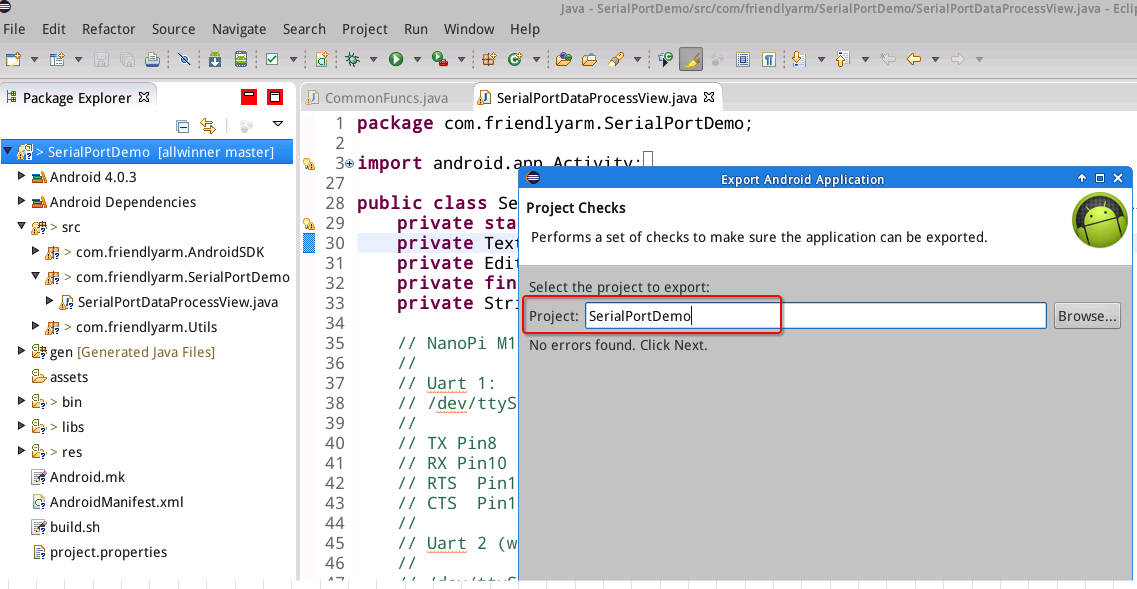
Select "SerialPortDemo":
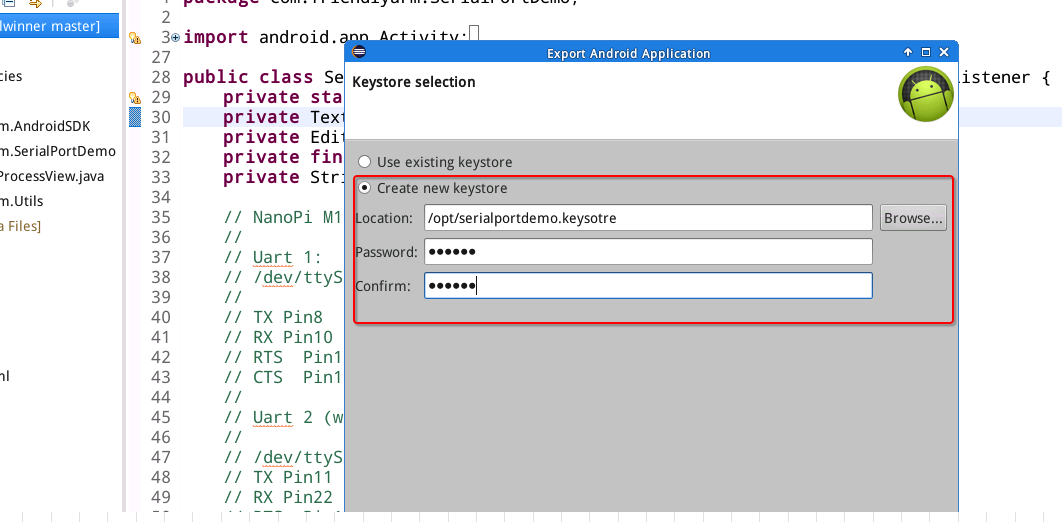
Eclipse requires you to create a new keystore or select an existing keysotre in this step. In this case we selected "Create new keystore", set a path to store the key and created its password and then clicked on "next":
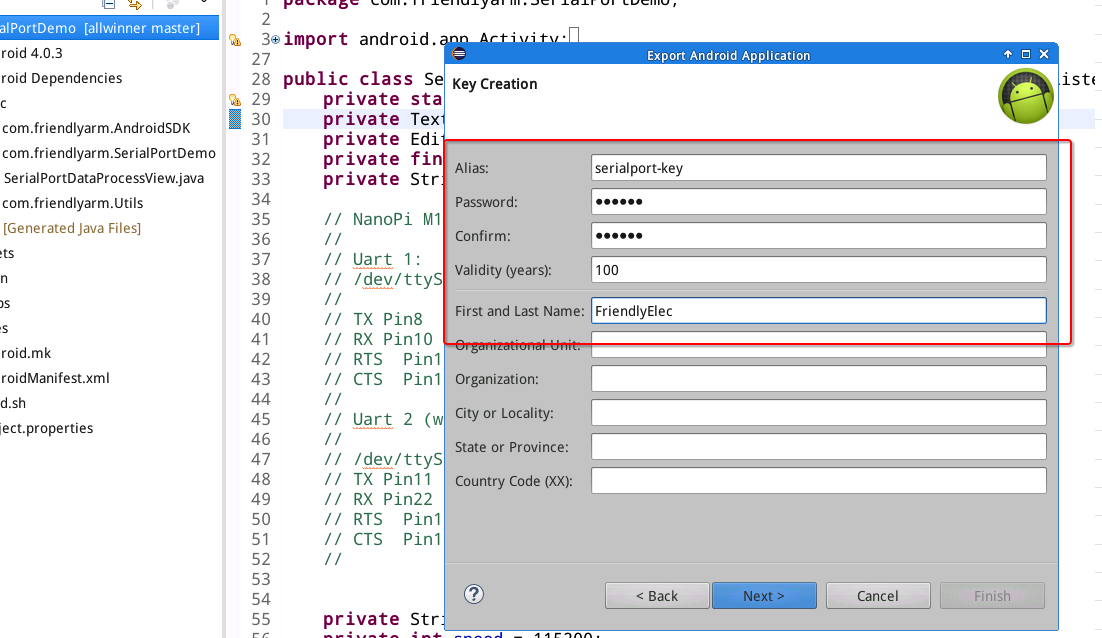
Refer to the following screenshot to fill more information and click on "next":
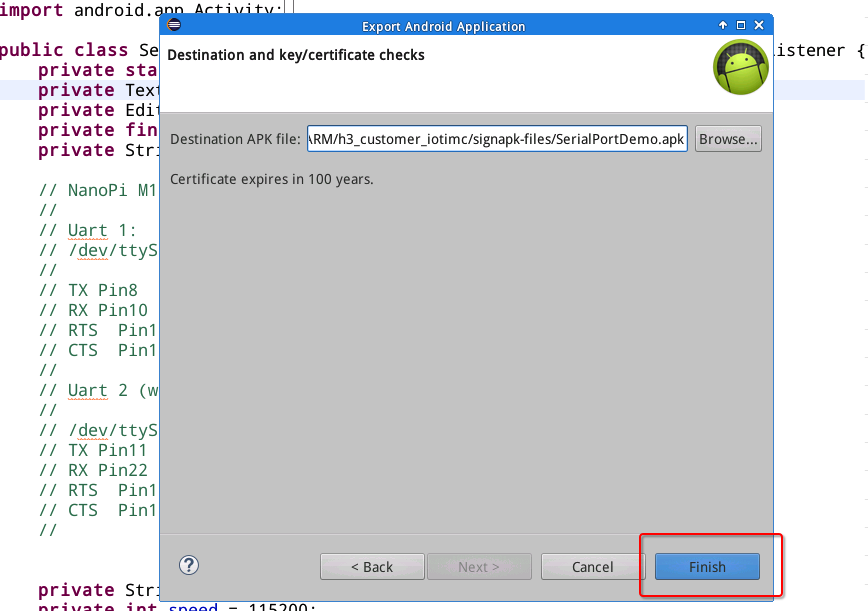
Select a path to store your APK file. In this case we set it to a "signapk-files" directory:
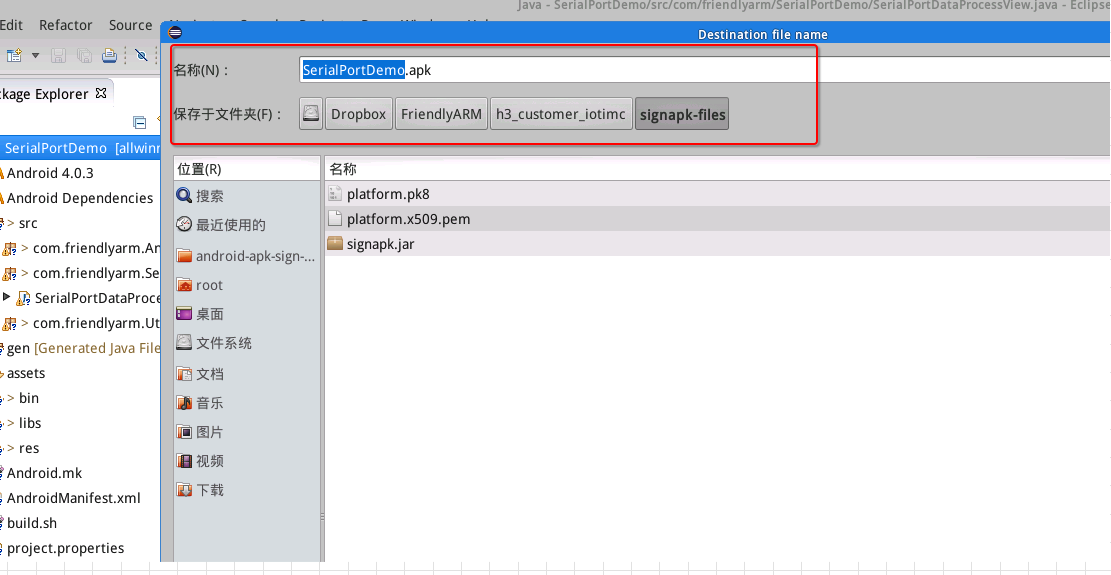
Click on "Finish" to export an APK file.
5.4 Step 4. Give APK New Signature
For a program to access a hardware device that program needs to have "system" right therefore you need to give your APK a new signature.
Enter the signapk-files directory and give your APK a new signature:
cd signapk-files/
java -jar ./signapk.jar platform.x509.pem platform.pk8 ./SerialPortDemo.apk SerialPortDemo-Signed.apk
The "signapk.jar", "platform.x509.pem" and "platform.pk8" files are available under the "android-platform-key-files" directory.
5.5 5) 运行与调试
5.1) 安装APK,用microUSB线将电脑与开发板连接,用adb命令安装SerialPortDemo-Signed.apk:
adb install SerialPortDemo-Signed.apk5.2) 调试: 运行 SerialPortDemo后,在adb shell命令行模式下执行:
ps -Z
然后找到com.friendlyarm.SerialPortDemo这个进程,如果前面的权限是如下所示,表明程序已经获得了 system 权限:
u:r:system_app:s0 system 1610 112 com.friendlyarm.SerialPortDemo
以上是Android4的,如果是Android5,则略有不同,不过都表示已经是 system 权限:
u:r:platform_app:s0 u0_a60 1905 138 com.friendlyarm.SerialPortDemo
如果程序没有获得 system 权限,则打开串口设备会失败。
6 Resources
- Code Samples: https://github.com/friendlyarm/AndroidHardwareAccess
- Guide to API in Chinese: https://github.com/friendlyarm/AndroidHardwareAccess/blob/master/友善电子Android硬件开发指南.pdf
7 Update Log
7.1 March-2-2017
- Released English version
