Difference between revisions of "1-bay NAS Dock"
From FriendlyELEC WiKi
(→Introduction) |
(→特性) |
||
| Line 9: | Line 9: | ||
* Its dual-color LED can indicate a connected hard disk's status. When the LED is green it means the power is on. When it is red-blinking it means the connected hard disk is reading/writing.Warning: when the status LED is red-blinking do NOT shut down the power or plug/unplug the power. | * Its dual-color LED can indicate a connected hard disk's status. When the LED is green it means the power is on. When it is red-blinking it means the connected hard disk is reading/writing.Warning: when the status LED is red-blinking do NOT shut down the power or plug/unplug the power. | ||
| − | == | + | ==Hardware Spec== |
| − | * | + | * High-speed USB2SATA IC JM20329 |
| − | * | + | * Supply voltage:12V |
| − | * | + | * Onboard switch |
| − | * | + | * Dual-color status LED |
| − | * USB | + | * USB Host |
| − | * | + | * Customized aluminum case |
| − | * | + | * Ready-to-go software system |
| − | * | + | * PCB dimension(mm): 151 x 89.7 |
[[File:NAS Dock.png | frameless|500px|NAS Dock-01.PCB]] | [[File:NAS Dock.png | frameless|500px|NAS Dock-01.PCB]] | ||
Revision as of 14:09, 1 April 2017
Contents
[hide]1 Introduction
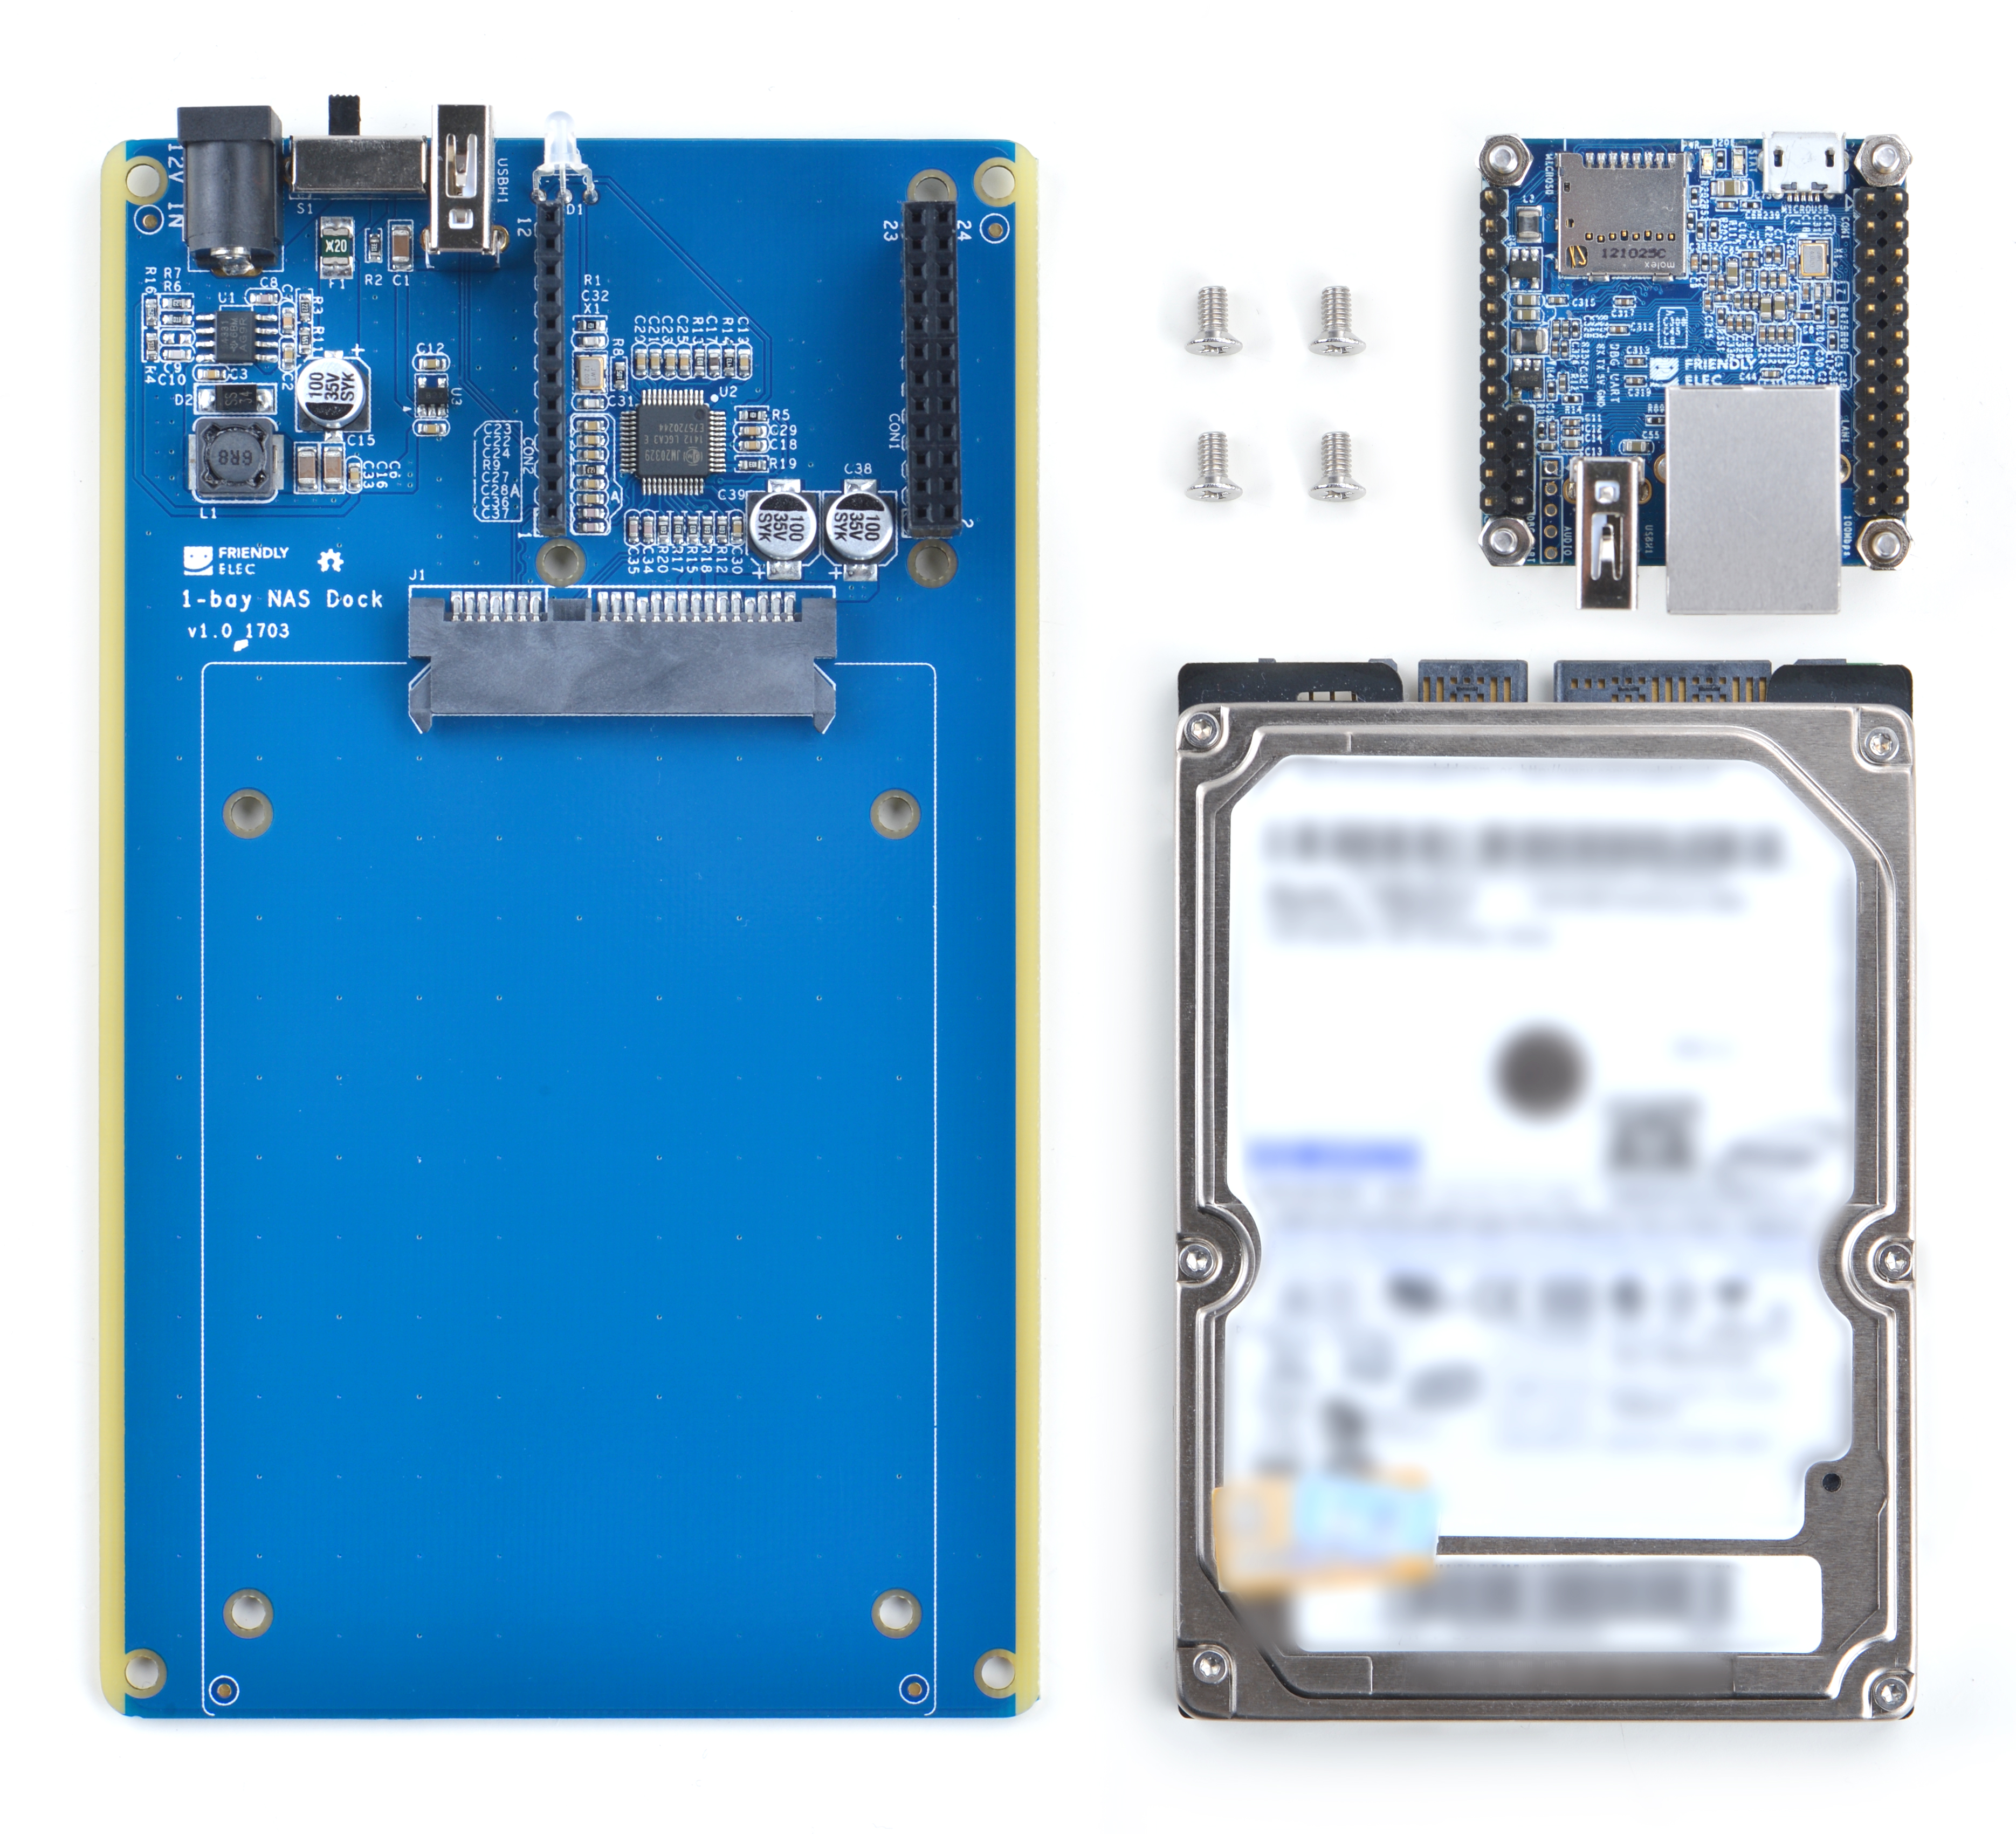
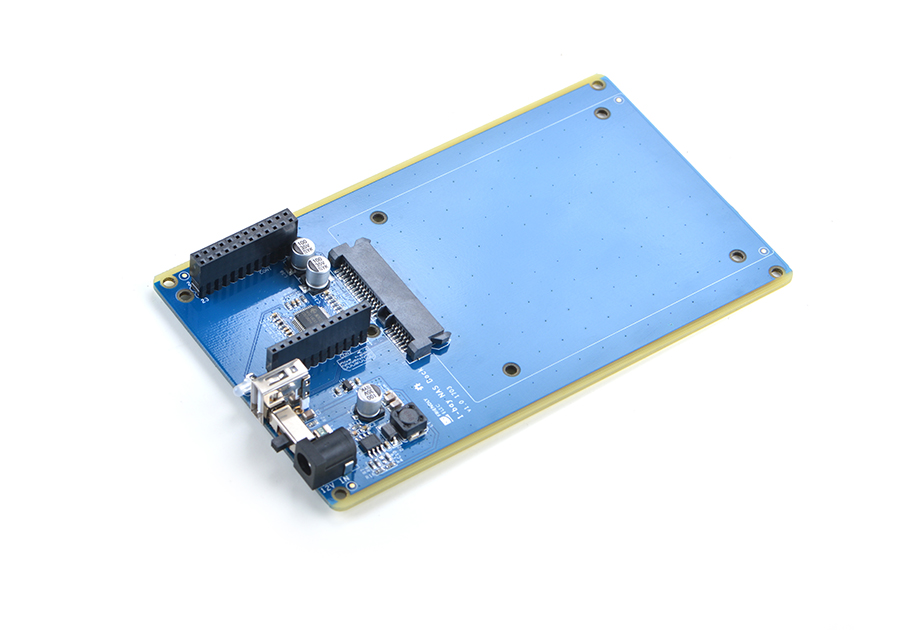
- The 1-bay NAS Dock is an expansion board which can be used to connect an external hard disk to a FriendlyElec’s NanoPi NEO. Together with FriendlyElec's customized aluminum case and NanoPi NEO you can quickly assemble a storage server.
- It uses JM20329 USB2SATA IC and communicates with a NanoPi NEO via USB interface.
- It works with a 2.5" SATA hard disk.
- It uses TI’s DC-DC chipset to convert a 12V input to 5V. It has a power switch for users to turn on/off the device.
- Its dual-color LED can indicate a connected hard disk's status. When the LED is green it means the power is on. When it is red-blinking it means the connected hard disk is reading/writing.Warning: when the status LED is red-blinking do NOT shut down the power or plug/unplug the power.
2 Hardware Spec
- High-speed USB2SATA IC JM20329
- Supply voltage:12V
- Onboard switch
- Dual-color status LED
- USB Host
- Customized aluminum case
- Ready-to-go software system
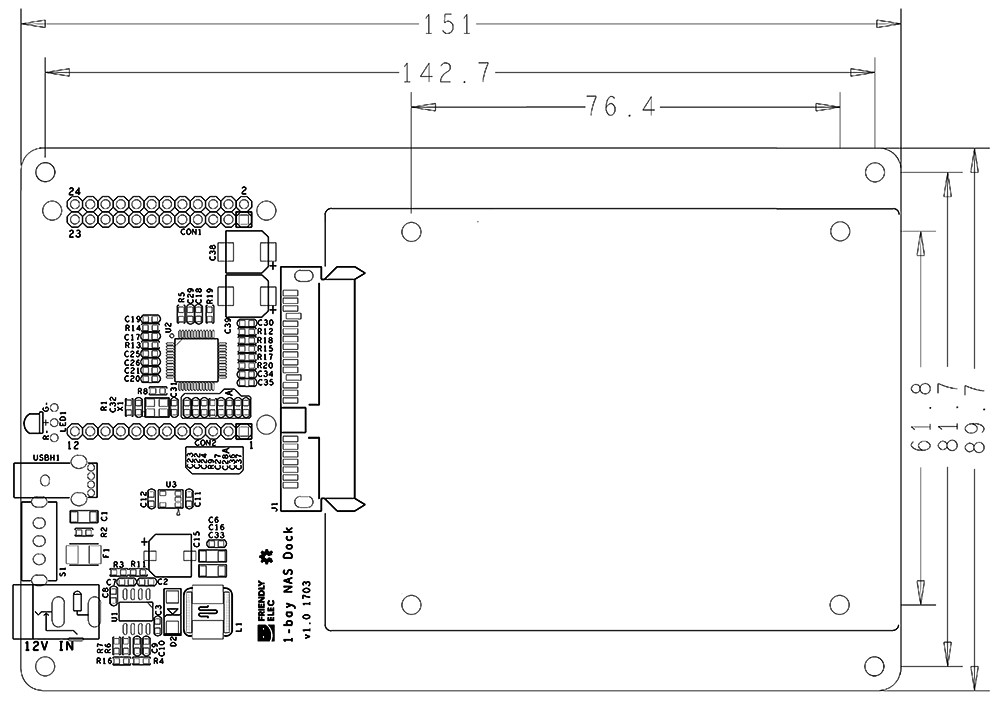
- PCB dimension(mm): 151 x 89.7
3 硬件组装步骤
搭建NAS设备,您需要准备以下物品:
(1) 1-bay NAS Dock;
(2) 配套螺丝;
(3) 2.5寸HDD硬盘;
(4) 带散热片的NanoPi NEO。

NAS设备组装步骤如下:
(1)把硬盘装配在模块的SATA接口,并在底面用螺丝固定,如下图所示


(2)把NanoPi NEO倒扣安装在排母上,如下图所示

(3)接上12V电源,硬件组装就完成了,如下图所示

4 软件安装
4.1 制作一张运行OpenMediaVault的TF卡
4.1.1 下载系统固件
首先访问下载地址下载固件文件(officail-ROMs目录)和烧写工具(tools目录):
使用以下固件: Debian-for-nas-YYYYMMDD.img.zip 预装了OpenMediaVault软件的Debian系统固件 烧写工具: win32diskimager.rar Windows平台下的系统烧写工具,Linux平台下可以用dd命令烧写系统
4.1.2 制作系统TF卡
将固件Debian-for-nas-YYYYMMDD.img.zip和烧写工具win32diskimager.rar分别解压,在Windows下插入TF卡(限4G及以上的卡),以管理员身份运行 win32diskimager 工具,
在win32diskimager工具的界面上,选择你的TF卡盘符,选择系统固件,点击 Write 按钮烧写即可。
烧写完成后,将制作好TF卡插入NanoPi NEO,使用12V电源给1-Bay NAS供电,
打开1-Bay NAS开关,看到NanoPi NEO上的蓝色LED闪烁,这说明系统已经开始启动了。
4.2 OpenMediaVault 的使用
test
