Difference between revisions of "BakeBit - Button"
From FriendlyELEC WiKi
(→特性) |
(→示例程序:Button And Buzzer) |
||
| Line 27: | Line 27: | ||
|} | |} | ||
| − | == | + | == Code Sample: Button And Buzzer == |
| − | + | A BakeBit - Buzzer module is needed in this test case. | |
| − | === | + | === Hardware Connection === |
| − | + | Connect the buzzer module to the NEO-Hub at D3 and the button module to the NEO-Hub at D4: | |
::{| class="wikitable" | ::{| class="wikitable" | ||
| Line 40: | Line 40: | ||
|} | |} | ||
| − | === | + | === Source Code === |
<syntaxhighlight lang="python"> | <syntaxhighlight lang="python"> | ||
| Line 85: | Line 85: | ||
[https://github.com/friendlyarm/BakeBit/blob/master/Software/Python/bakebit_prj_Button_And_Buzzer.py.py Github] | [https://github.com/friendlyarm/BakeBit/blob/master/Software/Python/bakebit_prj_Button_And_Buzzer.py.py Github] | ||
| − | === | + | === Run Code Sample === |
| − | + | Before you run the code sample you need to follow the steps in [http://wiki.friendlyarm.com/bakebit bakebit tutorial] to intall the BakeBit package.<br /> | |
| − | + | Enter the "BakeBit/Software/Python" directory and run the "bakebit_prj_Button_And_Buzzer.py" program: | |
<syntaxhighlight lang="bash"> | <syntaxhighlight lang="bash"> | ||
cd ~/BakeBit/Software/Python | cd ~/BakeBit/Software/Python | ||
| Line 94: | Line 94: | ||
</syntaxhighlight> | </syntaxhighlight> | ||
| − | === | + | === Observation === |
| − | + | When users press the button the buzzer will beep. When the button is released the buzzer will be silent. | |
==相关资料== | ==相关资料== | ||
Revision as of 15:04, 12 December 2016
Contents
1 Introduction
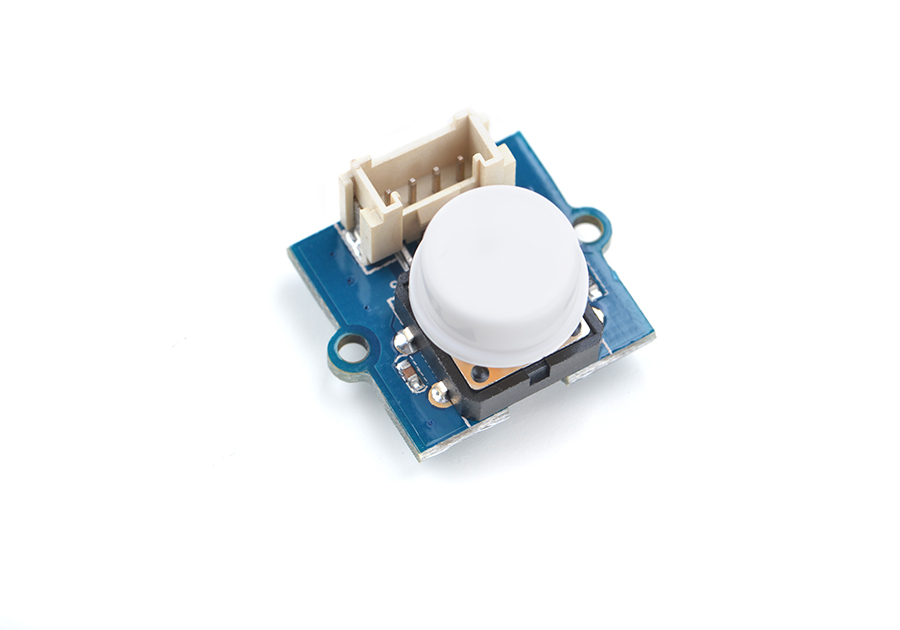
- The BakeBit - Button is an instant button module and it is used to detect button events. When the button is released the module goes back to its default state.
- If the button is not pressed the module will output high otherwise it will output low.
2 Hardware Spec
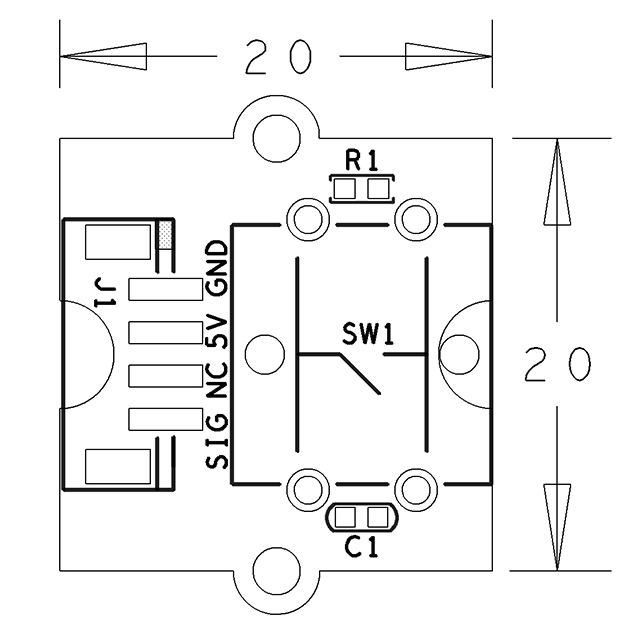
- Standard 2.0mm pitch 4-Pin BakeBit interface
- Digital output
- PCB dimension(mm): 20 x 24
- Pin Description:
| Pin | Description |
| GND | Ground |
| 5V | Supply Voltage 5V |
| NC | Not Connected |
| SIG | Signal |
3 Code Sample: Button And Buzzer
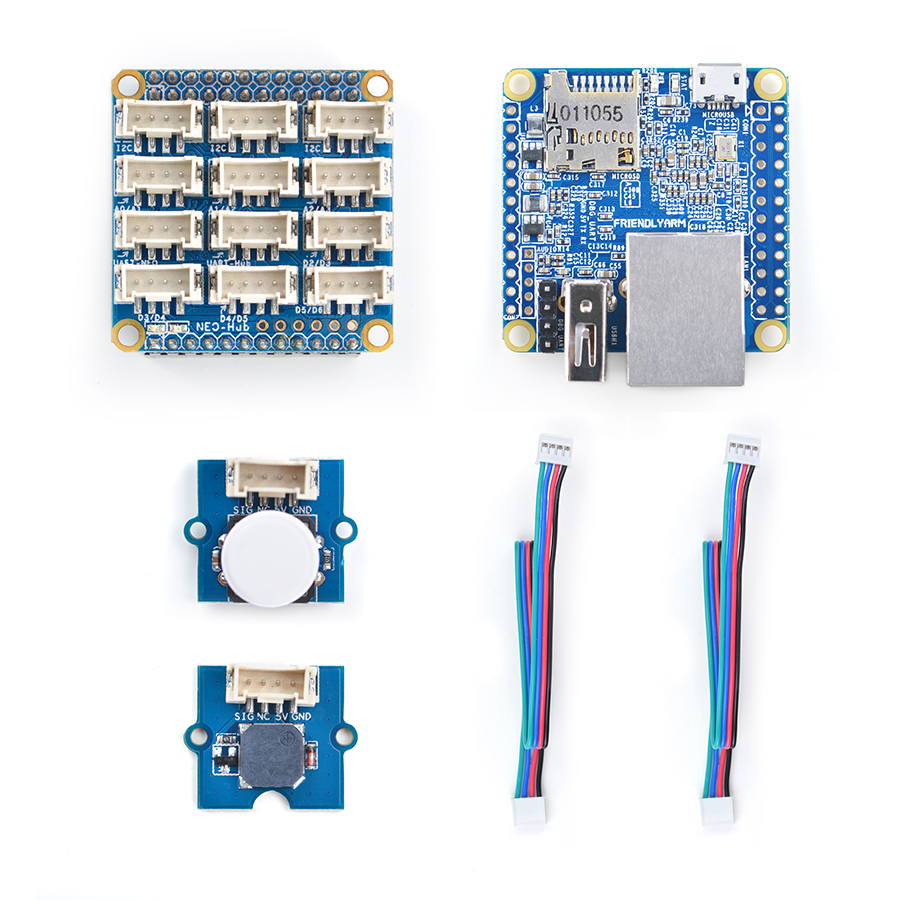
A BakeBit - Buzzer module is needed in this test case.
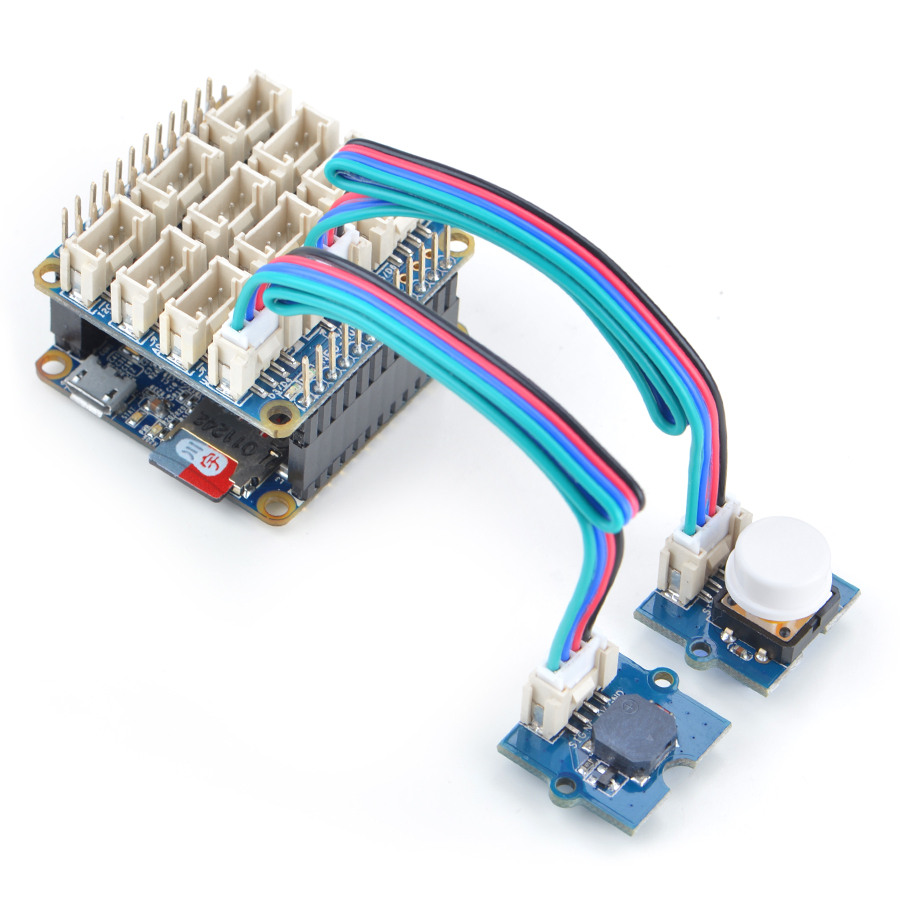
3.1 Hardware Connection
Connect the buzzer module to the NEO-Hub at D3 and the button module to the NEO-Hub at D4:
3.2 Source Code
import bakebit
import time
# Connect the BakeBit Ultrasonic Ranger to digital port D4
# SIG,NC,VCC,GND
ultrasonic_ranger = 4

# Connect the BakeBit LED to digital port D3
led = 3

bakebit.pinMode(led,"OUTPUT")
light = 0

while True:
    try:
        # Read distance value from Ultrasonic
	distance = bakebit.ultrasonicRead(ultrasonic_ranger)
        print(distance)
	if distance > 0:
		if distance<10:
			if light == 0:
				print("\ton")
				bakebit.digitalWrite(led,1)
				light = 1
		else:
			if light == 1:
				print("\toff")
				bakebit.digitalWrite(led,0)
				light = 0
	time.sleep(.2)

    except KeyboardInterrupt:
	bakebit.digitalWrite(led,0)
        break

    except TypeError:
        print ("Error")
    except IOError:
        print ("Error")
3.3 Run Code Sample
Before you run the code sample you need to follow the steps in bakebit tutorial to intall the BakeBit package.
Enter the "BakeBit/Software/Python" directory and run the "bakebit_prj_Button_And_Buzzer.py" program:
cd ~/BakeBit/Software/Python
sudo python bakebit_prj_Button_And_Buzzer.py
3.4 Observation
When users press the button the buzzer will beep. When the button is released the buzzer will be silent.
4 相关资料
- [Schematic](BakeBit - Button.pdf)
- [BakeBit Github项目](https://github.com/friendlyarm/BakeBit)
- [BakeBit Starter Kit手册](http://wiki.friendlyarm.com/bakebit/bakebit_starter_kit_manual_cn.pdf)


