Difference between revisions of "Matrix - Relay/zh"
From FriendlyELEC WiKi
| Line 1: | Line 1: | ||
[[Matrix - Relay|English]] | [[Matrix - Relay|English]] | ||
| − | == | + | ==Introduction== |
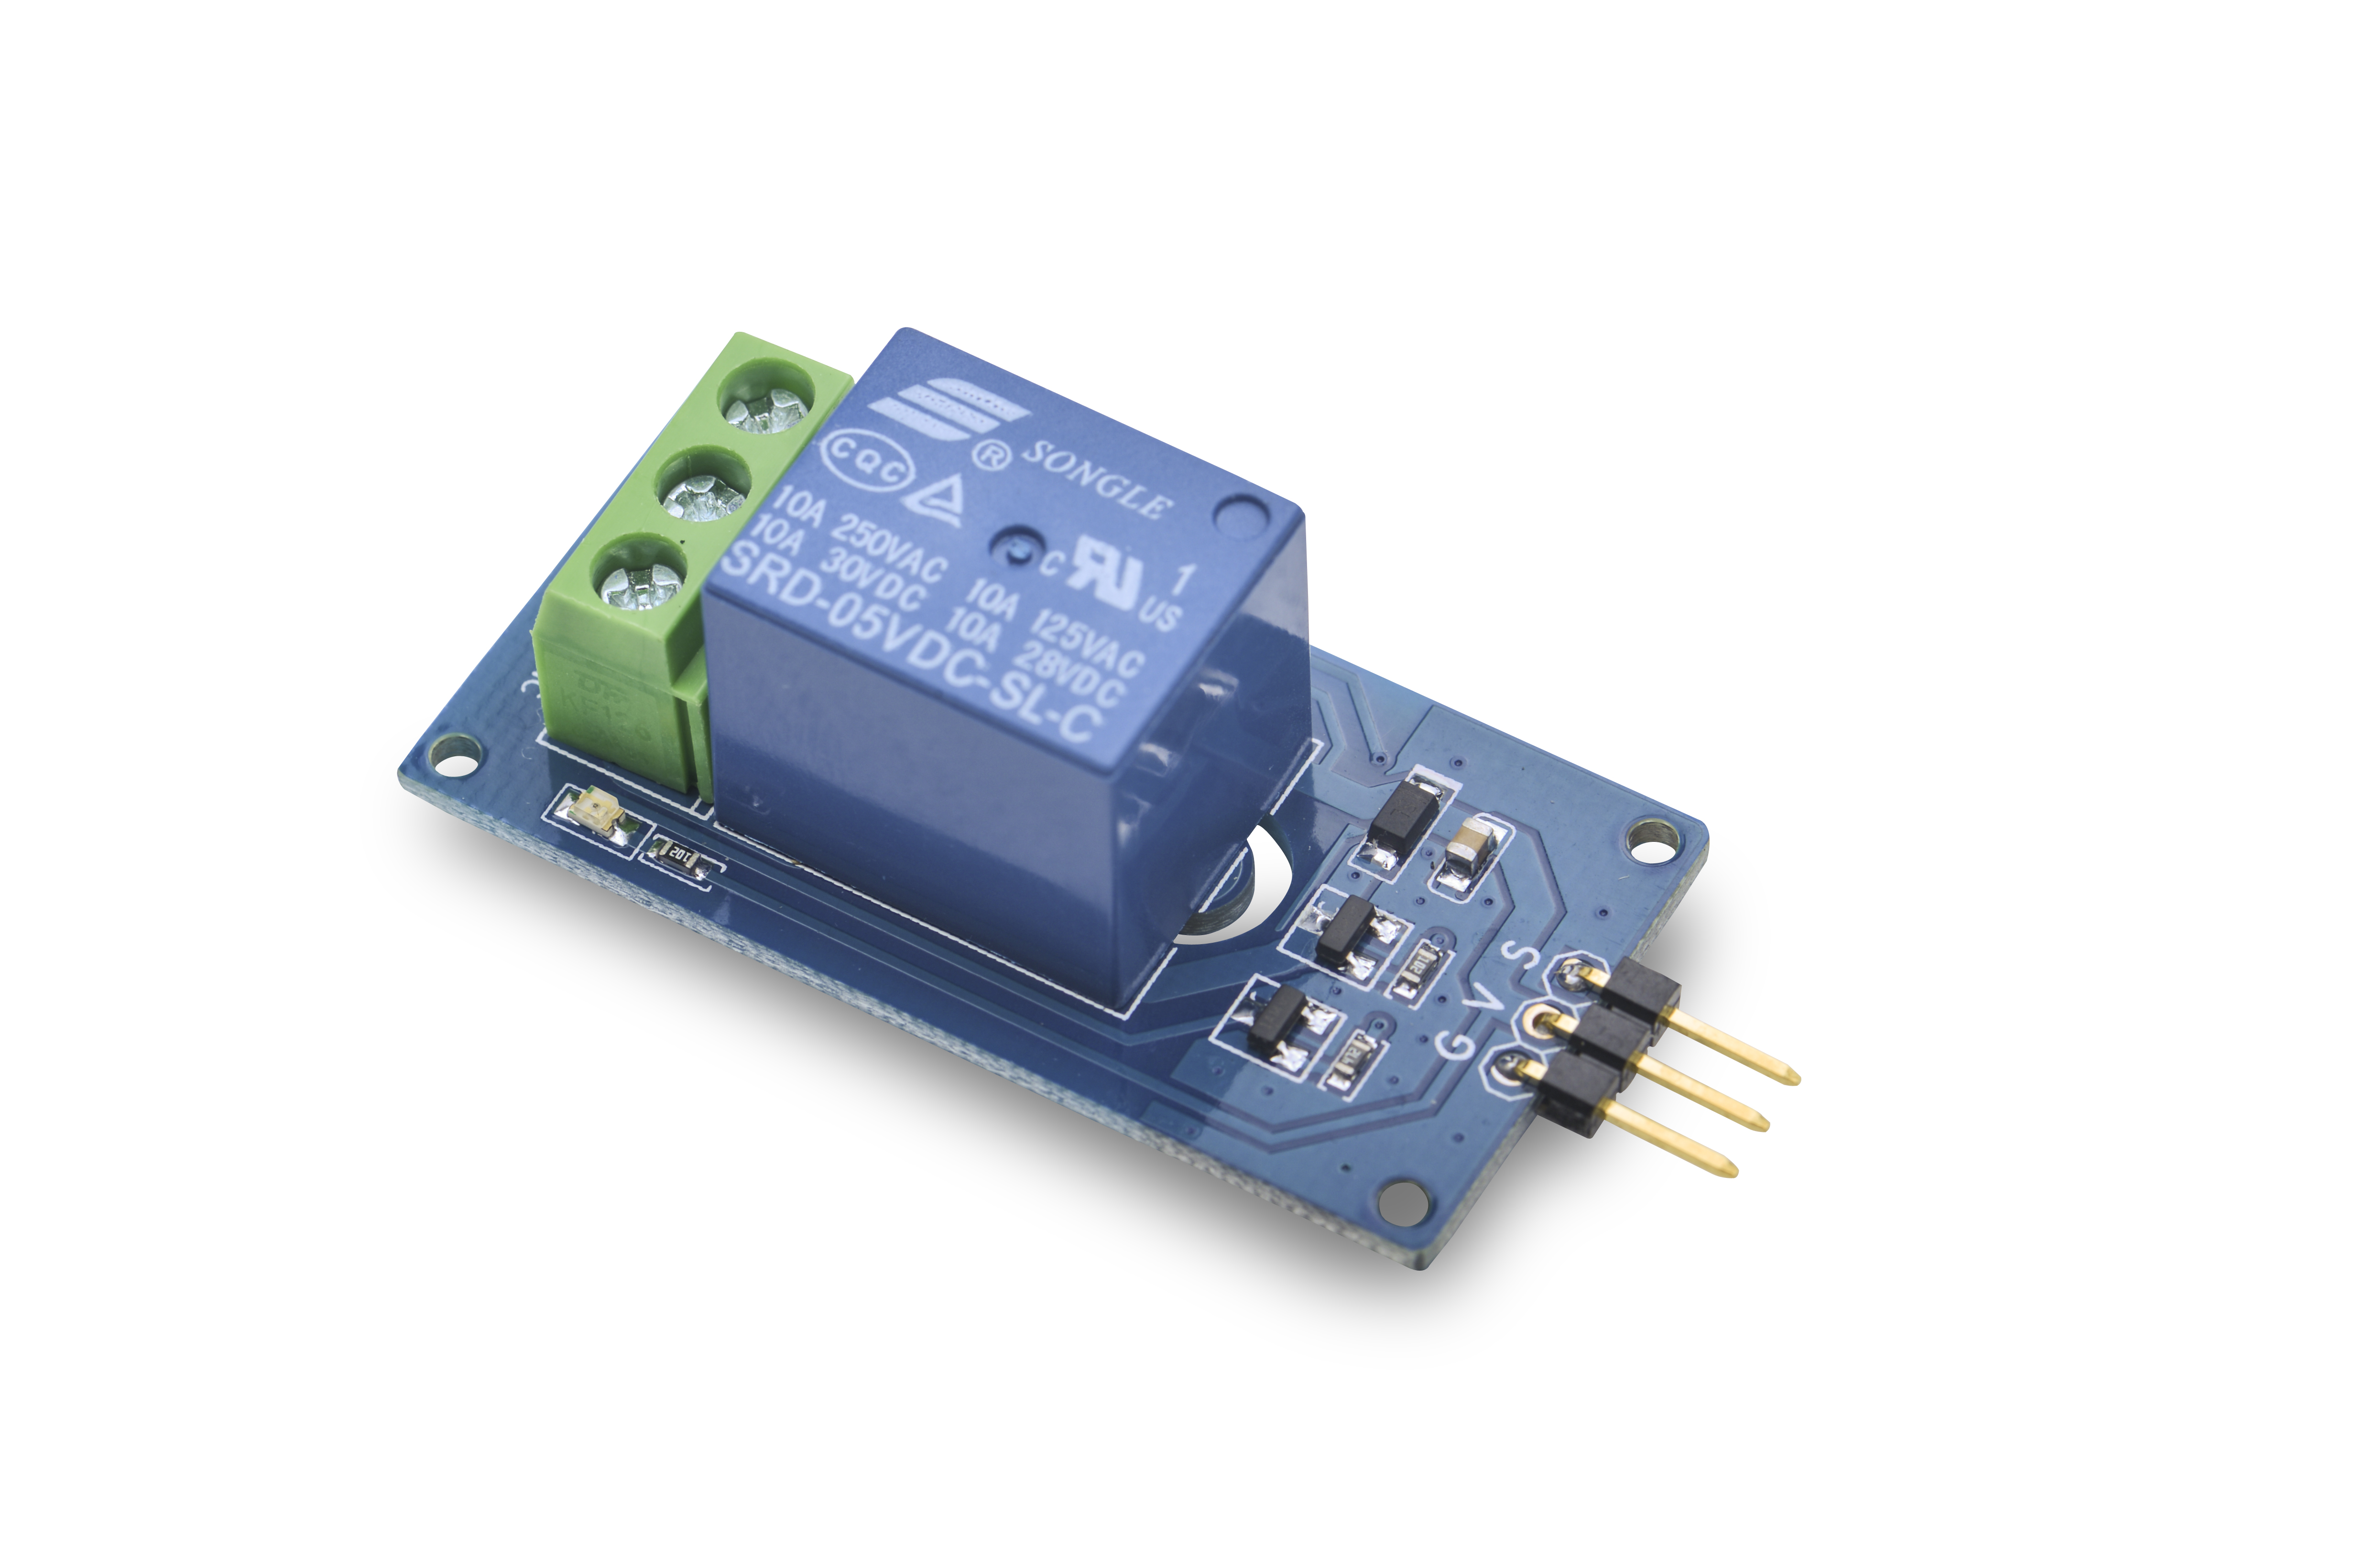
[[File:relay01.png|thumb|Relay]] | [[File:relay01.png|thumb|Relay]] | ||
| − | + | This is an SPDT relay. Its coil voltage is 5V. The contact current can be up to 10A. It can drive AC or DC high power loads. NO is Normally Open. NC is Normally Closed. COM is Common. When write high to pin S NO will be open and NC will be closed. | |
| − | == | + | ==Features== |
* 1 Form C | * 1 Form C | ||
| − | * | + | * 5V coil voltage, 3.3/5V control signal |
| − | * | + | * Contact current up to 10A |
| − | * | + | * LED indicator |
| − | * 2. | + | * 2.54mm spacing pin |
| − | == | + | ==How To== |
| − | === | + | ===Connection=== |
| − | * | + | *Connect to Tiny4412 SDK (1506) |
| − | :: | + | ::Connect the module's pin S to GPIO PIN1, V to 5V and G grounded |
| − | === | + | ===Code Sample in C Under Linux=== |
<syntaxhighlight lang="c"> | <syntaxhighlight lang="c"> | ||
#include <stdio.h> | #include <stdio.h> | ||
| Line 51: | Line 51: | ||
</syntaxhighlight> | </syntaxhighlight> | ||
| − | === | + | ===Compile and Run=== |
<syntaxhighlight lang="bash"> | <syntaxhighlight lang="bash"> | ||
git clone http://github.com/friendlyarm/fa-hardware.git | git clone http://github.com/friendlyarm/fa-hardware.git | ||
| Line 59: | Line 59: | ||
make | make | ||
</syntaxhighlight> | </syntaxhighlight> | ||
| − | + | Copy your compiled bin to your board and you are ready to go. | |
| − | == | + | ==Resources== |
Revision as of 08:40, 12 August 2015
Contents
[hide]1 Introduction
This is an SPDT relay. Its coil voltage is 5V. The contact current can be up to 10A. It can drive AC or DC high power loads. NO is Normally Open. NC is Normally Closed. COM is Common. When write high to pin S NO will be open and NC will be closed.
2 Features
- 1 Form C
- 5V coil voltage, 3.3/5V control signal
- Contact current up to 10A
- LED indicator
- 2.54mm spacing pin
3 How To
3.1 Connection
- Connect to Tiny4412 SDK (1506)
- Connect the module's pin S to GPIO PIN1, V to 5V and G grounded
3.2 Code Sample in C Under Linux
#include <stdio.h>
#include <string.h>
#include "libfahw.h"

int main(int argc, char ** argv)
{
    char *status = "off";
    if (argc != 2) {
        printf("Set relay on\n");
    } else {
        status = argv[1];
        printf("Set relay %s\n", argv[1]);
    }

    int pin = TINY4412_GPIO_PIN1;
    int ret = -1;
    if ((ret = exportGPIOPin(pin)) != 0) {
        printf("exportGPIOPin(%d) failed!", pin);
    }
    if ((ret = setGPIODirection(pin, GPIO_OUT)) != 0) {
        printf("setGPIODirection(%d) failed", pin);
    }

    if (strcmp(status, "on") == 0) {
        ret = setGPIOValue(pin, GPIO_LOW);
    } else {
        ret = setGPIOValue(pin, GPIO_HIGH);
    }
    return ret;
}
3.3 Compile and Run
git clone http://github.com/friendlyarm/fa-hardware.git
cd fa-hardware
cd demo
cd matrix-relay
make
Copy your compiled bin to your board and you are ready to go.
