Difference between revisions of "Template:DebianJessieAllwinnerH3"
(updated by API) |
(updated by API) |
||
| (One intermediate revision by one other user not shown) | |||
| Line 22: | Line 22: | ||
In our case the board's IP address was 192.168.1.230. We typed 192.168.1.230:8080 in a browser and were able to view the images taken from the camera's. Here is what you would expect to observe:<br> | In our case the board's IP address was 192.168.1.230. We typed 192.168.1.230:8080 in a browser and were able to view the images taken from the camera's. Here is what you would expect to observe:<br> | ||
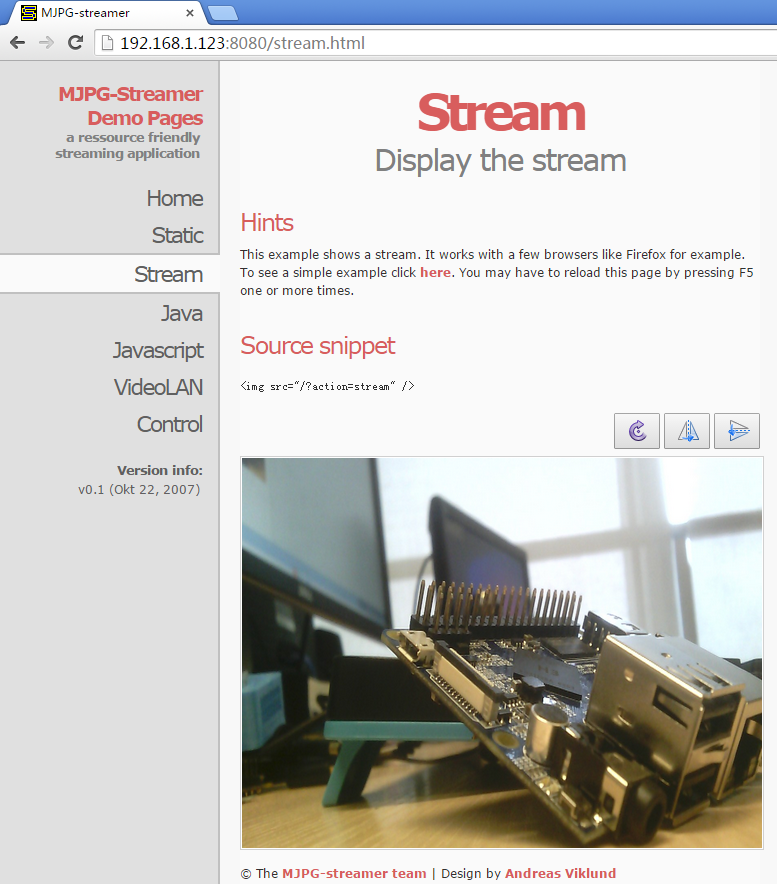
[[File:mjpg-streamer-cam500a.png|frameless|400px|mjpg-streamer-cam500a]] <br> | [[File:mjpg-streamer-cam500a.png|frameless|400px|mjpg-streamer-cam500a]] <br> | ||
| − | mjpg- | + | The mjpg-streamer utility uses libjpeg to software-encode steam data. The Linux-4.x based ROM currently doesn't support hardware-encoding. If you use a Linux-3.x based ROM you can use the ffmpeg utility to hardware-encode stream data and this can greatly release CPU's resources and speed up encoding: |
<syntaxhighlight lang="bash"> | <syntaxhighlight lang="bash"> | ||
$ ffmpeg -t 30 -f v4l2 -channel 0 -video_size 1280x720 -i /dev/video0 -pix_fmt nv12 -r 30 \ | $ ffmpeg -t 30 -f v4l2 -channel 0 -video_size 1280x720 -i /dev/video0 -pix_fmt nv12 -r 30 \ | ||
| Line 35: | Line 35: | ||
</syntaxhighlight> | </syntaxhighlight> | ||
| + | <!-- | ||
===Check System Information with Rpi-Monitor=== | ===Check System Information with Rpi-Monitor=== | ||
Our OS contains the Rpi-Monitor utility with which users can check system information and status.<br> | Our OS contains the Rpi-Monitor utility with which users can check system information and status.<br> | ||
| Line 44: | Line 45: | ||
[[File:rpi-monitor.png|frameless|500px|rpi-monitor]] <br> | [[File:rpi-monitor.png|frameless|500px|rpi-monitor]] <br> | ||
Users can easily check these system information and status. | Users can easily check these system information and status. | ||
| − | + | --> | |
===Test GPU=== | ===Test GPU=== | ||
Note: this function is only supported in Allwinner Linux-3.4.y.<br> | Note: this function is only supported in Allwinner Linux-3.4.y.<br> | ||
Latest revision as of 05:30, 11 June 2018
1 Connect to DVP Camera CAM500B
The CAM500B camera module is a 5M-pixel camera with DVP interface. For more tech details about it you can refer to Matrix - CAM500B.
connect your H3 board to a CAM500B. Then boot OS, connect your board to a network, log into the board as root and run "mjpg-streamer":
$ cd /root/mjpg-streamer
$ make
$ ./start.sh
The mjpg-streamer application is an open source video steam server. After it is successfully started the following messages will be popped up:
 i: Using V4L2 device.: /dev/video0
 i: Desired Resolution: 1280 x 720
 i: Frames Per Second.: 30
 i: Format............: YUV
 i: JPEG Quality......: 90
 o: www-folder-path...: ./www/
 o: HTTP TCP port.....: 8080
 o: username:password.: disabled
 o: commands..........: enabled
In our case the board's IP address was 192.168.1.230. We typed 192.168.1.230:8080 in a browser and were able to view the images taken from the camera's. Here is what you would expect to observe:

The mjpg-streamer utility uses libjpeg to software-encode steam data. The Linux-4.x based ROM currently doesn't support hardware-encoding. If you use a Linux-3.x based ROM you can use the ffmpeg utility to hardware-encode stream data and this can greatly release CPU's resources and speed up encoding:
$ ffmpeg -t 30 -f v4l2 -channel 0 -video_size 1280x720 -i /dev/video0 -pix_fmt nv12 -r 30 \
        -b:v 64k -c:v cedrus264 test.mp4
By default it records a 30-second video. Typing "q" stops video recording. After recording is stopped a test.mp4 file will be generated.
2 Check CPU's Working Temperature
You can use the following command to read H3's temperature and frequency
cpu_freq
3 Test GPU
Note: this function is only supported in Allwinner Linux-3.4.y.
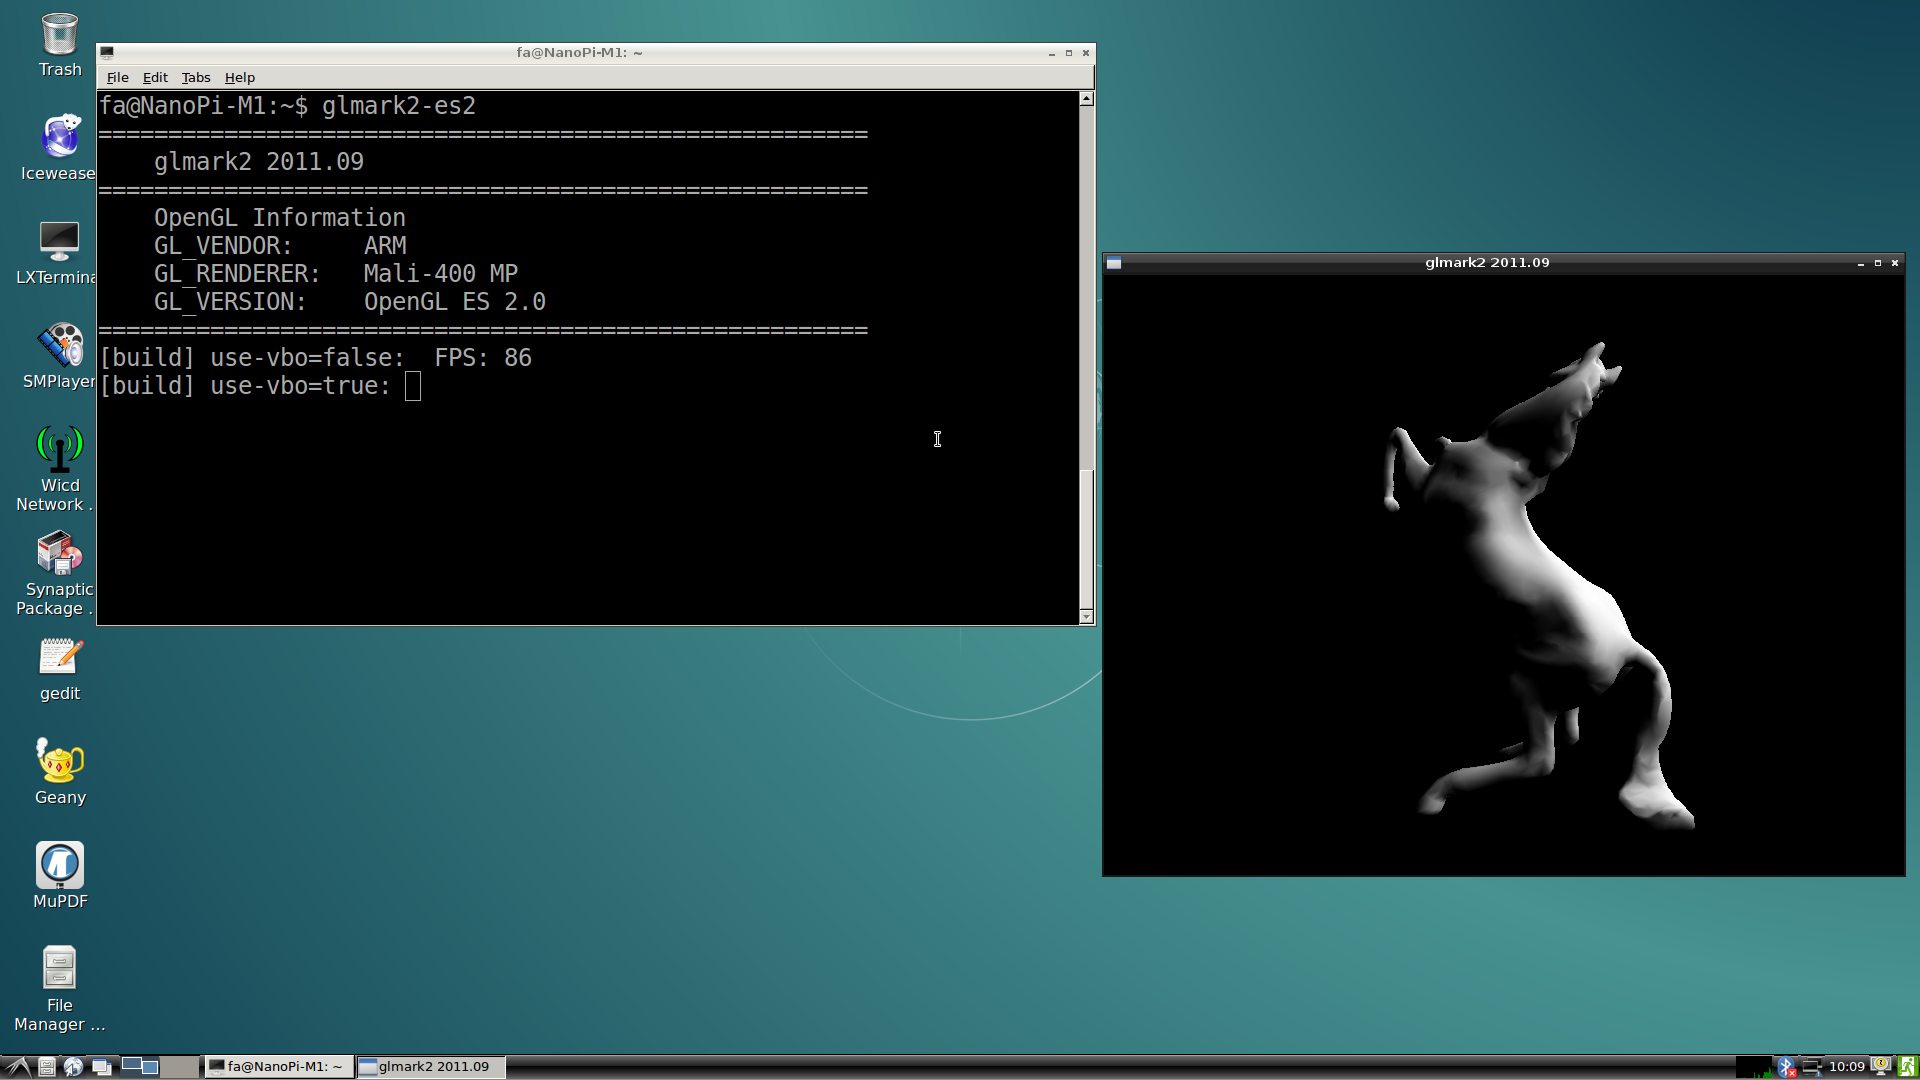
After OS loads please login from a terminal and run the following command:
glmark2-es2
4 Test VPU
Note: this function is only supported in Allwinner Linux-3.4.y
Visit this link download link to download files
After OS is loaded login from a terminal and run the following commands:
$ sudo apt-get install mpv
$ video_play mpv ./big_buck_bunny_1080p_H264_AAC_25fps_7200K.MP4
In our test it could do hard coding and play 1080P video fluently.
