Difference between revisions of "BakeBit - Buzzer/zh"
From FriendlyELEC WiKi
(→示例源代码) |
(→示例源代码) |
||
| Line 41: | Line 41: | ||
<syntaxhighlight lang="python"> | <syntaxhighlight lang="python"> | ||
| − | |||
import time | import time | ||
| − | + | from bakebit import * | |
| − | + | import math | |
| − | + | ||
| − | + | buzzer_pin = 3 #Port for buzzer | |
| − | + | button = 4 #Port for Button | |
| − | + | ||
| − | + | ||
| − | + | ||
| + | pinMode(buzzer_pin,"OUTPUT") # Assign mode for buzzer as output | ||
| + | pinMode(button,"INPUT") # Assign mode for Button as input | ||
while True: | while True: | ||
| − | + | try: | |
| − | + | button_status= digitalRead(button) #Read the Button status | |
| − | + | if button_status: #If the Button is in HIGH position, run the program | |
| − | + | analogWrite(buzzer_pin,0) | |
| − | + | print "\tOff" | |
| − | if | + | else: #If Button is in Off position, print "Off" on the screen |
| − | + | analogWrite(buzzer_pin,127) | |
| − | + | print "Buzzing" | |
| − | + | except KeyboardInterrupt: # Stop the buzzer before stopping | |
| − | + | digitalWrite(buzzer_pin,0) | |
| − | else: | + | break |
| − | + | except (IOError,TypeError) as e: | |
| − | + | print("Error") | |
| − | + | ||
| − | + | ||
| − | + | ||
| − | + | ||
| − | + | ||
| − | + | ||
| − | + | ||
| − | + | ||
| − | + | ||
| − | + | ||
| − | + | ||
| − | + | ||
</syntaxhighlight> | </syntaxhighlight> | ||
| − | [https://github.com/friendlyarm/BakeBit/blob/master/Software/Python/bakebit_prj_Button_And_Buzzer | + | [https://github.com/friendlyarm/BakeBit/blob/master/Software/Python/bakebit_prj_Button_And_Buzzer.py Github] |
=== 运行示例 === | === 运行示例 === | ||
Revision as of 09:28, 12 April 2017
1 介绍
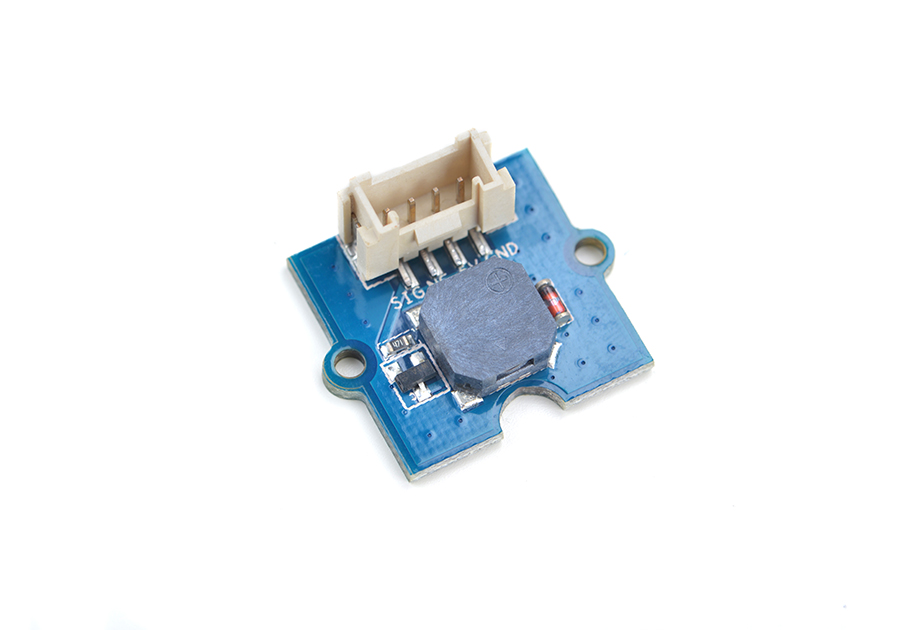
- BakeBit - Buzzer是一个无源蜂鸣器模块,无源蜂鸣器内部有音圈和钼片,输入2.7KHz的PWM信号时,PWM信号通过绕在支架上的线包在支架的芯柱上产生一交变的磁通,交变的磁通和磁环恒定磁通进行叠加,使钼片以给定的PWM信号频率振动并配合共振腔发声。
- 通过调整输入PWM信号的频率即可使无源蜂鸣器发出频率不同的声音。
- 广泛应用于计算机、报警器、电子玩具、汽车电子设备、定时器等电子产品中作发声器件。
2 特性
- 使用标准的2.0mm 4 Pin BakeBit接口
- PWM信号输入
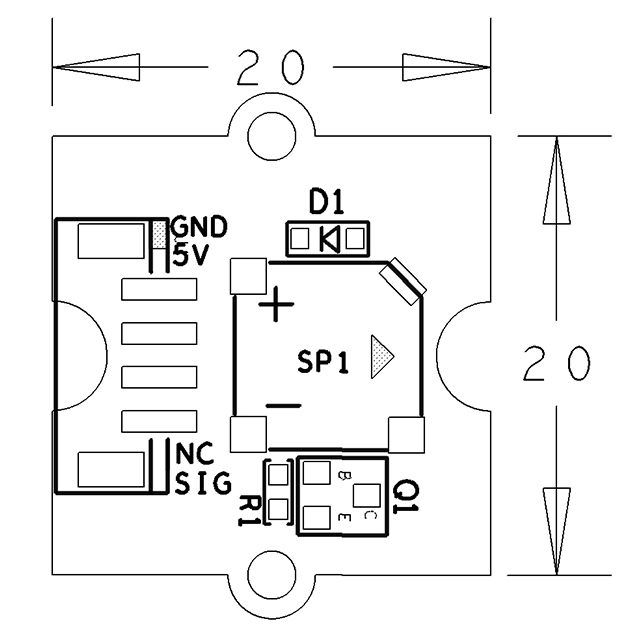
- PCB尺寸(mm):20x24
- 引脚说明:
| 名称 | 描述 |
| GND | 电源5V |
| 5V | 地 |
| NC | 空 |
| SIG | 输入,接PWM |
3 示例程序:Button And Buzzer
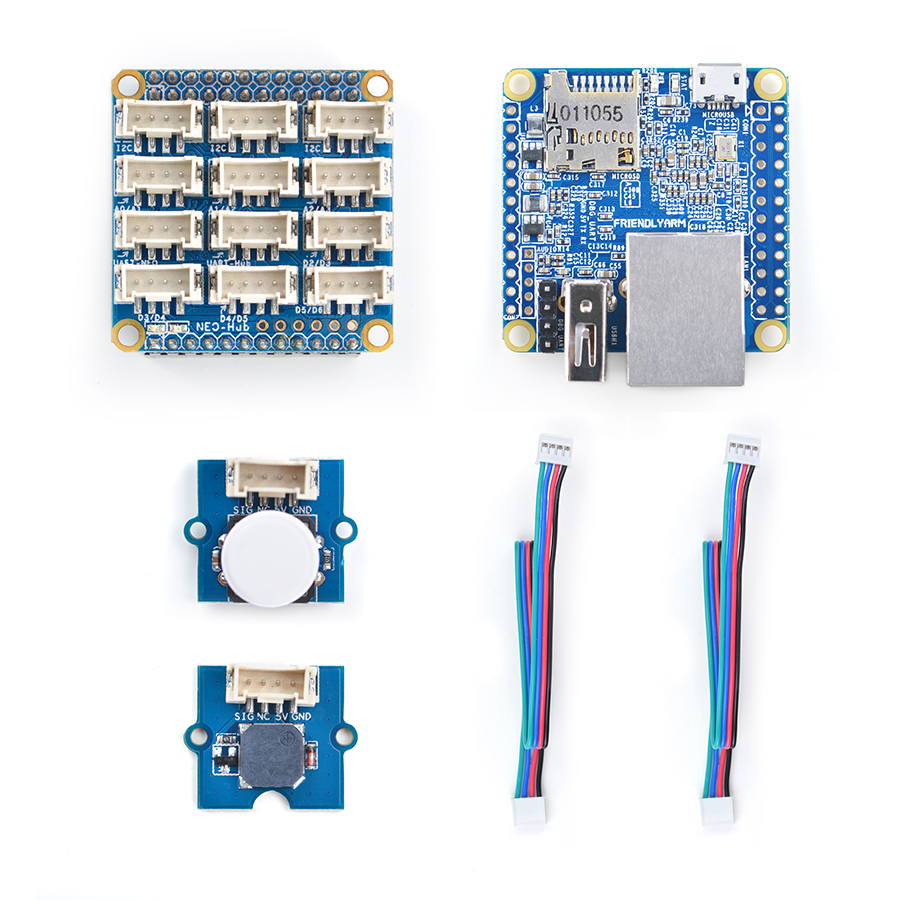
本示例需要配合BakeBit - Button使用。
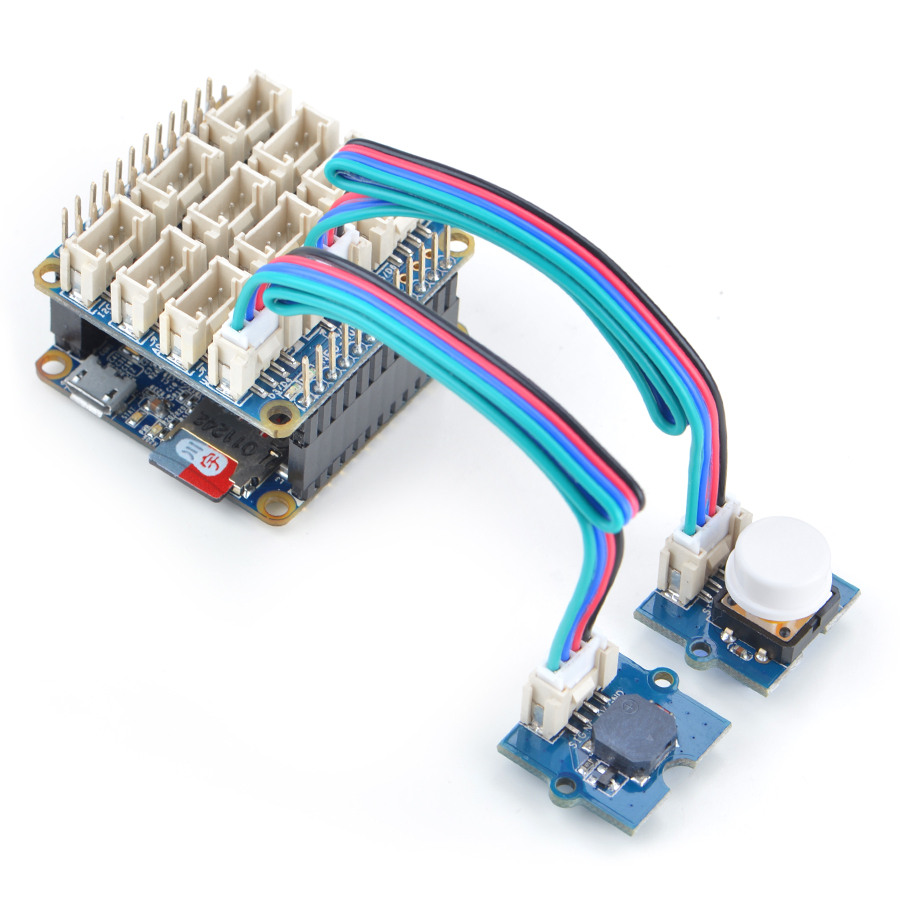
3.1 硬件连接
简单的将 蜂鸣器 模块插入 D3接口,将 按键 插入 D4 接口,如下面这样:
3.2 示例源代码
import time
from bakebit import *
import math

buzzer_pin = 3		#Port for buzzer
button = 4		#Port for Button

pinMode(buzzer_pin,"OUTPUT")	# Assign mode for buzzer as output
pinMode(button,"INPUT")		# Assign mode for Button as input
while True:
	try:
		button_status= digitalRead(button)	#Read the Button status
		if button_status:	#If the Button is in HIGH position, run the program
			analogWrite(buzzer_pin,0)
			print "\tOff"
		else:		#If Button is in Off position, print "Off" on the screen
			analogWrite(buzzer_pin,127)
			print "Buzzing"
	except KeyboardInterrupt:	# Stop the buzzer before stopping
		digitalWrite(buzzer_pin,0)
		break
	except (IOError,TypeError) as e:
print("Error")
3.3 运行示例
假设你已经参考bakebit教程安装了BakeBit源代码,
要运行示例程序,可以在开发板上进入 BakeBit/Software/Python目录,运行bakebit_prj_Button_And_Buzzer.py:
cd ~/BakeBit/Software/Python
sudo python bakebit_prj_Button_And_Buzzer.py
3.4 运行结果
当按下按键时,蜂鸣器会响起,松开按键时,蜂鸣器停止。
4 相关资料
- [Schematic](BakeBit - Buzzer.pdf)
- [BakeBit Github项目](https://github.com/friendlyarm/BakeBit)
- [BakeBit Starter Kit手册](http://wiki.friendlyarm.com/bakebit/bakebit_starter_kit_manual_cn.pdf)


