Difference between revisions of "BakeBit Starter Kit with NanoPi NEO/NEO2/NEO Air/zh"
From FriendlyELEC WiKi
(→使用方法) |
(→使用方法) |
||
| Line 12: | Line 12: | ||
==使用方法== | ==使用方法== | ||
| − | + | * 第1步 - 堆叠连接NEO-Hub扩展板到你的NanoPi NEO上 | |
::[[File:NEOHubConnect.png| frameless|600px|NEOHubConnect]] | ::[[File:NEOHubConnect.png| frameless|600px|NEOHubConnect]] | ||
| − | + | * 第2步 - 通过ssh,或者串口终端进入开发板的命令行,从 github 上下载BakeBit代码: | |
<syntaxhighlight lang="bash"> | <syntaxhighlight lang="bash"> | ||
cd ~ | cd ~ | ||
| Line 21: | Line 21: | ||
</syntaxhighlight> | </syntaxhighlight> | ||
| − | + | * 第3步 - 使用如下命令在开发板上安装BakeBit: | |
<syntaxhighlight lang="bash"> | <syntaxhighlight lang="bash"> | ||
cd BakeBit/Script | cd BakeBit/Script | ||
| Line 28: | Line 28: | ||
</syntaxhighlight> | </syntaxhighlight> | ||
| − | + | * 第4步 - 重启NanoPi NEO: | |
<syntaxhighlight lang="bash"> | <syntaxhighlight lang="bash"> | ||
reboot | reboot | ||
| Line 34: | Line 34: | ||
* 第5步 - 验证BakeBit是否正常工作: | * 第5步 - 验证BakeBit是否正常工作: | ||
| + | 将LED配件连接到NEO-Hub上的D3插座,在命令行执行以下命令操作LED: <br /> | ||
| + | <syntaxhighlight lang="bash"> | ||
| + | python ~/BakeBit/Software/Python/grove_led_blink.py | ||
| + | </syntaxhighlight> | ||
| + | 看到LED闪烁,恭喜你,BakeBit已经为你准备好了! | ||
==支持的配件列表== | ==支持的配件列表== | ||
Revision as of 07:57, 11 October 2016
1 产品介绍
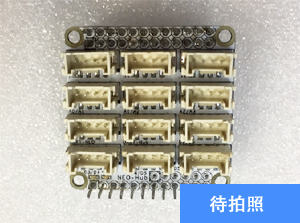
BakeBit是一套传感器连接的解决方案,包括硬件(NEO-Hub扩展板)和软件(BakeBit)。
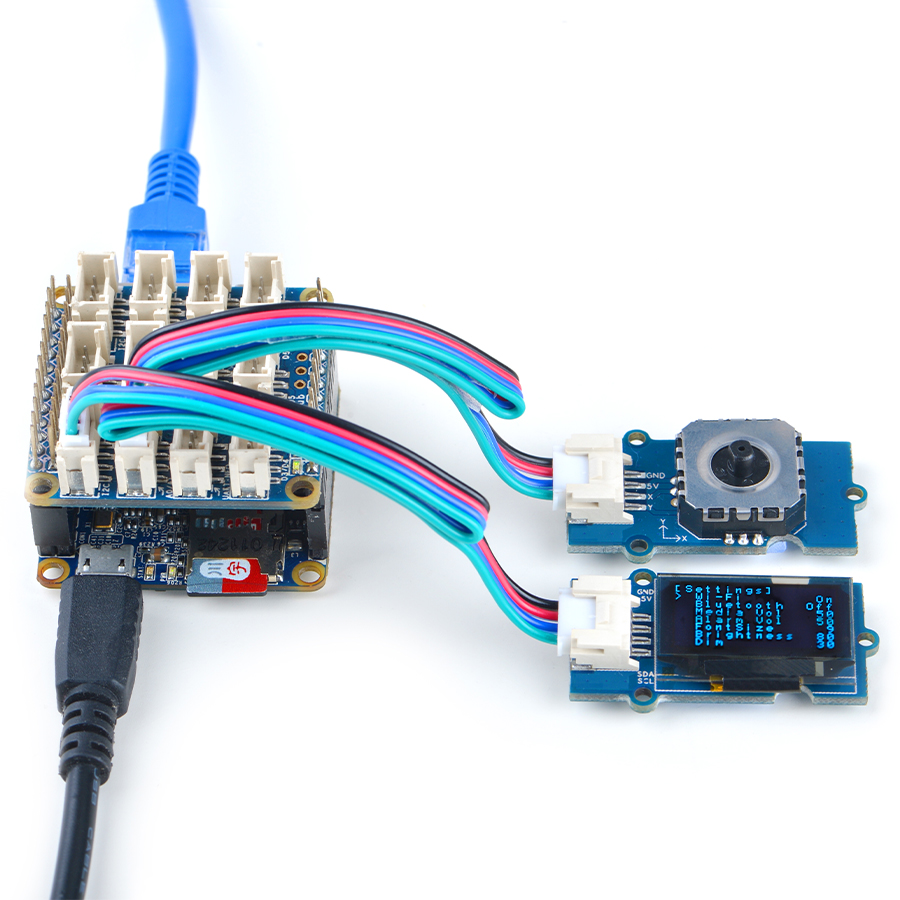
BakeBit可以让众多传感器可以非常便捷灵活地连接到各个型号的NanoPi开发板上, 支持数字、模拟接口,支持I2C与串口连接,所有的传感器都使用固定的插座,从此远离那些乱糟糟的杜邦线与焊锡。
2 产品特点
- 完美兼容NanoPi NEO, NanoPi Air
- 即插即用
- 带3个I2C接口,3个模拟接口,2个UART接口,4个数字接口
3 使用方法
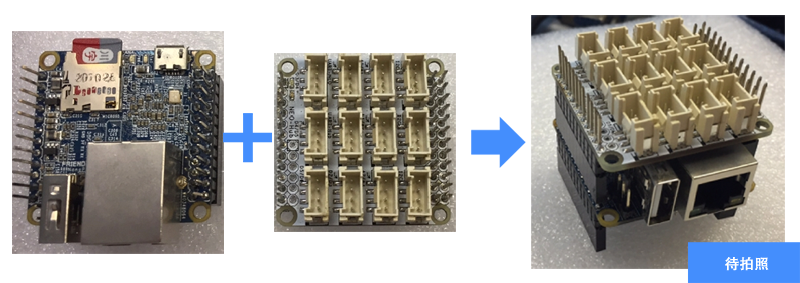
- 第1步 - 堆叠连接NEO-Hub扩展板到你的NanoPi NEO上
- 第2步 - 通过ssh,或者串口终端进入开发板的命令行,从 github 上下载BakeBit代码:
cd  ~
git clone https://github.com/friendlyarm/BakeBit.git
- 第3步 - 使用如下命令在开发板上安装BakeBit:
cd BakeBit/Script
chmod +x install.sh
./install.sh
- 第4步 - 重启NanoPi NEO:
reboot
- 第5步 - 验证BakeBit是否正常工作:
将LED配件连接到NEO-Hub上的D3插座,在命令行执行以下命令操作LED:
python ~/BakeBit/Software/Python/grove_led_blink.py
看到LED闪烁,恭喜你,BakeBit已经为你准备好了!
4 支持的配件列表
- 扩展板:
- NEO-HUB
- NANO-HAT
5 其它相关资料
test


