Difference between revisions of "Matrix - LCD2USB"
(→Basic Device Operation) |
(→Applications) |
||
| Line 33: | Line 33: | ||
==Applications== | ==Applications== | ||
| − | Note: | + | Note: after the module is powered on the LCD will display "LCD2USB V1.09". If it doesn't show that you may check the module's reverse side and adjust the brightness by adjusting the potentiometer. |
| − | === | + | ===Application of lcd4linux under Ubuntu=== |
(1)安装lcd4linux | (1)安装lcd4linux | ||
<syntaxhighlight lang="bash"> | <syntaxhighlight lang="bash"> | ||
Revision as of 15:58, 4 July 2016
Contents
1 Introduction
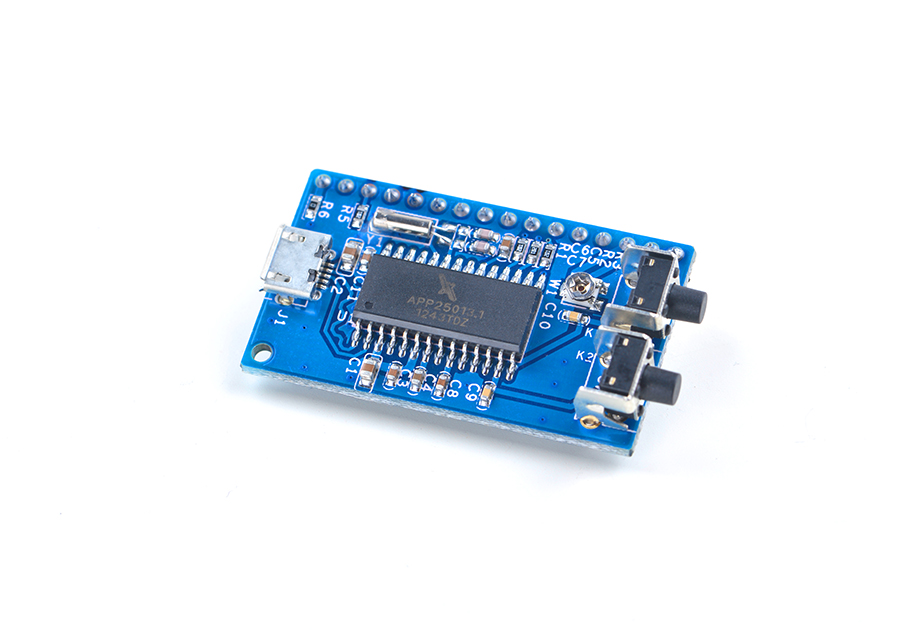
- The Matrix-LCD2USB module is a simple and easy to use LCD module. It converts a parallel port to a USB port.
- It works with LCD4LINUX, LCD Smartie and LCDProc. There are plenty of open source code samples available on the internet.
- It works with various LCDs: 2 * 16, 2 * 20, 4 * 20, 4 * 27, 4 * 40 and etc.
- It has two function keys which can be configured by users.
2 Features
- Micro USB interface
- Supports LCD4LINUX, LCD Smartie, LCDProc。
- Supports various LCD modules
- 2 x User key
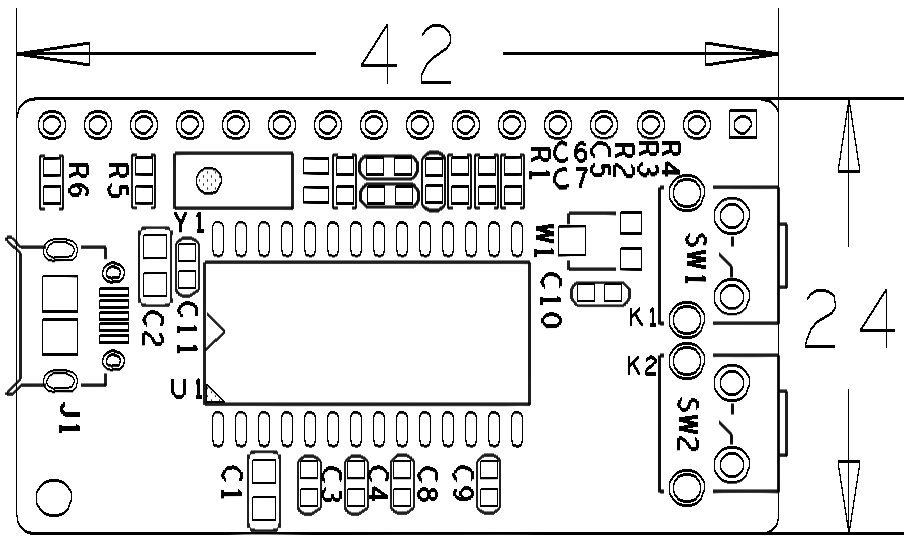
- PCB dimension(mm): 24 x 42。
3 Basic Device Operation
The LCD unit usually communicates via a parallel interface which needs multiple IO resources. This module uses the AX2210 MCU which converts signals to commands and transmit to the LCD.
4 Applications
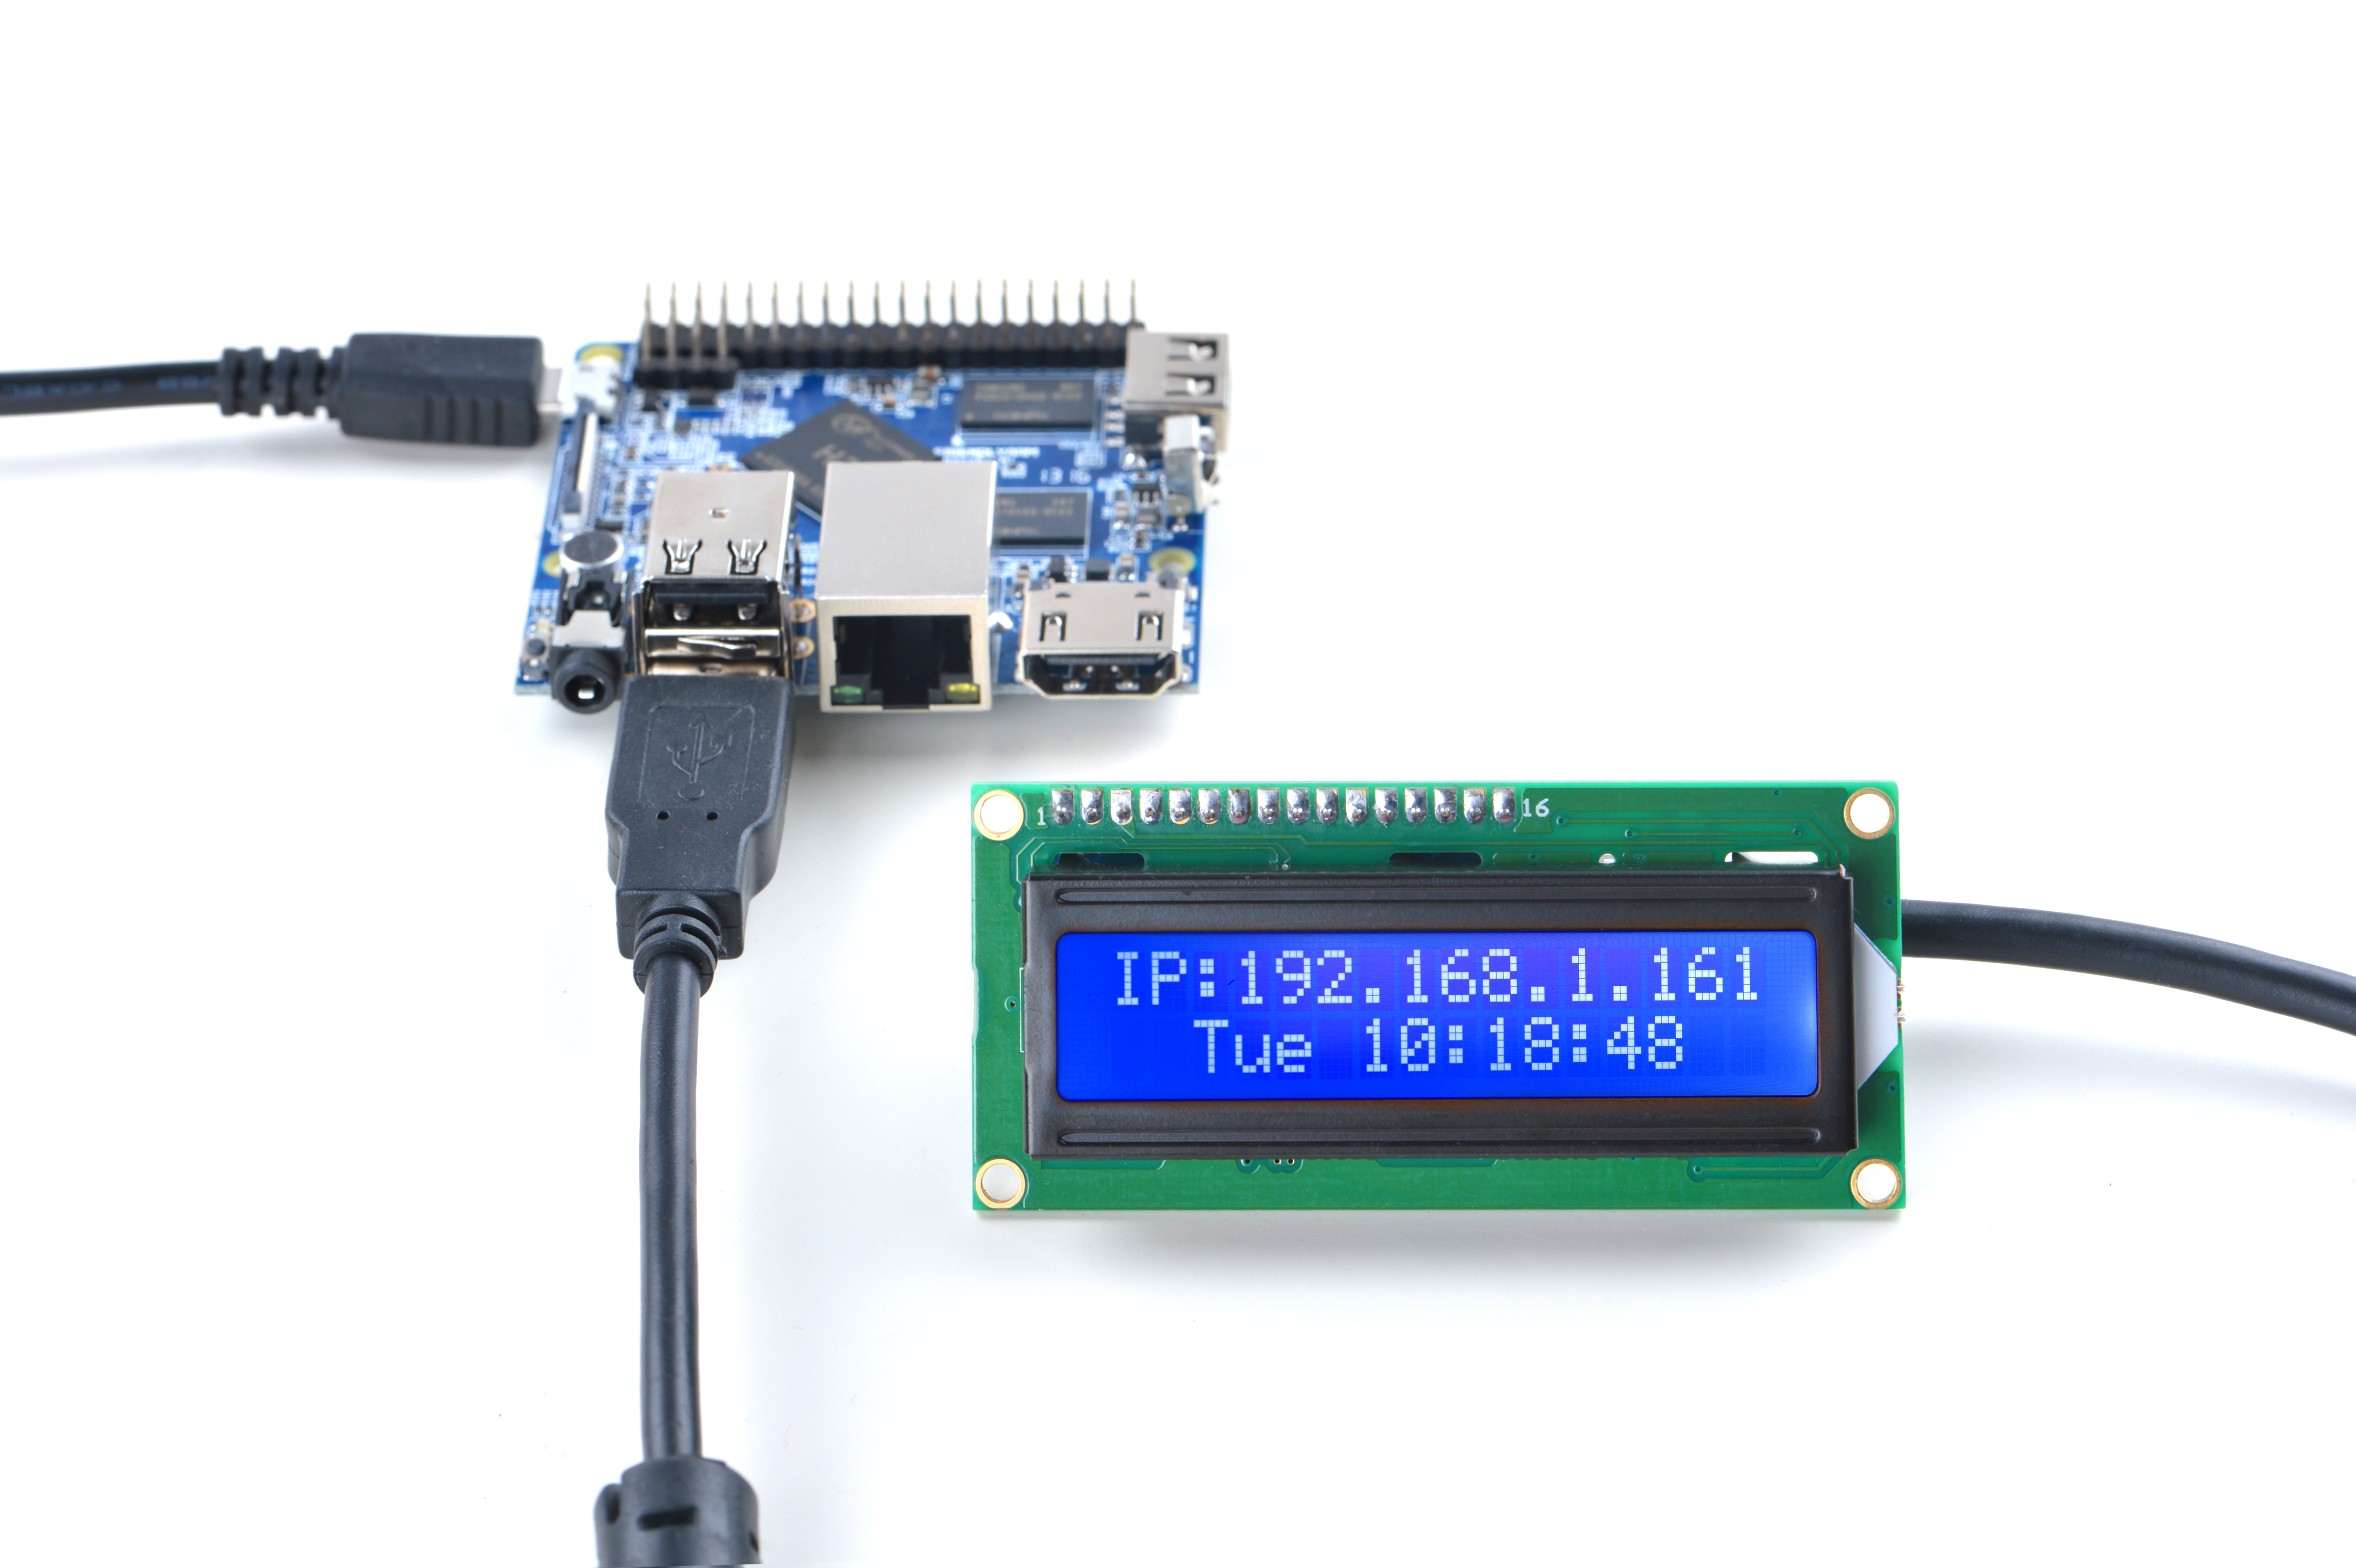
4.1 Connect to NanoPi M1
Refer to the following connection diagram to connect the module to the NanoPi M1:
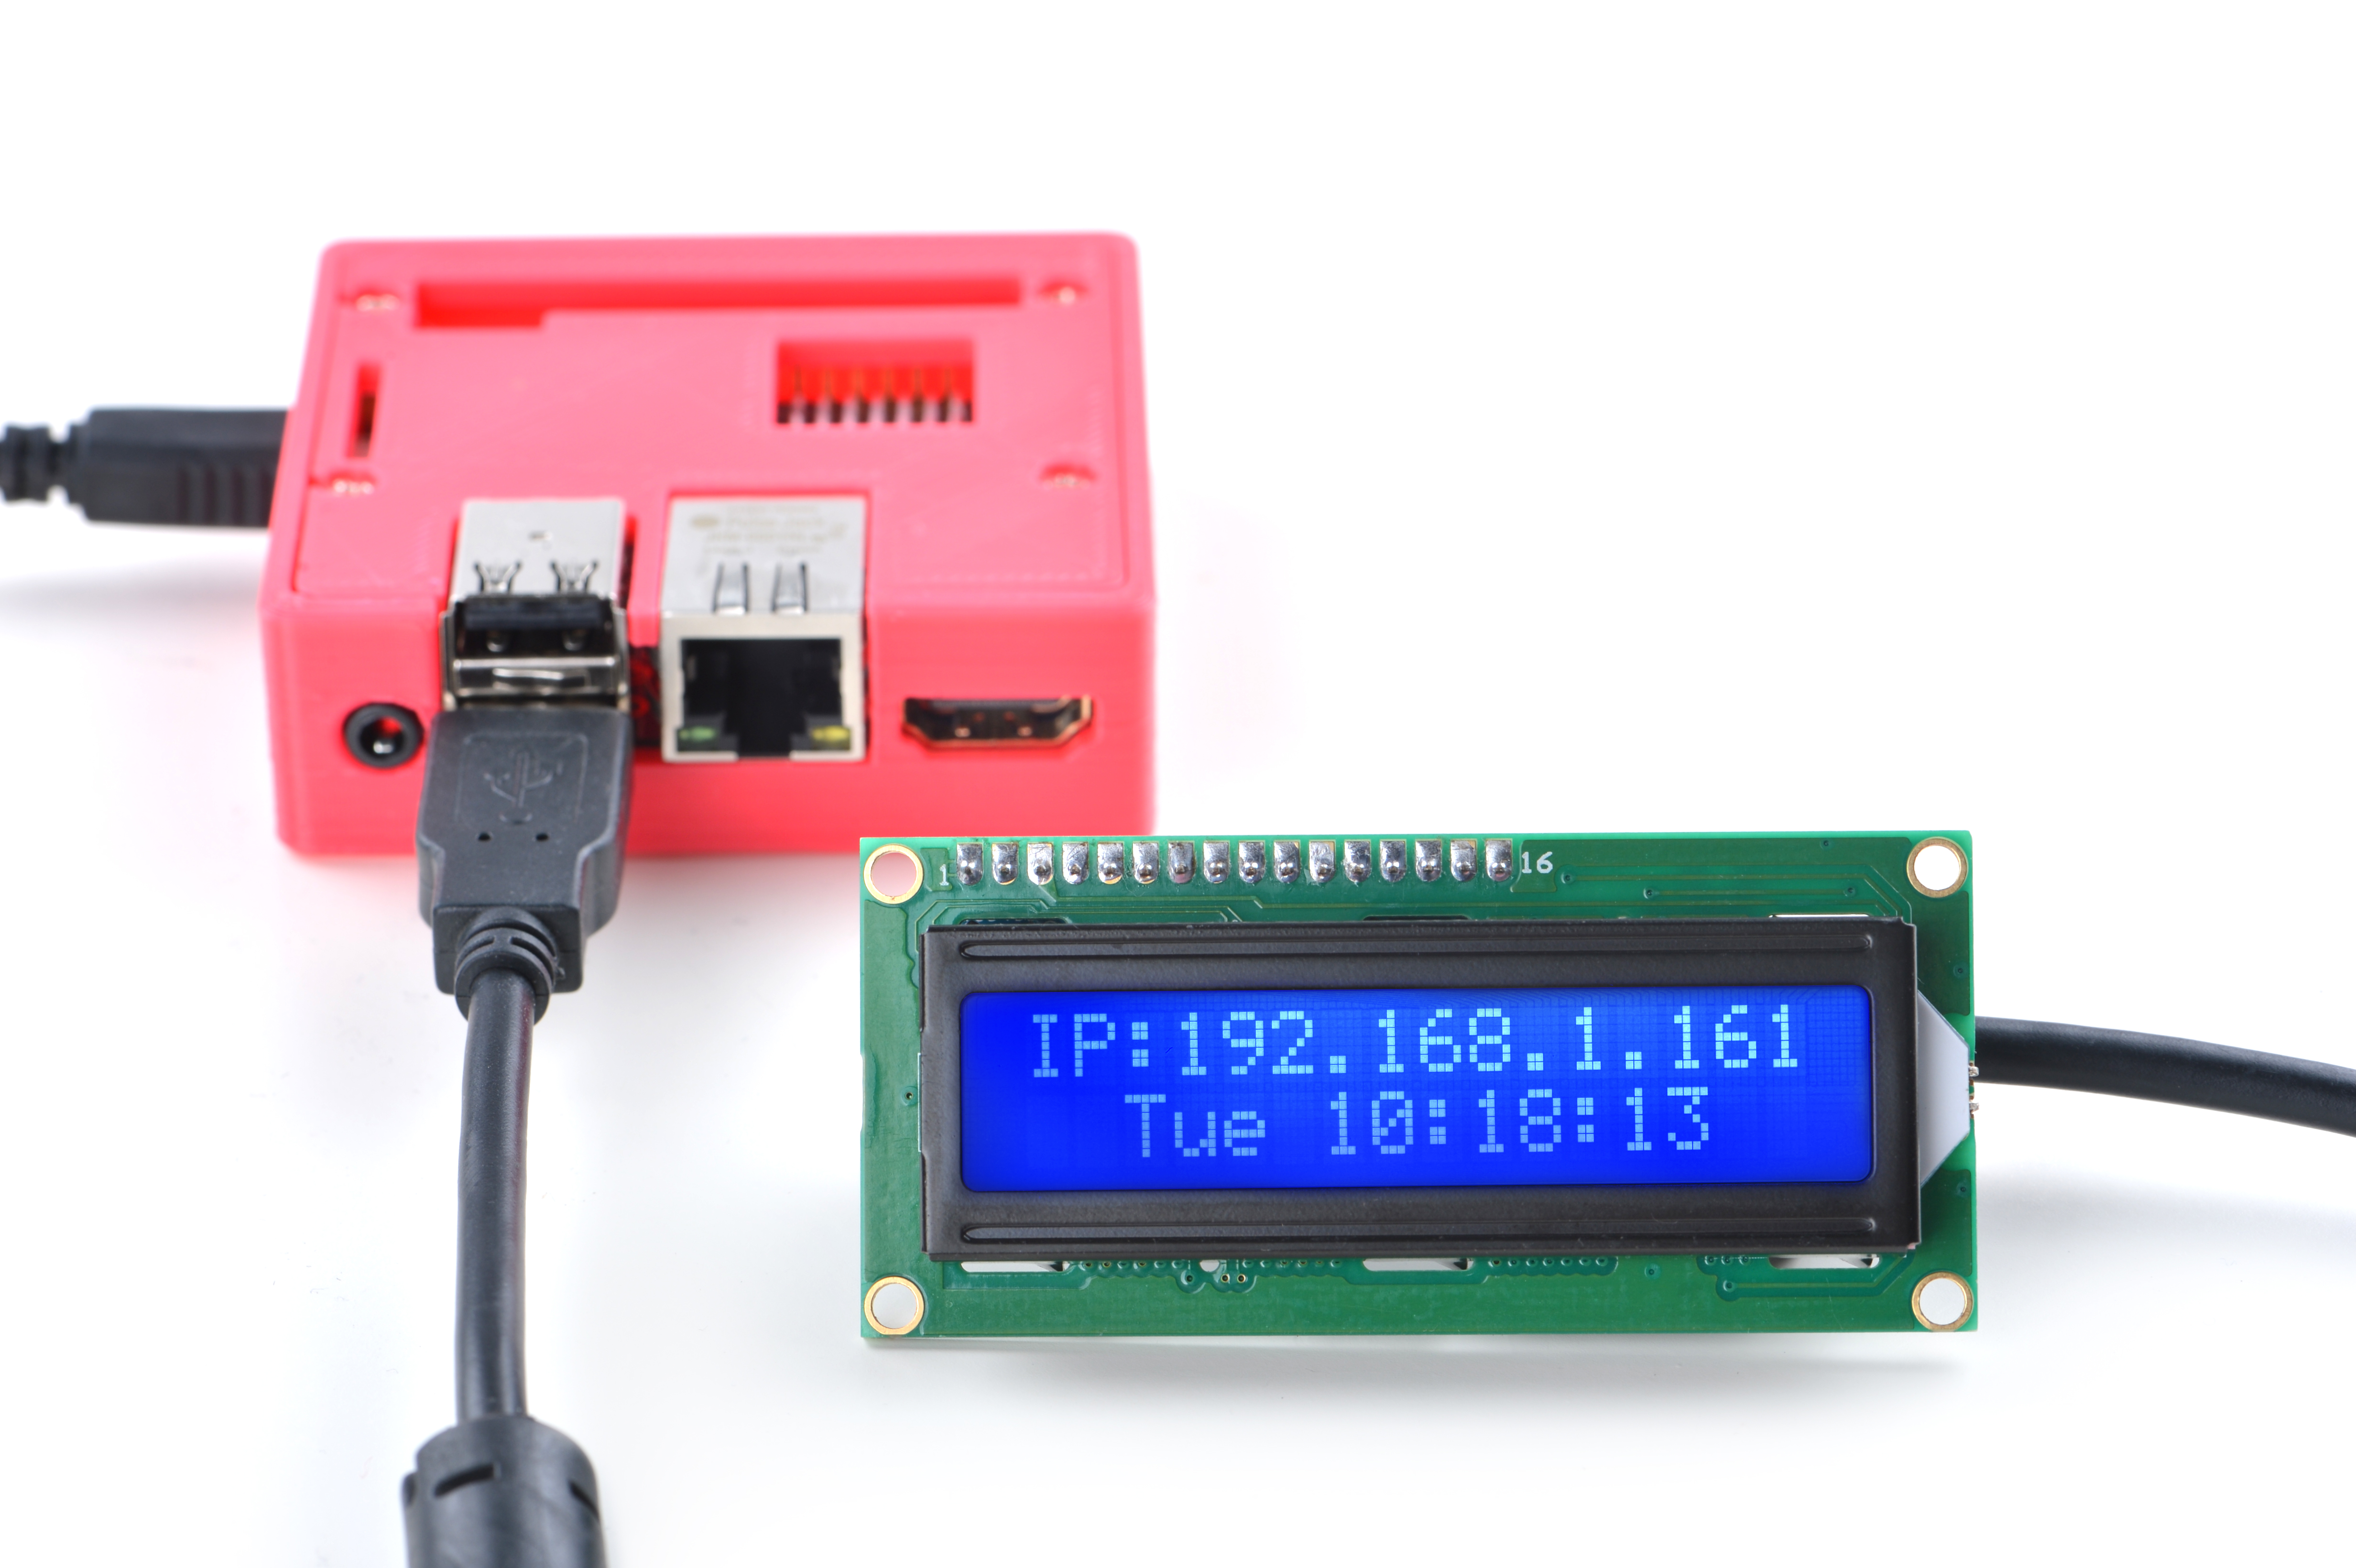
4.2 Connect to NanoPi M2 / NanoPi 2 Fire
Refer to the following connection diagram to connect the module to the NanoPi M2/ NanoPi 2 Fire:
4.3 Connect to NanoPC-T2
Refer to the following connection diagram to connect the module to the NanoPC-T2:
Matrix-LCD2USB_NanoPC-T2
5 Applications
Note: after the module is powered on the LCD will display "LCD2USB V1.09". If it doesn't show that you may check the module's reverse side and adjust the brightness by adjusting the potentiometer.
5.1 Application of lcd4linux under Ubuntu
(1)安装lcd4linux
$ sudo apt-get install lcd4linux
(2)连接模块,并查看模块使用的USB端口,本例中使用的端口为usbdev3.2
$ ls /dev/usb*
(3)更改/etc下的配置文件。软件生成的lcd4linux.conf文件较长,新手不容易配置,可重命名或删除后自己新建,并复制下面的配置代码。
$ cd /etc
$ sudo vi lcd4linux.conf
输入以下配置信息,并保存。
Display LCD2USB {
    Driver     'LCD2USB'          #模块的类型为LCD2USB
    Size       '16x2'             #LCD液晶的尺寸为1602
    Port       '/dev/usbdev3.2'   #使用的端口为/dev/usbdev3.2
}

Widget IPaddress {
    class  'Text'                      #类型:Text
    expression netinfo::ipaddr('eth0') #获取eth0的ip地址
    prefix 'IP:'                       #在行初显示“IP:”
    width 16 			       #显示宽度:16
    align  'C'                         #显示方式:居中
    update 1000
}

Widget Time {
    class 'Text'
    expression strftime('%a %H:%M:%S',time())
    width 16
    align 'C'
    update 1000
}

Layout Default {
    Row1 {
        Col1 'IPaddress'               #在第一行第一列显示Widget IPaddress
    }
    Row2 {
        Col1 'Time'	              #在第二行第一列显示Widget Time
    }

}

Display 'LCD2USB'
Layout  'Default'
详情配置信息请参考lcd4linux网站:https://lcd4linux.bulix.org
(4)更改lcd4linux.conf文件权限
$ sudo chmod 600 lcd4linux.conf
$ chown root.root lcd4linux.conf
(5)运行lcd4linux
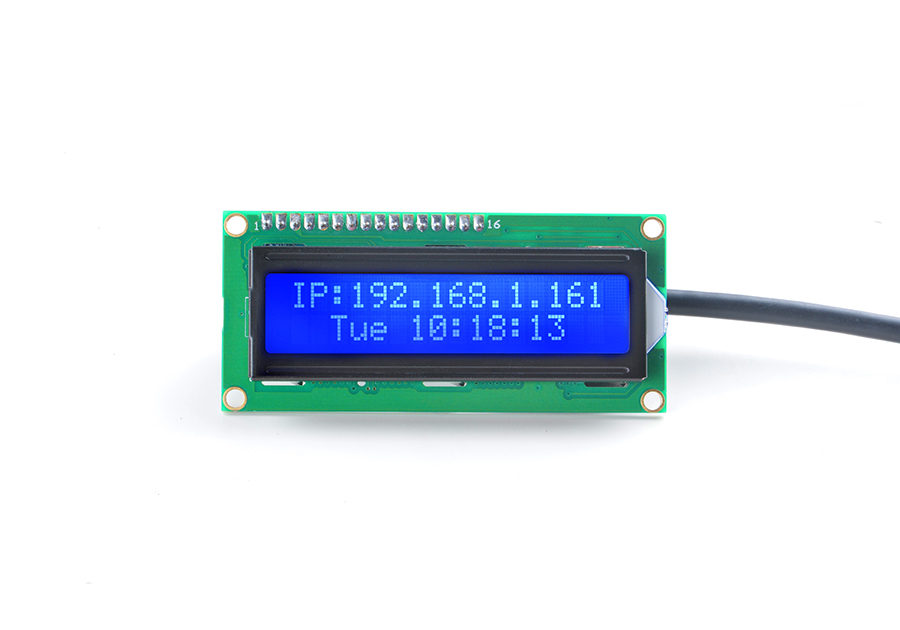
$ lcd4linuxLCD液晶显示信息如下:
5.2 Windows系统使用LCDSmartie
1、模块连接PC的USB口,并安装lcd2usbdriver驱动,LCD2USB提供的驱动下载地址:http://www.harbaum.org/till/lcd2usb/LCD2USB.dll。
2、运行LCDSmartie,软件源码地址:http://lcdsmartie.sourceforge.net/
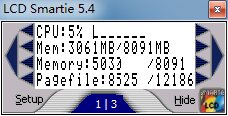
3、软件界面如下:
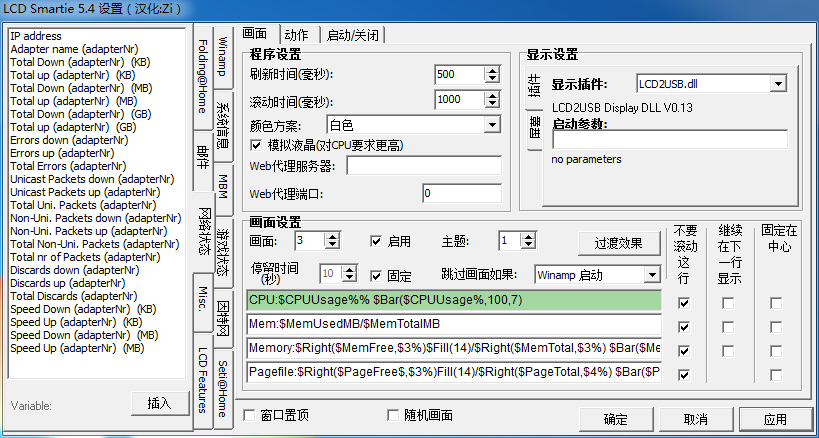
4、点击Setup可进去设置页面,配置模块和显示的内容。
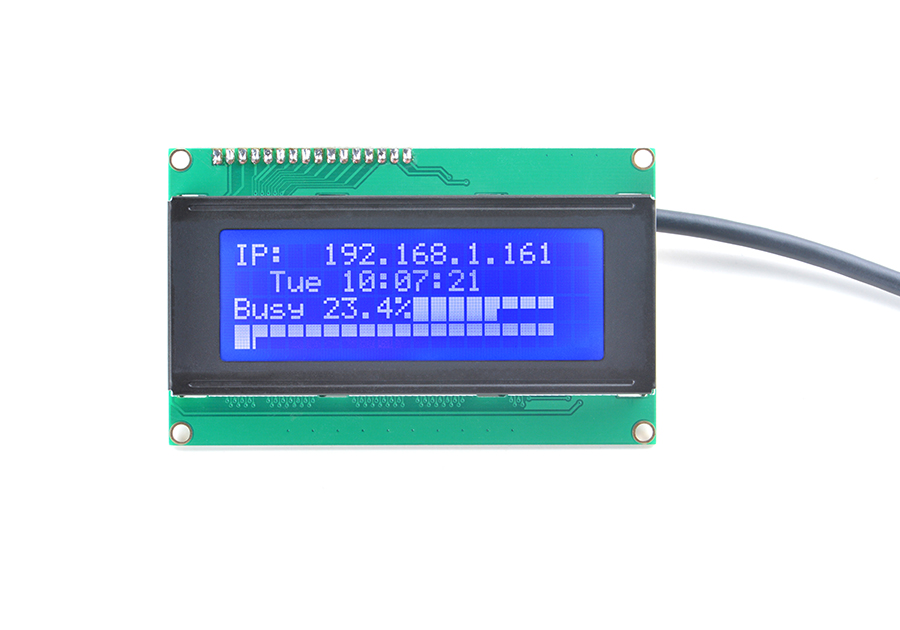
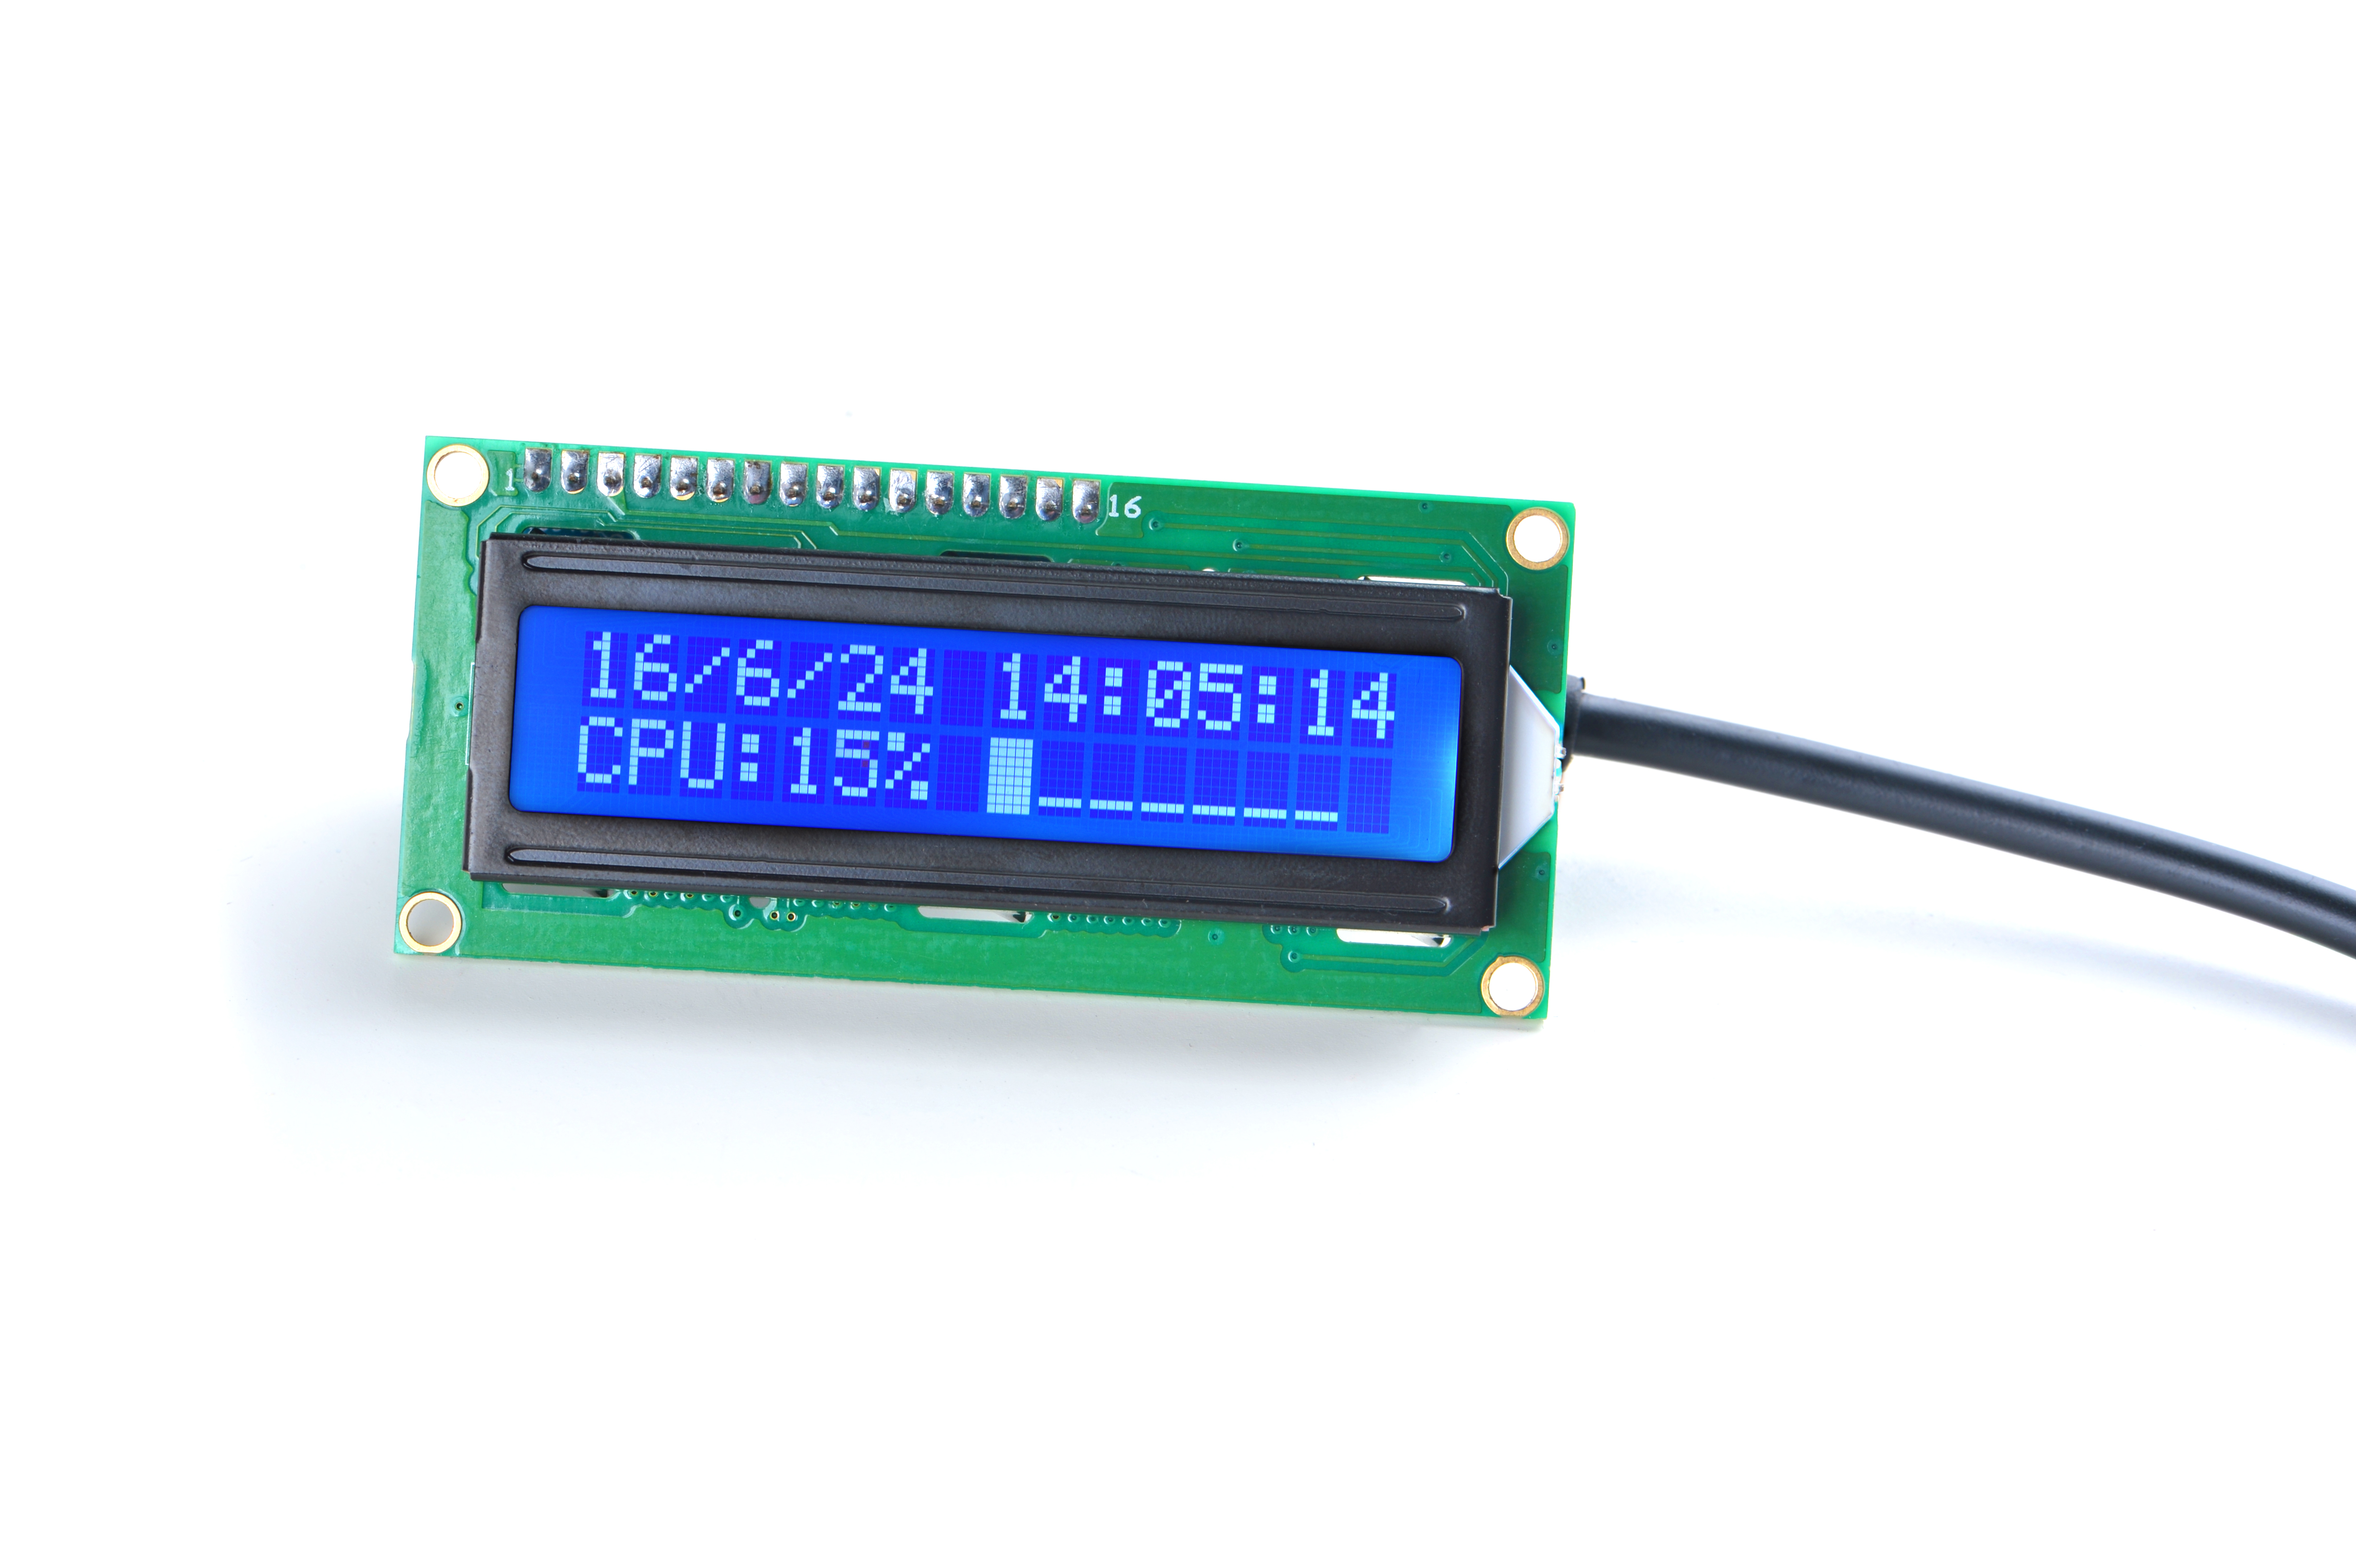
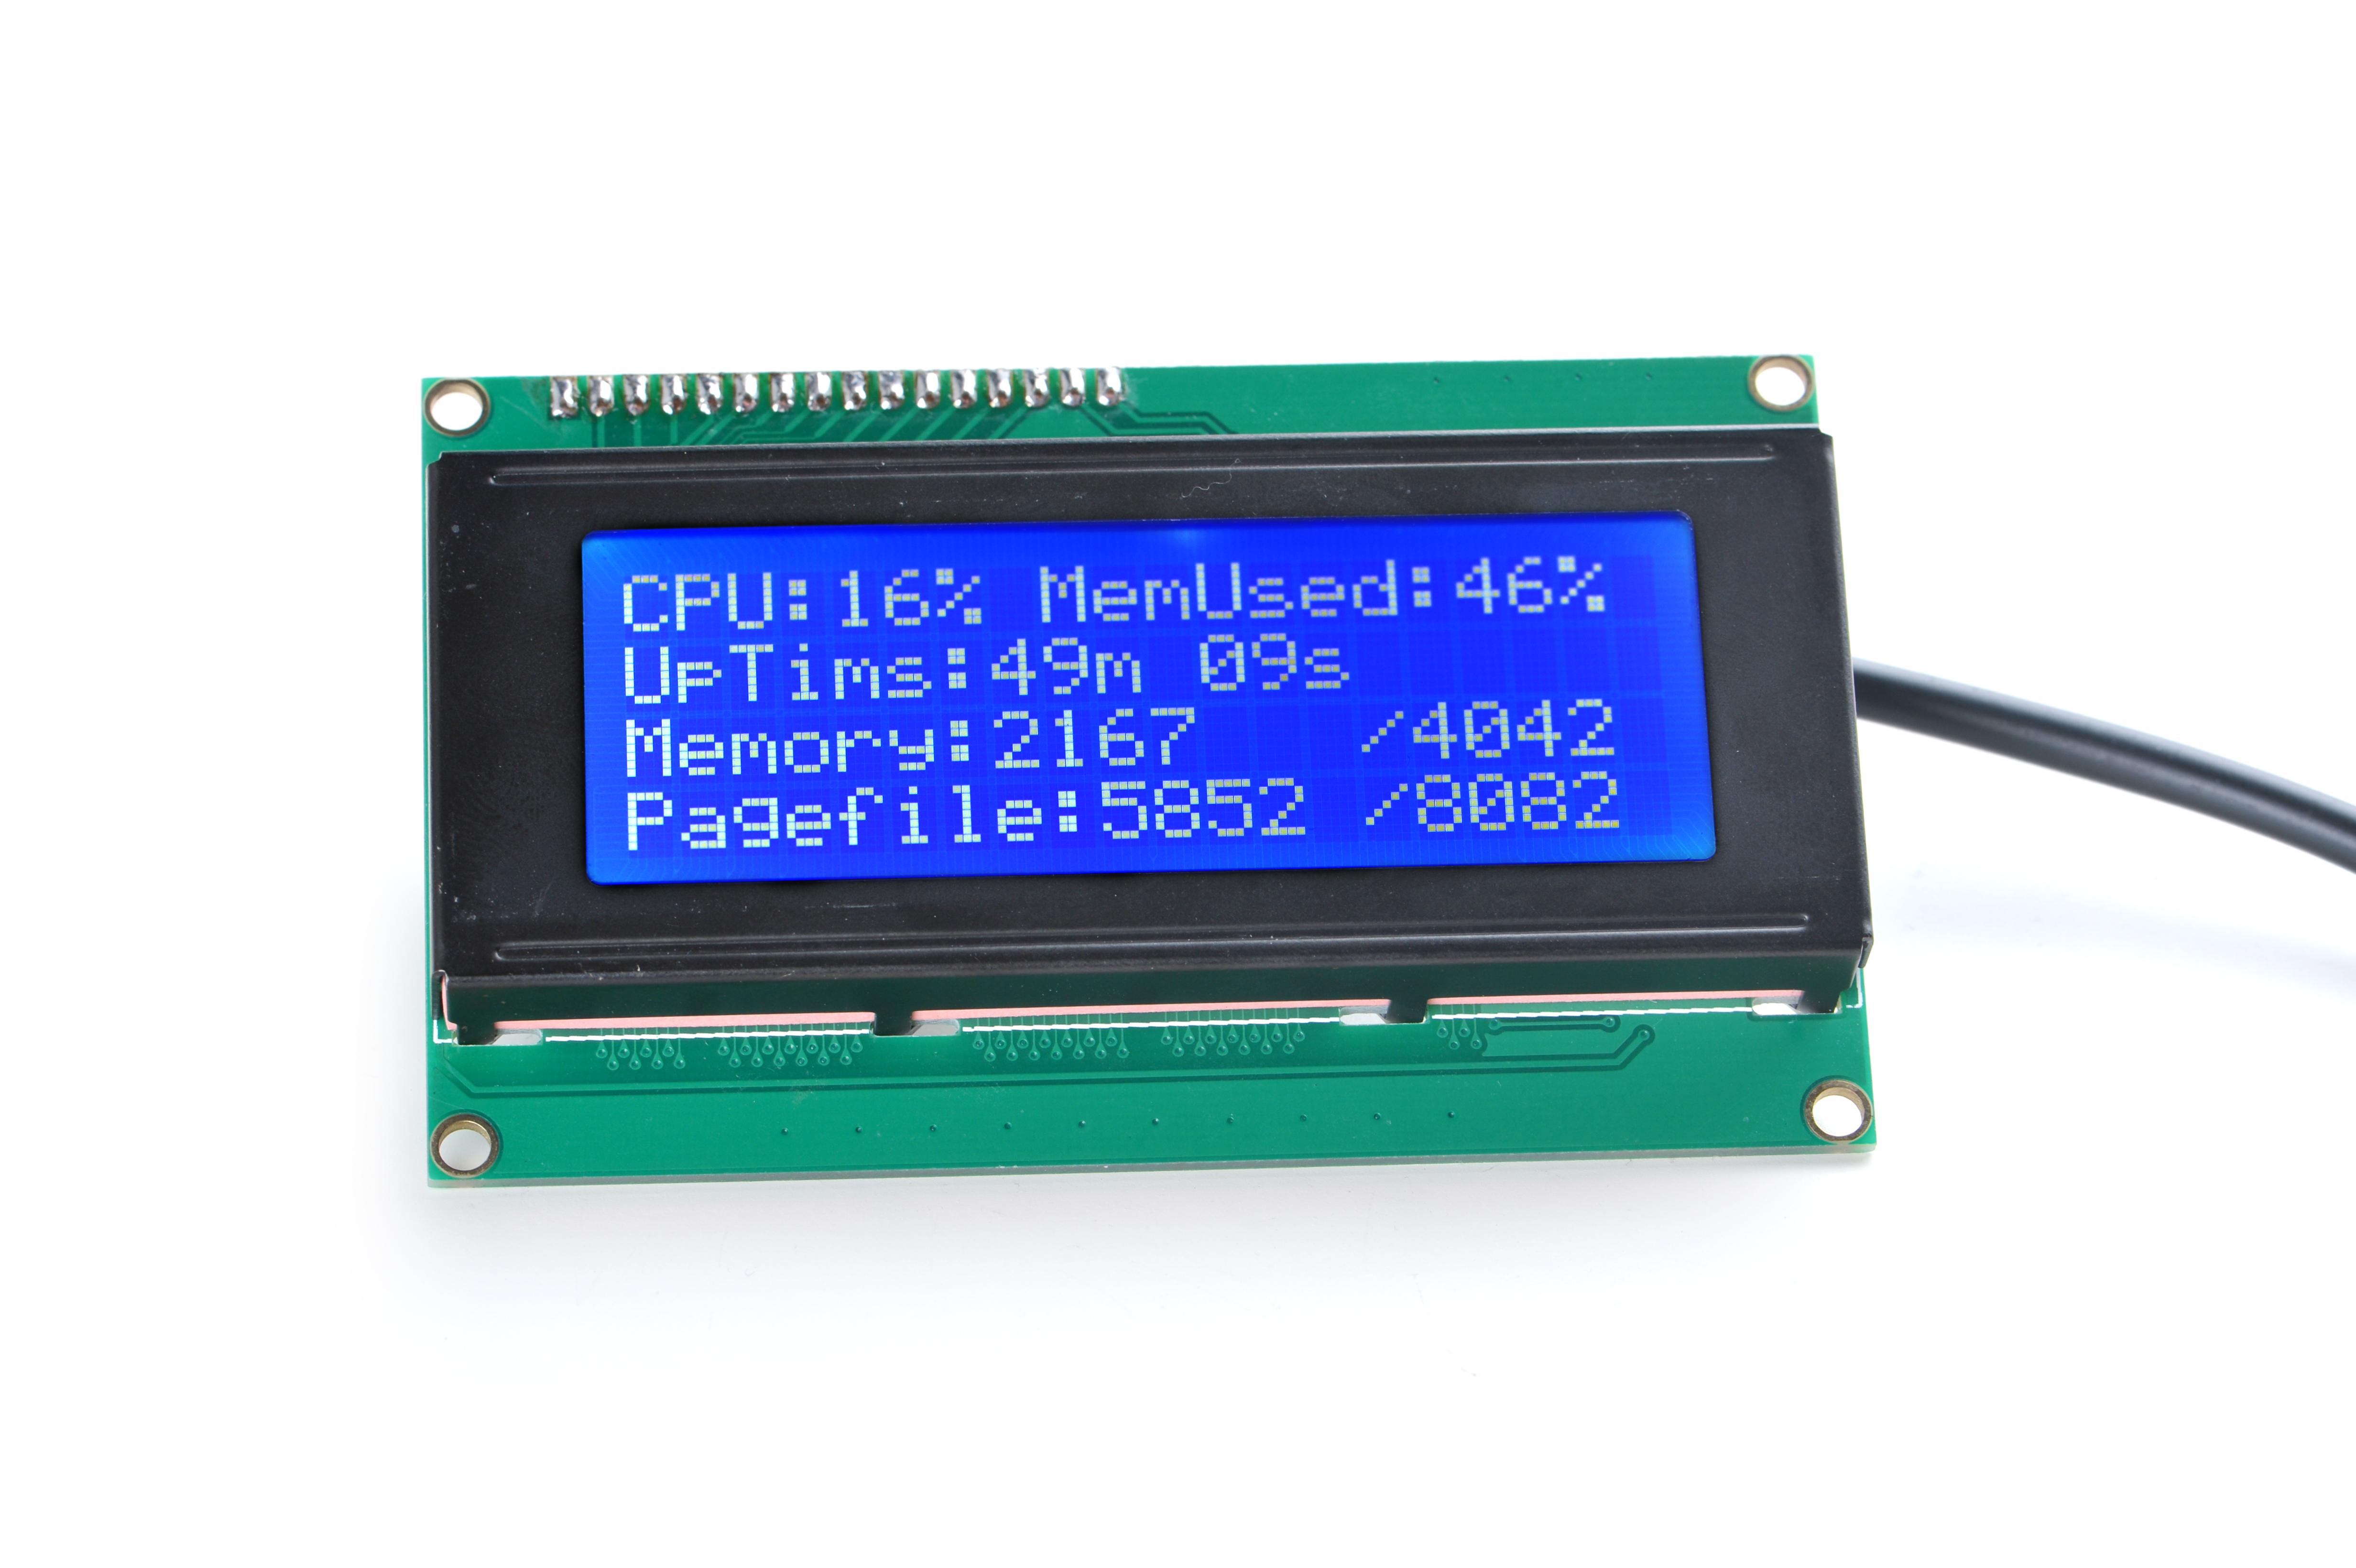
LCD液晶显示信息如下:
