Difference between revisions of "Matrix - 2'8 SPI Key TFT"
(→Compile & Run Test Program) |
(→Compile & Run Test Program) |
||
| Line 115: | Line 115: | ||
./run.sh /dev/fb-st7789s | ./run.sh /dev/fb-st7789s | ||
</syntaxhighlight> | </syntaxhighlight> | ||
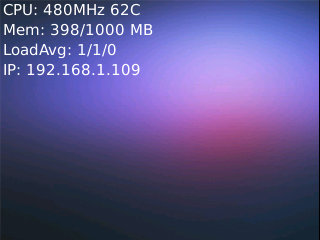
| − | The nanopi-status is a small Qt utility which can be used to list system's basic information. Here is what you should expect:<br> | + | The nanopi-status is a small Qt utility which can be used to list system's basic information. Here is what you should expect to observe:<br> |
[[File:st7789s-status.png|frameless|600px|st7789s-status]] | [[File:st7789s-status.png|frameless|600px|st7789s-status]] | ||
Revision as of 15:47, 16 June 2016
Contents
1 Introduction
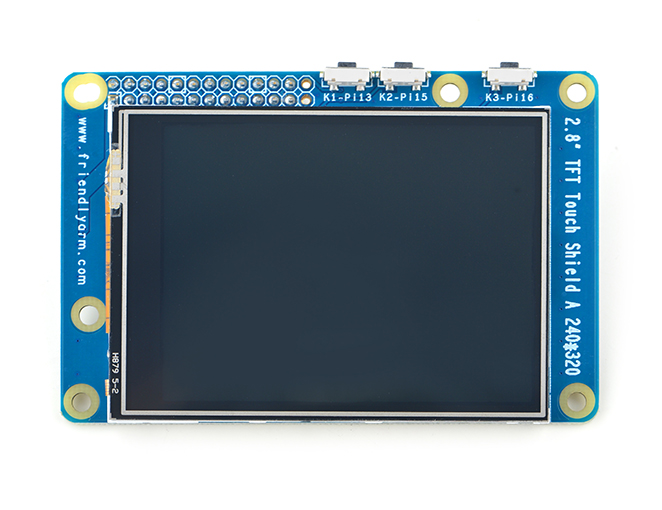
- Matrix-2'8_SPI_Key_TFT模块是一款2.8英寸的TFT 触摸LCD,模块采用ST7789S驱动IC和XPT2046电阻式触摸IC,屏幕分辨率为320*240,采用SPI控制接口,模块还包含3个独立按键,可根据需要自定义功能。
- 详细规格如下所示:
| LCD尺寸 | 2.8寸 |
| 显示区域 | 57.6mm*43.2mm |
| 驱动IC | ST7789S |
| 分辨率 | 320*240(RGB) |
| 接口方式 | SPI |
| 工作电压 | 5V |
| 背光电压 | 5V |
| 触摸屏类型 | 电阻式,钢化玻璃触摸屏 |
模块上电默认打开背光,可通过置低LED_EN引脚关闭背光。如果需要关闭上电打开背光,只需要拿到电路板上的R12电阻,再通过置高LED_EN引脚打开背光;
2 Features
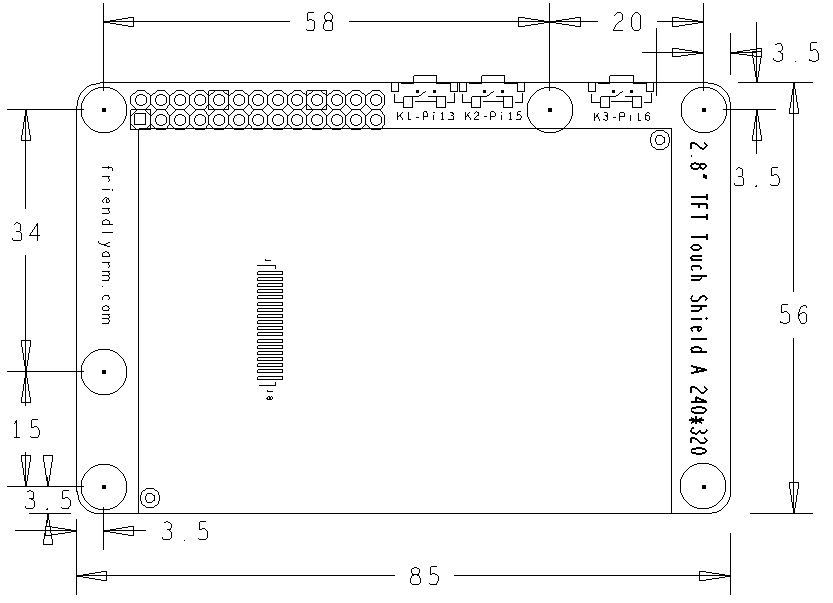
- PCB dimension(mm):
- Pin Description:
| Pin | Description | Pin | Description |
| 1 | VDD_3.3V | 2 | VDD_5V |
| 3 | NC | 4 | VDD_5V |
| 5 | NC | 6 | GND |
| 7 | LCD_RESET | 8 | NC |
| 9 | GND | 10 | NC |
| 11 | LED_EN | 12 | NC |
| 13 | KEY_1 | 14 | GND |
| 15 | KEY_2 | 16 | KEY_3 |
| 17 | VDD_3.3V | 18 | T_IRQ |
| 19 | SPI_MOSI | 20 | GND |
| 21 | SPI_MISO | 22 | LCD_D/C |
| 23 | SPI_CLK | 24 | LCD_CS |
| 25 | GND | 26 | T_CS |
3 Applications
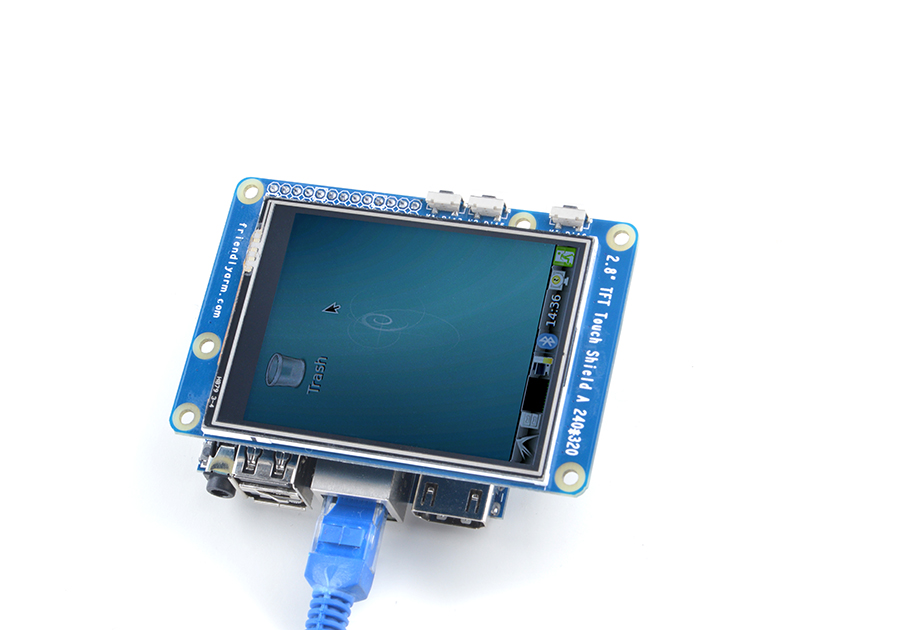
3.1 Connect to NanoPi M1
Please refer to the following connection diagram to connect the module to the NanoPi M1:
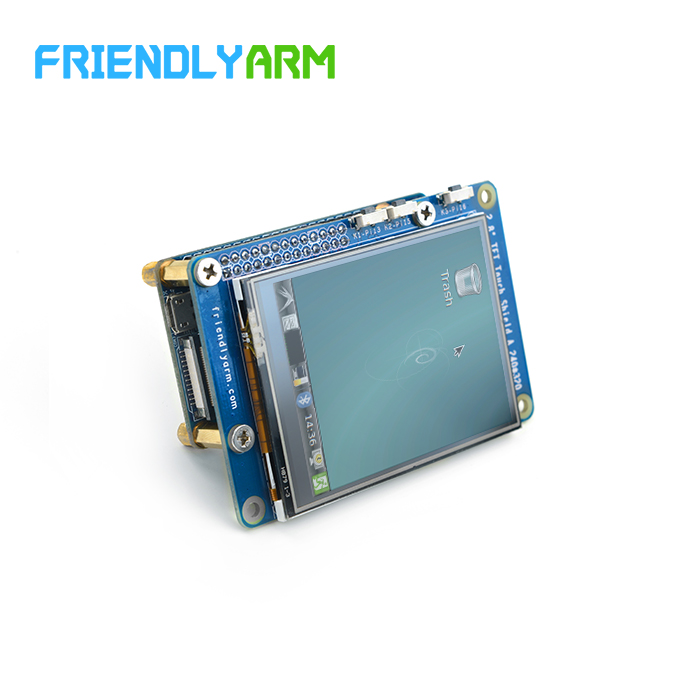
3.2 Connect to NanoPi 2
Please refer to the following connection diagram to connect the module to the NanoPi 2:
3.3 Connect to NanoPi M2 / NanoPi 2 Fire
Please refer to the following connection diagram to connect the module to the NanoPi M2 / P2:
Matrix-2'8_SPI_Key_TFT_nanopi_m2
4 Compile & Run Test Program
Boot your ARM board with Debian and copy the matrix code:
$ apt-get update && apt-get install git
$ git clone https://github.com/friendlyarm/matrix.git
If your cloning is done successfully a "matrix" directory will be generated.
Compile and install Matrix:
cd matrix/demo/nanopi-status
./build.sh
./run.sh /dev/fb-st7789s
The nanopi-status is a small Qt utility which can be used to list system's basic information. Here is what you should expect to observe:
5 Connect to NanoPi
5.1 Preparations
Please install a Debian on a NanoPi and an appropriate cross compiler on a PC. Please refer to wiki:NanoPi
Compile a NanoPi kernel. Note: please use the kernel's source code from the nanopi-v4.1.y-matrix branch.
$ git clone https://github.com/friendlyarm/linux-4.x.y.git
$ cd linux-4.x.y
$ git checkout nanopi-v4.1.y-matrix
$ make nanopi_defconfig
$ touch .scmversion
$ make
5.2 Hardware Connection
Please refer to the following connection diagram to connect the Matrix-2'8 SPI_TFT to the NanoPi
Matrix-2'8 SPI_TFT_nanopi
Connection Details:
| Matrix-2'8 SPI_TFT | NanoPi |
5.3 Load Driver
Power on the NanoPi and run the following command in Debian's terminal to load drivers:
$ modprobe fbtft_device name=matrix-spi_tft gpios=dc:161,reset:162,cs:163
$ modprobe matrix_ads7846
The "fbtft_device" module is the driver for the st7789s chip and the "matrix_ads7846" module is the driver for the xpt2046 chip.
5.4 Install Package
Please run the following commands in Debian's terminal to install "qtembedded" and "matrix-tslib"
$ apt-get update
$ apt-get install qtembedded
$ apt-get install matrix-tslib
The "qtembedded" library is what qt applications rely on and the "matrix-tslib" library is what screen calibration relies on.
5.5 Run Test Program
Start Qt applications
$ . /usr/bin/matrix-setqt4env
$ /usr/local/Trolltech/QtEmbedded-4.8.5-arm/examples/tetrix -qws
The matrix-setqt4env script sets the environmental variables which Qt and tslib rely on. If it is run on a platform for the first time a screen calibration GUI will be launched. Users need to go through a five-point calibration process to calibrate the screen. The tetrix application is a game developed in Qt4.
6 Connect to Tiny4412
7 Connect to RaspberryPi
8 Connect to Arduino
9 Resources
10 Update Log
10.1 Feb-24-2016
- Added the driver's source code location in Section 5.2
