Difference between revisions of "Template:FriendlyWrt19/zh"
(→启动swap分区) |
(→挂载smbfs共享资源) |
||
| Line 64: | Line 64: | ||
</syntaxhighlight> | </syntaxhighlight> | ||
| − | === | + | ===Mount smbfs=== |
<syntaxhighlight lang="bash"> | <syntaxhighlight lang="bash"> | ||
mount -t cifs //192.168.1.10/shared /movie -o username=xxx,password=yyy,file_mode=0644 | mount -t cifs //192.168.1.10/shared /movie -o username=xxx,password=yyy,file_mode=0644 | ||
Revision as of 05:11, 7 February 2020
Contents
1 Work with FriendlyWrt
1.1 Introduction to FriendlyWrt
FriendlyWrt is a customized system made by FriendlyElec based on an OpenWrt distribution. It is open source and well suitable for developing IoT applications, NAS applications, smart home gateways etc.
1.2 Account & Password
By default the password is NULL. You can set a password for root for web and SSH login.
1.3 Network Connection
Use a network cable to connect {{{1}}}'s WAN to a master router and the board will get an IP address via DHCP. Login into the router and check {{{1}}}'s IP address.
1.4 Login FriendlyWrt
Type {{{1}}}'s IP address in a browser's address bar and enter to open FriendlyWrt's administration page or you can login into FriendlyWrt's administration page via SSH.
1.5 Install Software Packages
1.5.1 Update Package List
Before install software packages update the package list:
$ opkg update
1.5.2 List Available Packages
$ opkg list
At the time of writing there are 3241 available packages.
1.5.3 List Installed Packages
$ opkg list-installed
1.5.4 Install Packages
$ opkg install <package names>
1.5.5 Remove Packages
$ opkg remove <package names>
1.6 Work with Docker Applications
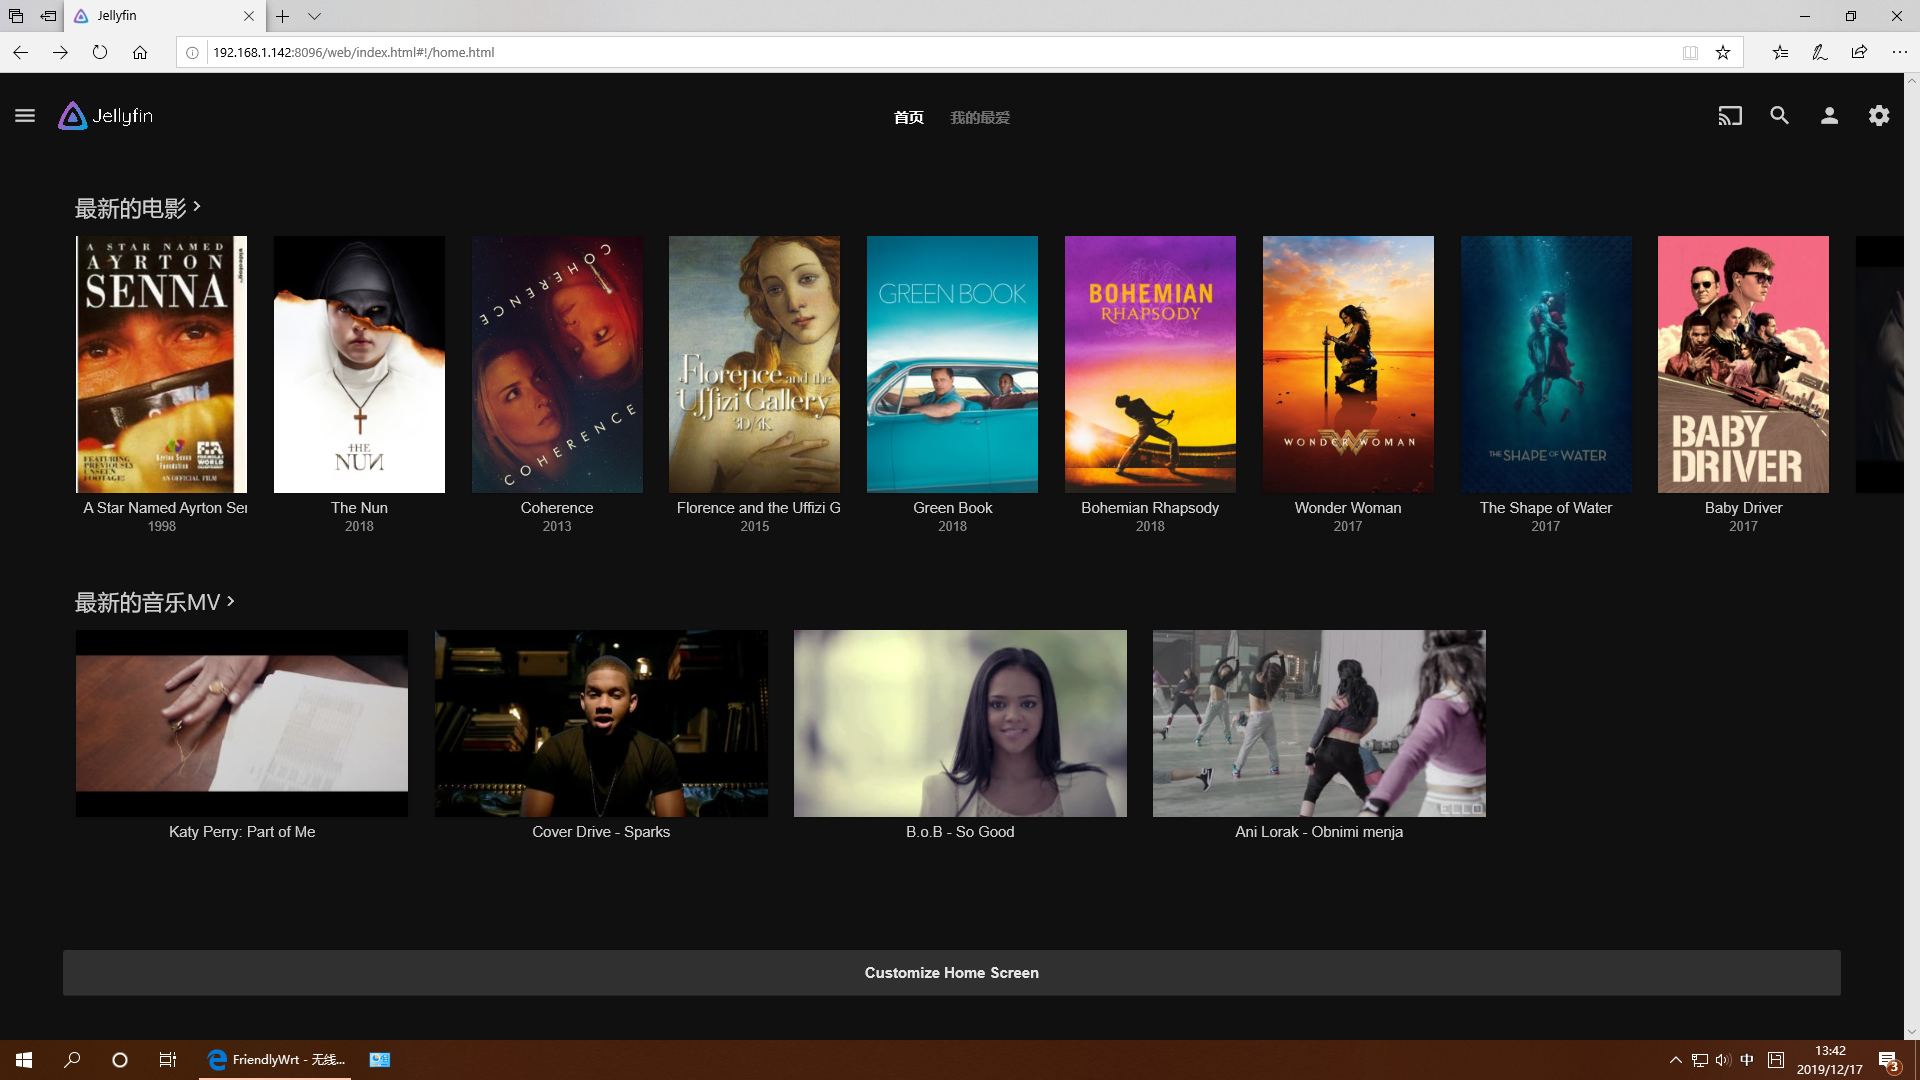
1.6.1 Work with Docker: Install JellyBin
mkdir -p /jellyfin/config
mkdir -p /jellyfin/videos
docker run --restart=always -d -p 8096:8096 -v /jellyfin/config:/config -v /jellyfin/videos:/videos jellyfin/jellyfin:10.1.0-arm64 -name myjellyfin
After installation, visit port 8096 and here is what you would find:

1.6.2 Work with Docker: Install Personal Nextcloud
mkdir /nextcloud -p
docker run -d -p 8888:80  --name nextcloud  -v /nextcloud/:/var/www/html/ --restart=always --privileged=true  arm64v8/nextcloud
After installtion, visit port 8888.
1.7 Enable Swap Partition
Run the following commands in a commandline utility and reboot:
/etc/enable-swap.sh
reboot
1.8 Mount smbfs
mount -t cifs //192.168.1.10/shared /movie -o username=xxx,password=yyy,file_mode=0644