Difference between revisions of "Template:FriendlyDesktop-Contents"
(updated by API) |
(updated by API) |
||
| Line 86: | Line 86: | ||
===Switch audio default output device=== | ===Switch audio default output device=== | ||
| + | ====Set the default output device ==== | ||
| + | Edit the file /etc/pulse/default.pa and change the value of set-default-sink. When the value is 0, it means sound will output to HDMI, and 1 means it sound will output to the headphone jack, as shown below: | ||
| + | <syntaxhighlight lang="bash"> | ||
| + | set-default-sink 0 | ||
| + | </syntaxhighlight> | ||
| + | |||
| + | ====Temporary switching during playback ==== | ||
| + | This method is only valid for the current playback process: <br /> | ||
Open the menu "Sound & Video" -> "PulseAudio Volume Control", click the "Built-in Audio Stereo" button on the interface to switch between different output devices, such as switching between HDMI and headphone jack. | Open the menu "Sound & Video" -> "PulseAudio Volume Control", click the "Built-in Audio Stereo" button on the interface to switch between different output devices, such as switching between HDMI and headphone jack. | ||
Revision as of 06:44, 7 December 2018
Contents
- 1 Account & Password
- 2 WiFi Connection
- 3 HDMI/DP LCD Resolution
- 4 eDP LCD Display Rotation
- 5 Test OpenGL ES
- 6 4K Video Playing
- 7 Work with USB Camera
- 8 File Transfer with Bluetooth
- 9 Install OpenCV
- 10 Develop Qt Applications
- 11 WiringPi and Python Wrapper
- 12 Switch audio default output device
- 13 Disable system automatic sleep
- 14 Play RTSP video stream (or IP Camera)
1 Account & Password
Regular Account:
   User Name: pi
   Password: pi
Root:
   User Name: root
   Password: fa
2 WiFi Connection
Click on the icon on the top right in the FriendlyDesktop's main window, select your wanted WiFi hotspot and proceed with prompts
3 HDMI/DP LCD Resolution
Open the system's menu and go to Perferences -> Monitor Settings to customize your settings.
Recommended resolution: 1920x1080@60Hz
4 eDP LCD Display Rotation
If you want to rotate an eDP LCD's display you can do it by commanding "xrotate.sh" to rotate its display to 90/180/270 degrees. You can rotate display clockwise by 90 degrees by running the following command as root. This command calls lightdm to make your change effective immediately:
sudo xrotate.sh -m CW -r
For more details about its options you can run "xrotate -h".
Note: this command doesn't support HDMI display's rotation. If you want to rorate an HDMI's display you need to refer to X11's tech documents and make changes in "/etc/X11/xorg.conf".
Note: when you play a video with hardware decoding your player's display window doesn't rotate with your LCD's display
5 Test OpenGL ES
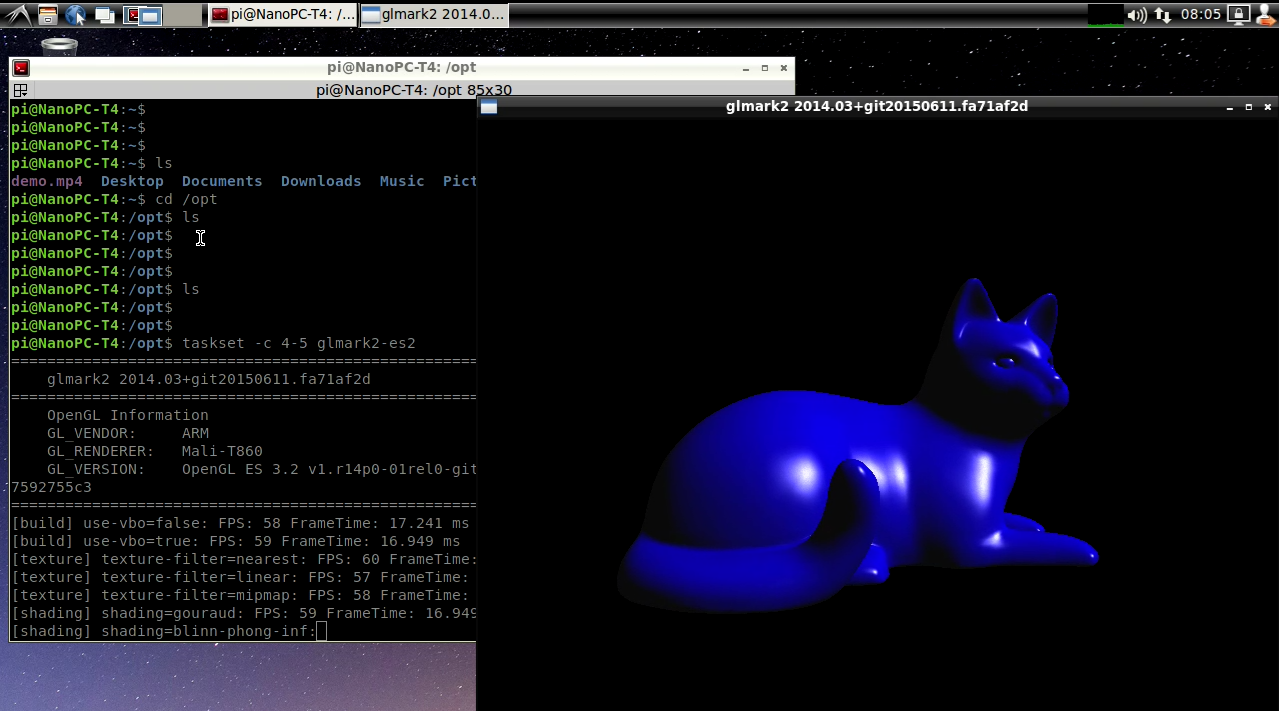
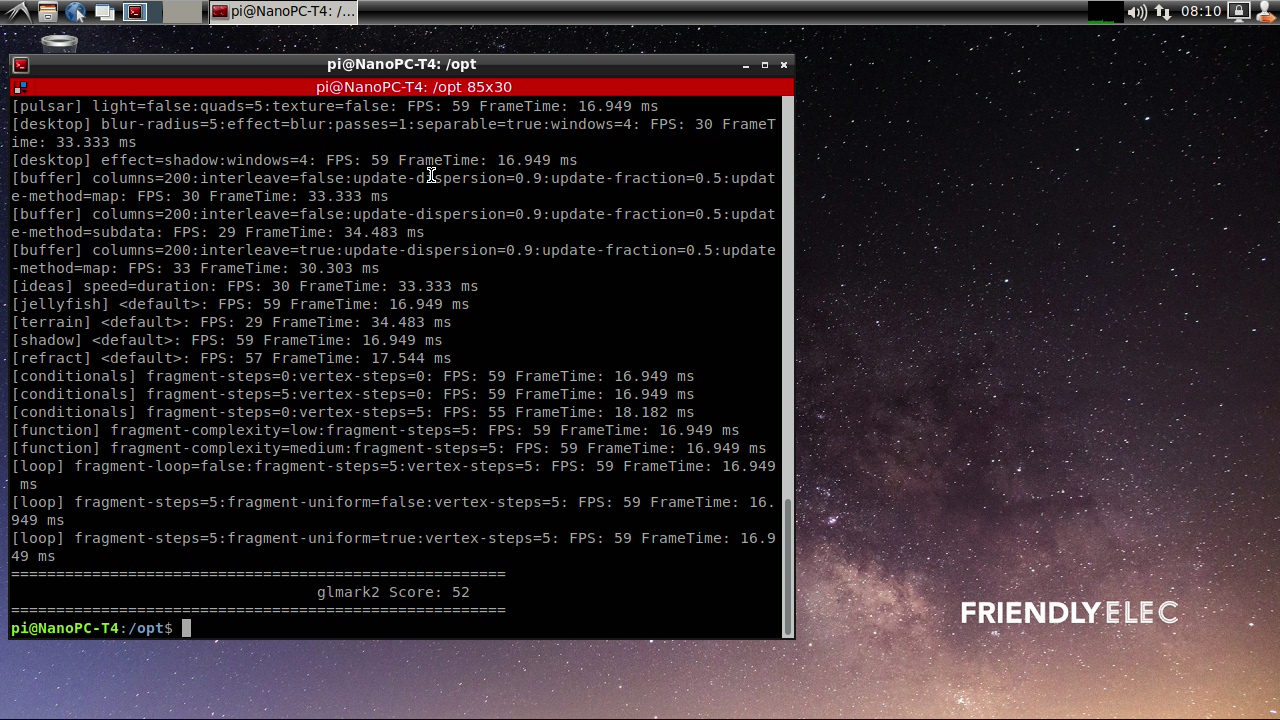
You can test it by clicking on the Terminator icon to start a commandline utility in the System Tools and run the following commands:
taskset -c 4-5 glmark2-es2
6 4K Video Playing
6.1 Play with Qt Player with Hardware Decoding
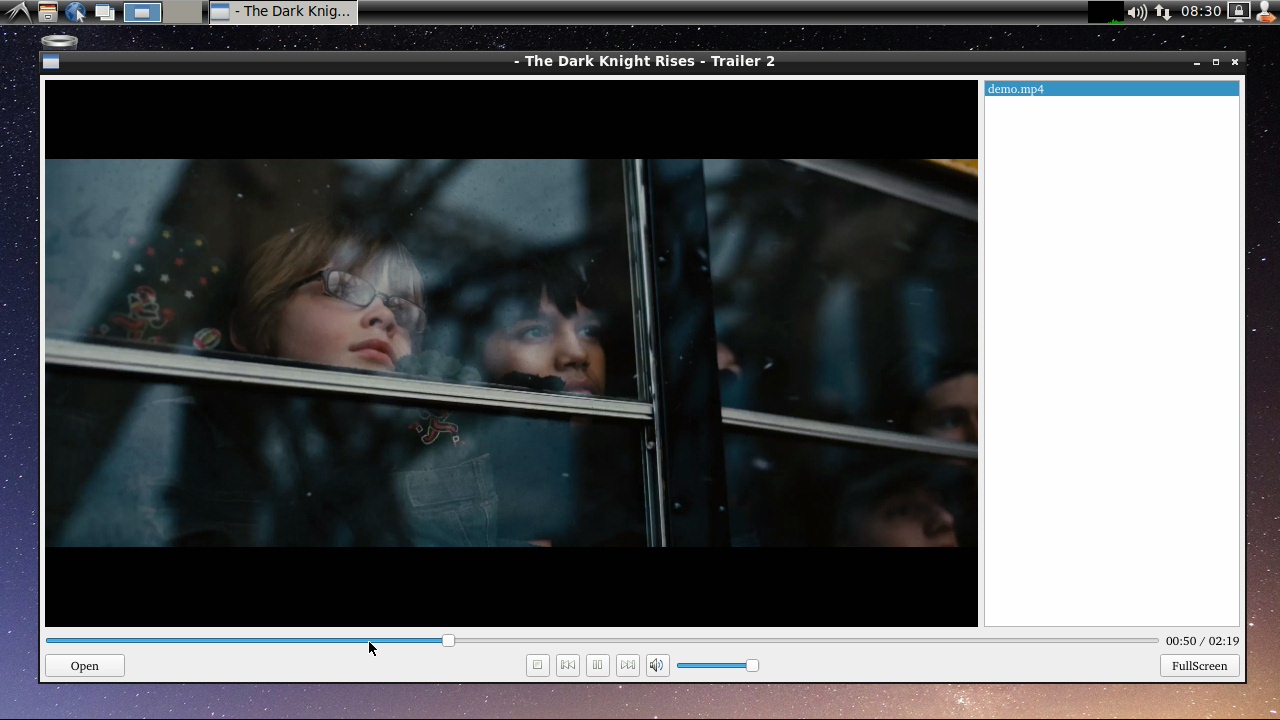
FriendlyDesktop has integrated a Qt5-VideoPlayer utility. This utility has support for Rockchip's gstreamer plug-in and supports 4K video playing with hardware decoding. You can start it by following the steps below:
On FriendlyDesktop's main window open "Sound & Video" and click on "Qt5-VideoPlayer".
On the player's main window click on the bottom left's "Open" button to load a video file and double-click on its name on the file list to start video playing. Here is how it looks like. You can set the display window to full screen and adjust the volume:
6.2 Play with Linux Command
You can play it by running the following command in a commandline utility:
gst-player.sh
By default its voice will be output to audio jack. You can locate this script by commanding "which gst-player.sh". You can customize its behavior by making changes in this script.
7 Work with USB Camera
Connect a USB camera e.g. Logitech C270/C920 to a board that runs FriendlyDesktop. After your system is booted click on the "Other" menu option in the main window to start "xawtv" and you will be able to preview with this camera.
8 File Transfer with Bluetooth
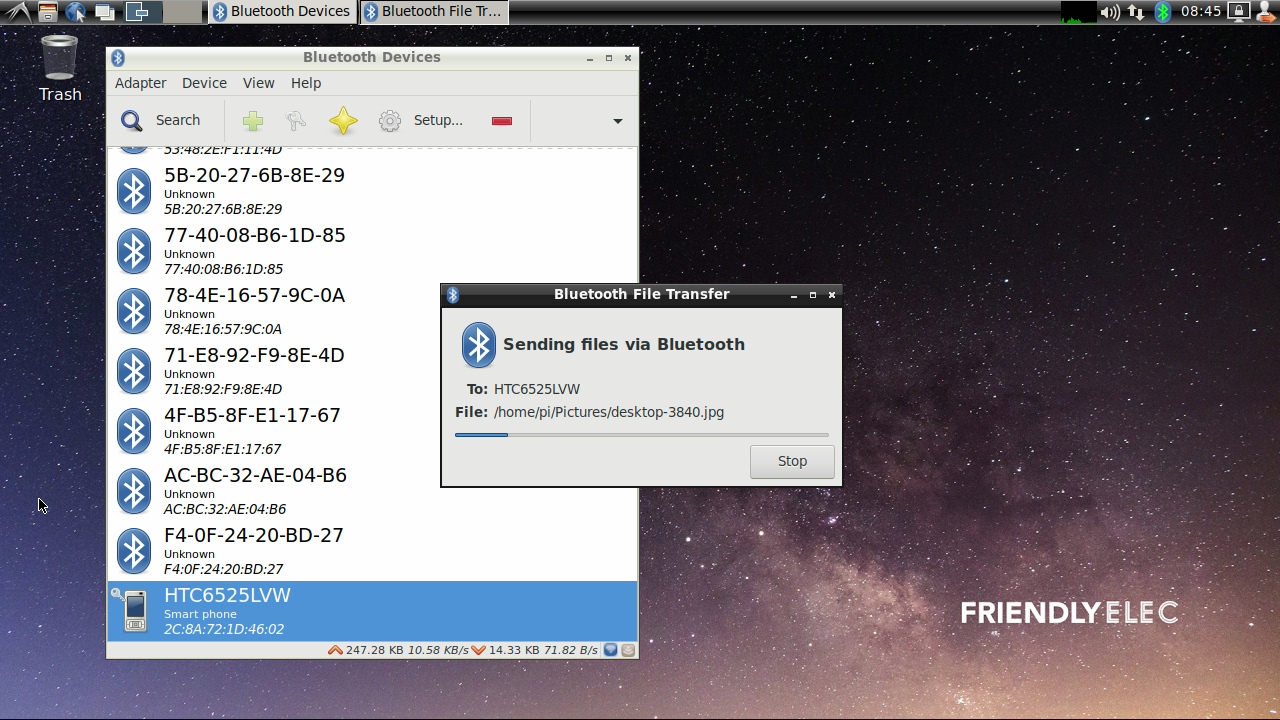
Click on the "Preferences" in the main window's menu to start Bluetooth Manager and click on "Search" to search surrounding Bluetooth devices. Click on your wanted device, pair the device with your board and you will be able to do file transfer, here is how it looks like:
9 Install OpenCV
On FriendlyDesktop's main window click on System Tools -> Terminator to open a commandline utility and run the following commands to install OpenCV 3.4:
su -
cd /root/
git clone https://github.com/friendlyarm/install-opencv-on-friendlycore
cd install-opencv-on-friendlycore
./install-opencv.sh
cp examples/cv-env.sh /usr/bin/
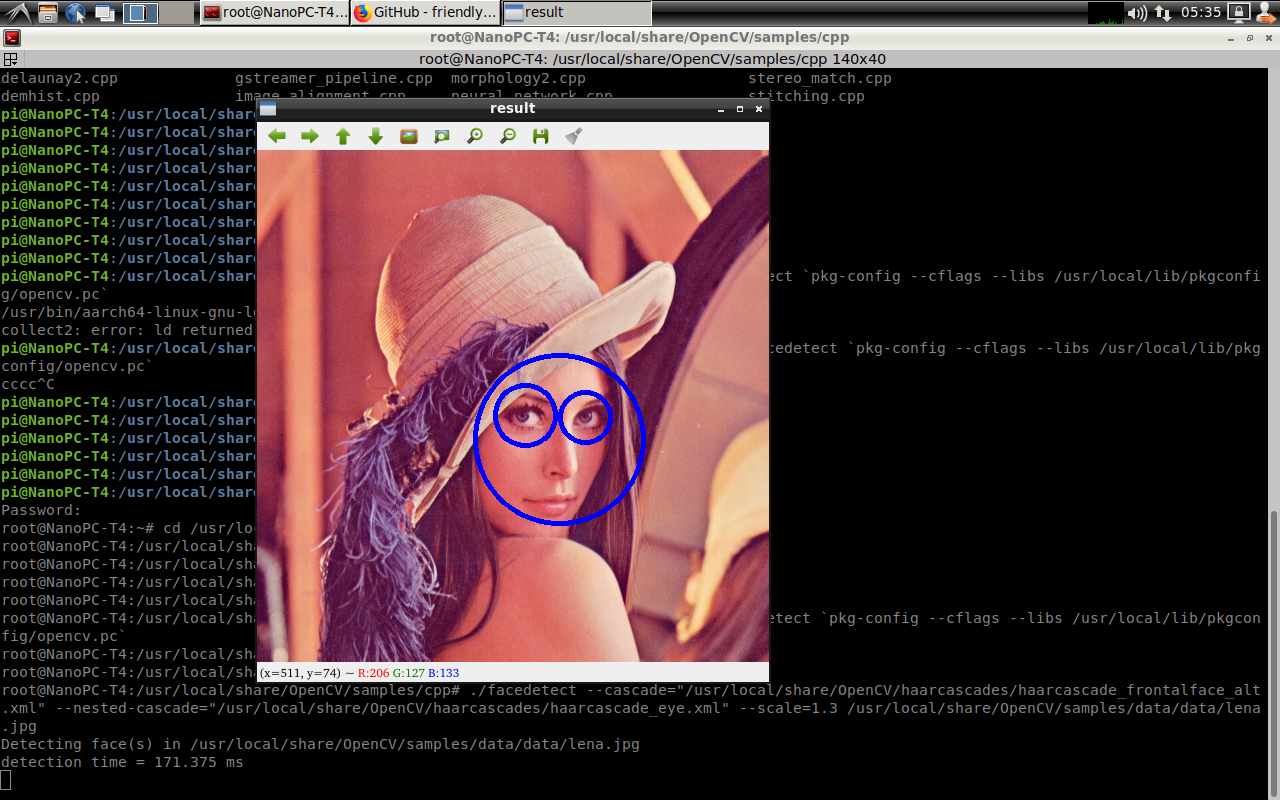
After installation is done compile it and test it by running a facial recognition test case:
su -
cd /usr/local/share/OpenCV/samples/cpp
g++ -ggdb facedetect.cpp -o facedetect `pkg-config --cflags --libs /usr/local/lib/pkgconfig/opencv.pc`
. setqt5env
./facedetect --cascade="/usr/local/share/OpenCV/haarcascades/haarcascade_frontalface_alt.xml" --nested-cascade="/usr/local/share/OpenCV/haarcascades/haarcascade_eye.xml" --scale=1.3 /usr/local/share/OpenCV/samples/data/data/lena.jpg
10 Develop Qt Applications
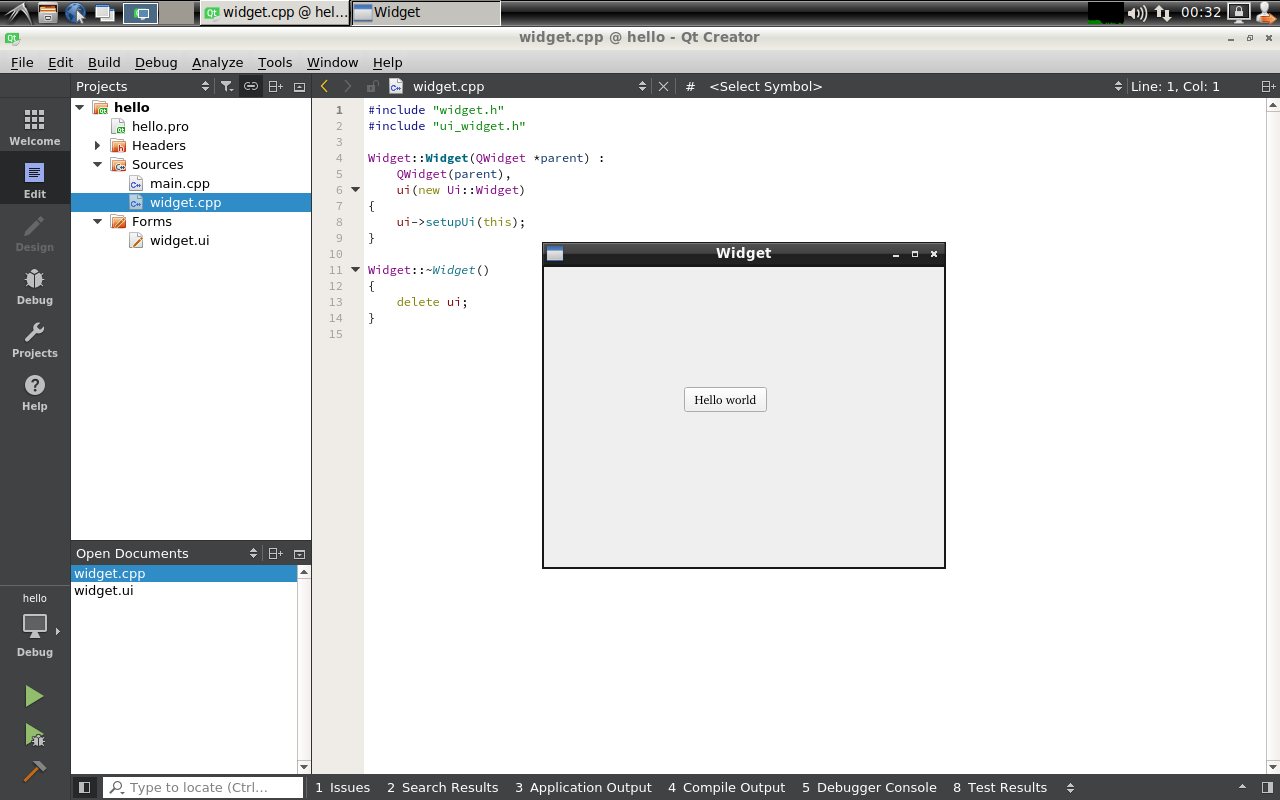
FriendlyDesktop has a Qt 5.10.0 which supports RK3399's OpenGL ES and Gstreamer 1.0 hardware acceleration and a QtCreator IDE which is ready and can be used to compile and run applications. Here is how it looks like:
11 WiringPi and Python Wrapper
12 Switch audio default output device
12.1 Set the default output device
Edit the file /etc/pulse/default.pa and change the value of set-default-sink. When the value is 0, it means sound will output to HDMI, and 1 means it sound will output to the headphone jack, as shown below:
set-default-sink 012.2 Temporary switching during playback
This method is only valid for the current playback process:
Open the menu "Sound & Video" -> "PulseAudio Volume Control", click the "Built-in Audio Stereo" button on the interface to switch between different output devices, such as switching between HDMI and headphone jack.
13 Disable system automatic sleep
Open a command line terminal and enter the following command:
xset s off
xset -dpms
14 Play RTSP video stream (or IP Camera)
Open a command line terminal and enter the following command:
gst-launch-1.0 rtspsrc location="rtsp://admin:12345@192.168.1.120:554/live/main" ! rtph264depay ! decodebin ! rkximagesink
Change the address after rtsp:// to the real address.
