Difference between revisions of "1-bay NAS Dock"
(→Download Image) |
(→Download Image) |
||
| Line 38: | Line 38: | ||
===Make a TF Card with OpenMediaVault=== | ===Make a TF Card with OpenMediaVault=== | ||
====Download Image==== | ====Download Image==== | ||
| − | Visit this [ | + | Visit this [https://www.mediafire.com/folder/n5o8ihvqhnf6s/Nanopi-NEO download link] to download the firmware files(under the "officail-ROMs" directory) and flash utility(under the "tools" directory):<br /> |
::{| class="wikitable" | ::{| class="wikitable" | ||
Revision as of 05:26, 5 April 2017
Contents
1 Introduction
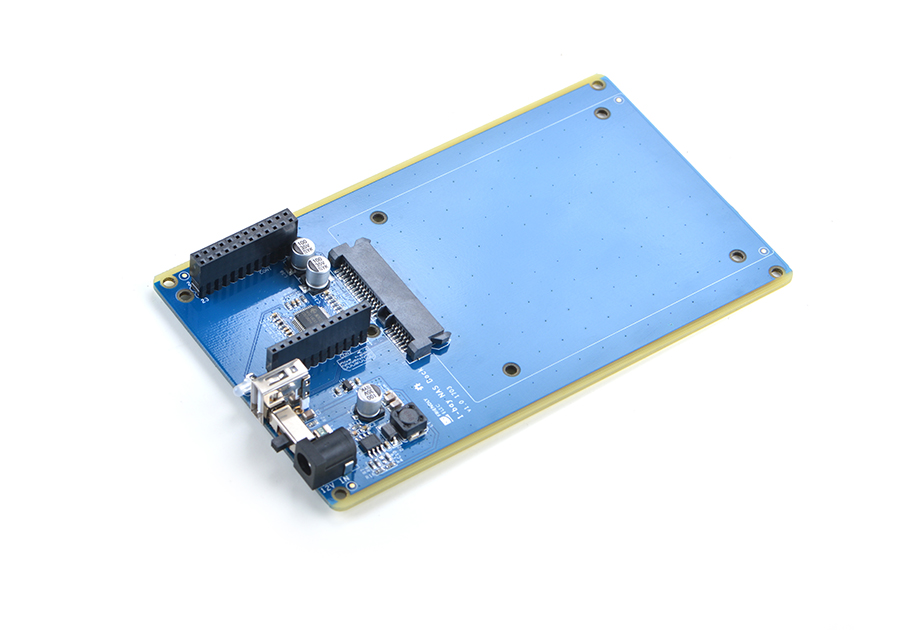
- The 1-bay NAS Dock is an expansion board which can be used to connect an external hard disk to a FriendlyElec’s NanoPi NEO. Together with FriendlyElec's customized aluminum case and NanoPi NEO you can quickly assemble a storage server.
- It uses JM20329 USB2SATA IC and communicates with a NanoPi NEO via USB interface.
- It works with a 2.5" SATA hard disk.
- It uses TI’s DC-DC chipset to convert a 12V input to 5V. It has a power switch for users to turn on/off the device.
- Its dual-color LED can indicate a connected hard disk's status. When the LED is green it means the power is on. When it is red-blinking it means the connected hard disk is reading/writing.Warning: when the status LED is red-blinking do NOT shut down the power or plug/unplug the power.
2 Hardware Spec
- High-speed USB2SATA IC JM20329
- Supply voltage:12V
- Onboard switch
- Dual-color status LED
- USB Host
- Customized aluminum case
- Ready-to-go software system
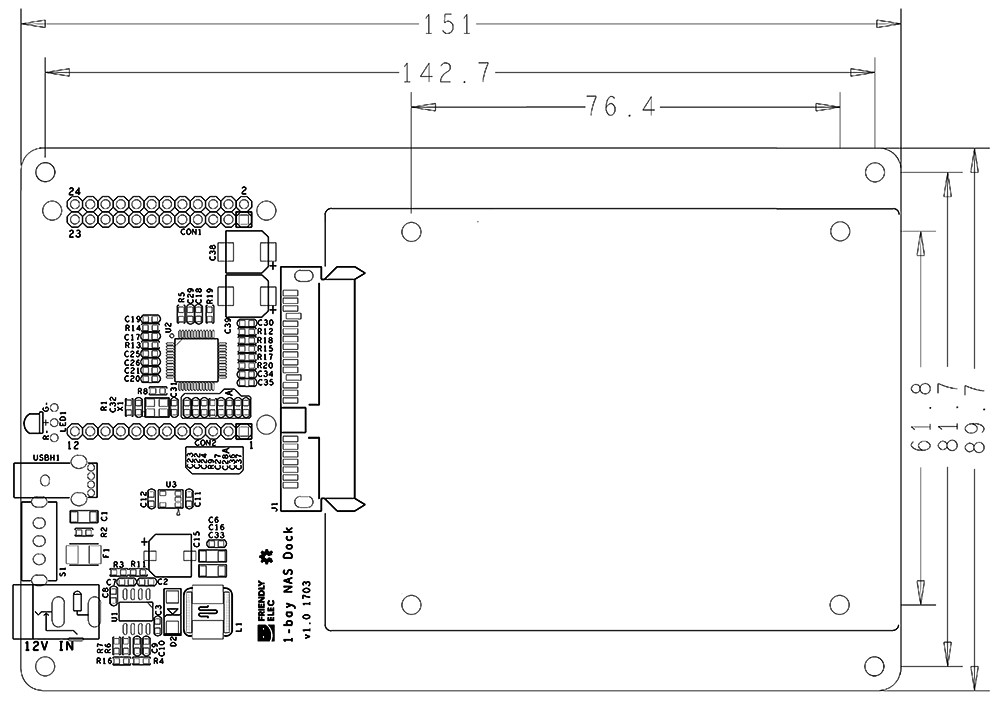
- PCB dimension(mm): 151 x 89.7
3 Hardware Setup
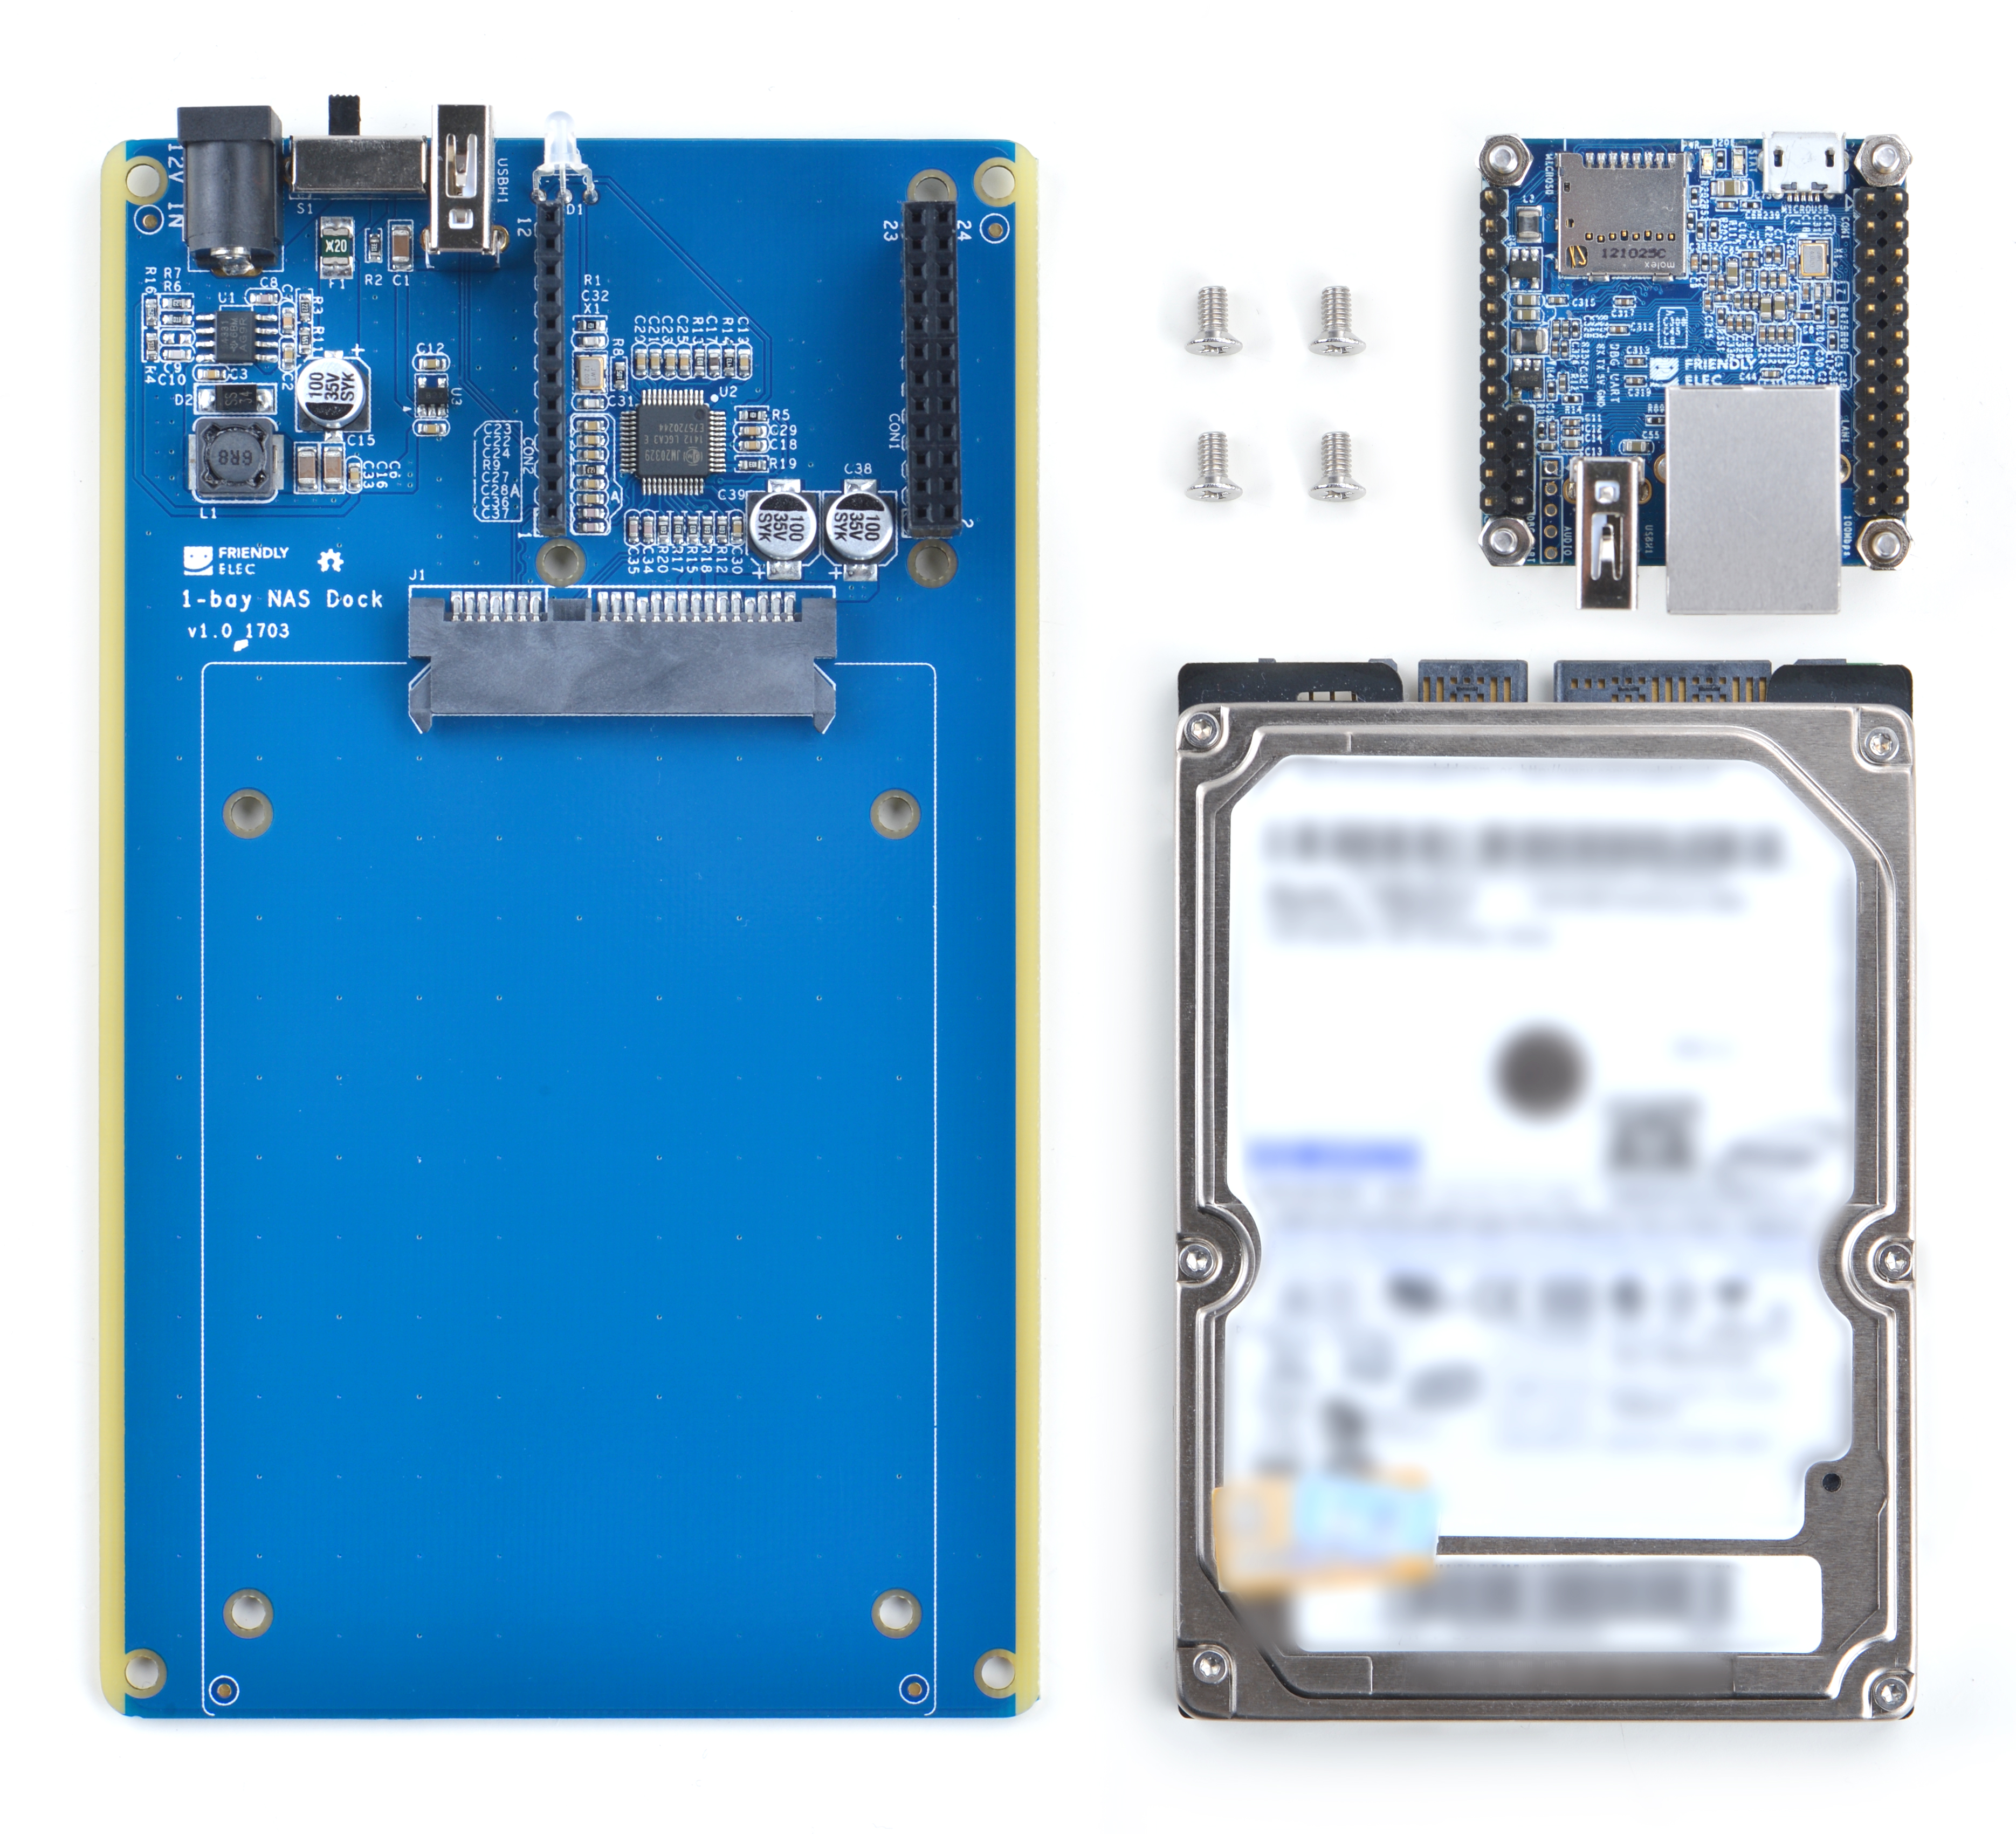
Essentials You Need for a Complete NAS Solution:
(1) 1-bay NAS Dock;
(2) Screw set;
(3) 2.5" HDD hard disk
(4) NanoPi NEO with heat sink

Steps to Assemble a NAS Device:
(1) Connect a 2.5"SATA hard disk to the dock and mount the disk on the dock with four screws


(2) Connect a NanoPi NEO with pin-headers to the NAS Dock

(3) Connect a 12V power to the NAS Dock and all done

4 Software Installation
4.1 Make a TF Card with OpenMediaVault
4.1.1 Download Image
Visit this download link to download the firmware files(under the "officail-ROMs" directory) and flash utility(under the "tools" directory):
Image Files: Debian-for-nas-YYYYMMDD.img.zip Debian with OpenMediaVault Flash Utility: win32diskimager.rar Windows utility. Under Linux users can use "dd"
4.1.2 Make a Bootable TF Card
Extract the "Debian-for-nas-YYYYMMDD.img.zip" and "win32diskimager.rar". Insert an SD card(at least 8G) into a Windows PC and run the win32diskimager utility as administrator. On the utility's main window select your SD card's drive, the wanted image file and click on "write" to start flashing the SD card.
Insert this card into your NanoPi NEO and connect the 1-Bay NAS Dock to a 12V power.Turn on the Dock's switch and if the blue LED on the NEO is blinking this indicates your NanoPi NEO has successfully booted.
4.2 Start OpenMediaVault
test5 Resources
6 Update Log
6.1 April-01-2016
- Released English Version

