Difference between revisions of "NanoHat OLED"
(→Hardware Setup) |
|||
| Line 55: | Line 55: | ||
NanoPi NEO Air<br /> | NanoPi NEO Air<br /> | ||
NanoPi NEO2<br /> | NanoPi NEO2<br /> | ||
| + | NanoPi NEO Plus2<br /> | ||
==Install Software== | ==Install Software== | ||
Revision as of 02:48, 27 April 2017
Contents
1 Introduction
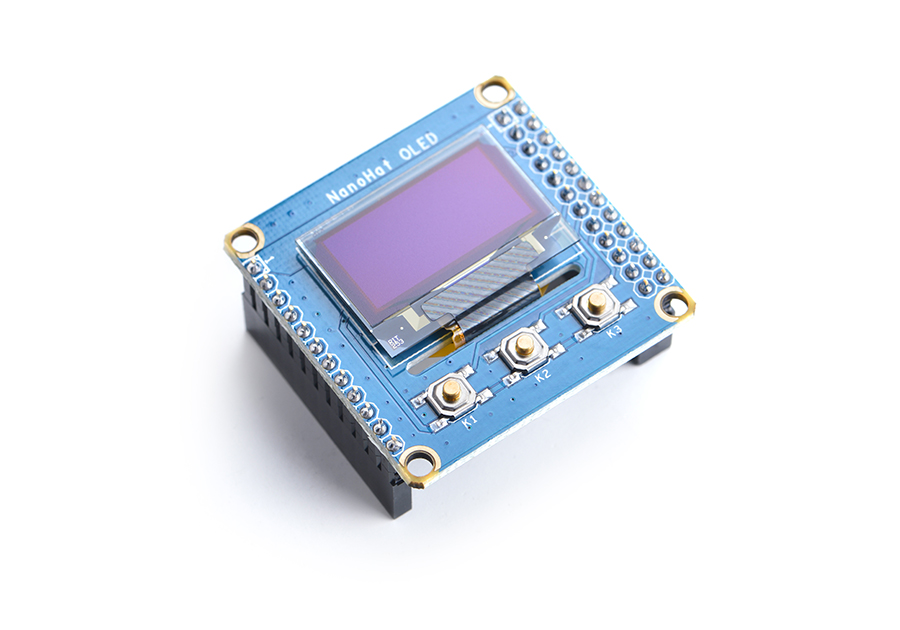
- NanoHat OLED is a small and cute monochrome OLED module with low power consumption. It is 0.96". Its resolution is 128 x 64. It communicates with a master device with I2C.
- The NanoHat OLED module has the same form factor as FriendlyElec's NanoPi NEO. It can be stacked on a NanoPi NEO.
- It has three onboard programmable user buttons, a 2.0mm pitch 4-Pin I2C connector.
2 Hardware Spec
- Display Area:0.96"
- Resolution: 128 x 64
- High Contrast, Low Power Consumption
- 3 x Onboard Button
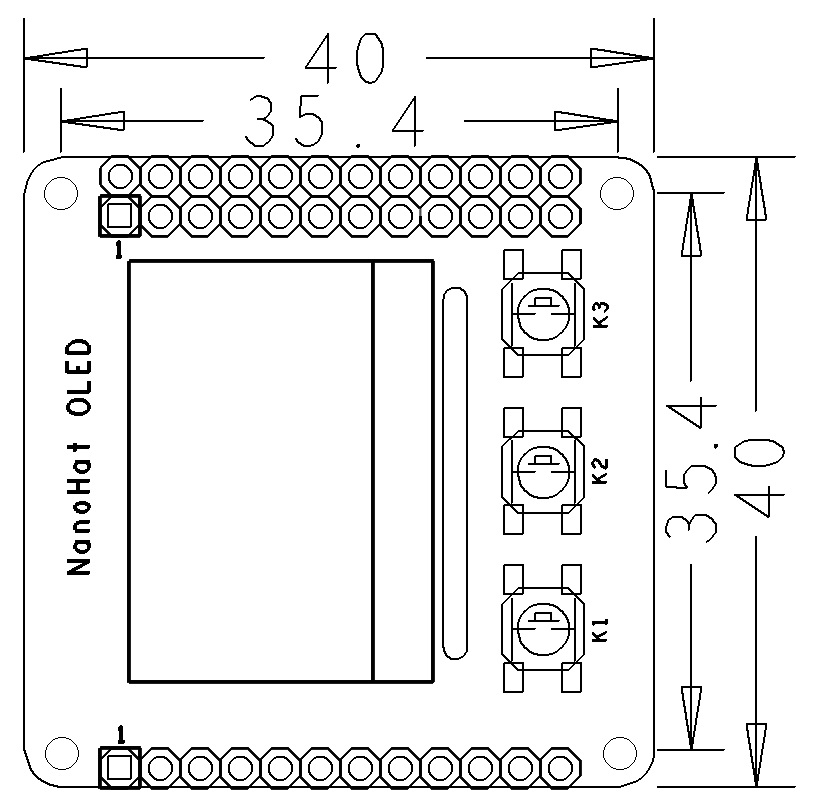
- PCB Dimension(mm): 40 x 40
- GPIO Pin Description
Pin# Name Linux gpio Pin# Name Linux gpio 1 SYS_3.3V 2 VDD_5V 3 I2C0_SDA 4 VDD_5V 5 I2C0_SCL 6 GND 7 NC 8 NC 9 GND 10 NC 11 K1 0 12 NC 13 K2 2 14 GND 15 K3 3 16 NC 17 SYS_3.3V 18 NC 19 NC 20 GND 21 NC 22 NC 23 NC 24 NC
Only GND and 5V on the 12-Pin land are connected and the rest pins are open. For more details on the 12-Pin connector refer to NanoPi NEO/Air/NEO2's wiki site.
3 Hardware Setup
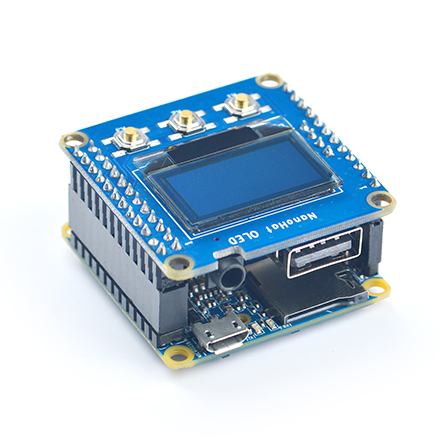
Currently only the NanoPi NEO, NEO2 and NanoPi NEO Air work with this module.
The NanoHat OLED module has the same form factor as FriendlyElec's NanoPi NEO. It can be stacked on a NanoPi NEO/NEO2/Air.
Here is a hardware setup:

Applicable Boards:
NanoPi NEO
NanoPi NEO Air
NanoPi NEO2
NanoPi NEO Plus2
4 Install Software
There are some code samples for NanoHat OLED. You can get these samples by running the following commands under Ubuntu core:
git clone https://github.com/friendlyarm/NanoHatOLED.git
cd NanoHatOLED
sudo -H ./install.sh
The script downloads and installs the samples and some utilities. Mainland Chinese users can download them faster by changing the source:
Open the "/etc/apt/sources.list" file, copy the following lines to replace the existing contents:
deb http://mirrors.ustc.edu.cn/ubuntu-ports/ xenial main multiverse restricted universe
deb http://mirrors.ustc.edu.cn/ubuntu-ports/ xenial-backports main multiverse restricted universe
deb http://mirrors.ustc.edu.cn/ubuntu-ports/ xenial-proposed main multiverse restricted universe
deb http://mirrors.ustc.edu.cn/ubuntu-ports/ xenial-security main multiverse restricted universe
deb http://mirrors.ustc.edu.cn/ubuntu-ports/ xenial-updates main multiverse restricted universe
deb-src http://mirrors.ustc.edu.cn/ubuntu-ports/ xenial main multiverse restricted universe
deb-src http://mirrors.ustc.edu.cn/ubuntu-ports/ xenial-backports main multiverse restricted universe
deb-src http://mirrors.ustc.edu.cn/ubuntu-ports/ xenial-proposed main multiverse restricted universe
deb-src http://mirrors.ustc.edu.cn/ubuntu-ports/ xenial-security main multiverse restricted universe
deb-src http://mirrors.ustc.edu.cn/ubuntu-ports/ xenial-updates main multiverse restricted universe
Or edit(or create) the "$HOME/.pip/pip.conf" file and set Python's pip to a mainland Chinese source. Here is what pip.conf looks like:
[global]
trusted-host =  mirrors.aliyun.com
index-url = http://mirrors.aliyun.com/pypi/simple
After these commands are executed run "sudo apt-get update" to update software packages and then run "./install.sh" to begin installation.
5 Run Code Samples
After the code samples are installed they will automatically run on system reboot and display date and time
Here are the definitions of the NanoHat OLED's three user buttons:
K1 -> Show date & time;
K2 -> Show master device's system status: IP address, CPU usage, RAM, CPU temperature and etc;
K3 -> Shutdown. After this button is pressed system will not be shut down immediately but will pop up a Yes/No dialog. Pressing K1 switches between Yes and No, and pressing K2 is to confirm the selection.
6 Resources
7 Update Log
7.1 April-27-2017
- Released English Version

